Skip to content
Menu
Articles
Bio
Credits
Awards
Hire Me
Cinematographer
Photographer
Production Company
Work
Equipment
Camera Gear
Post Production
Equipment Van
Contact
Articles
Bio
Credits
Awards
Hire Me
Cinematographer
Photographer
Production Company
Work
Equipment
Camera Gear
Post Production
Equipment Van
Contact
Tag:
Sony PXW-FS7M2
Behind The Scenes
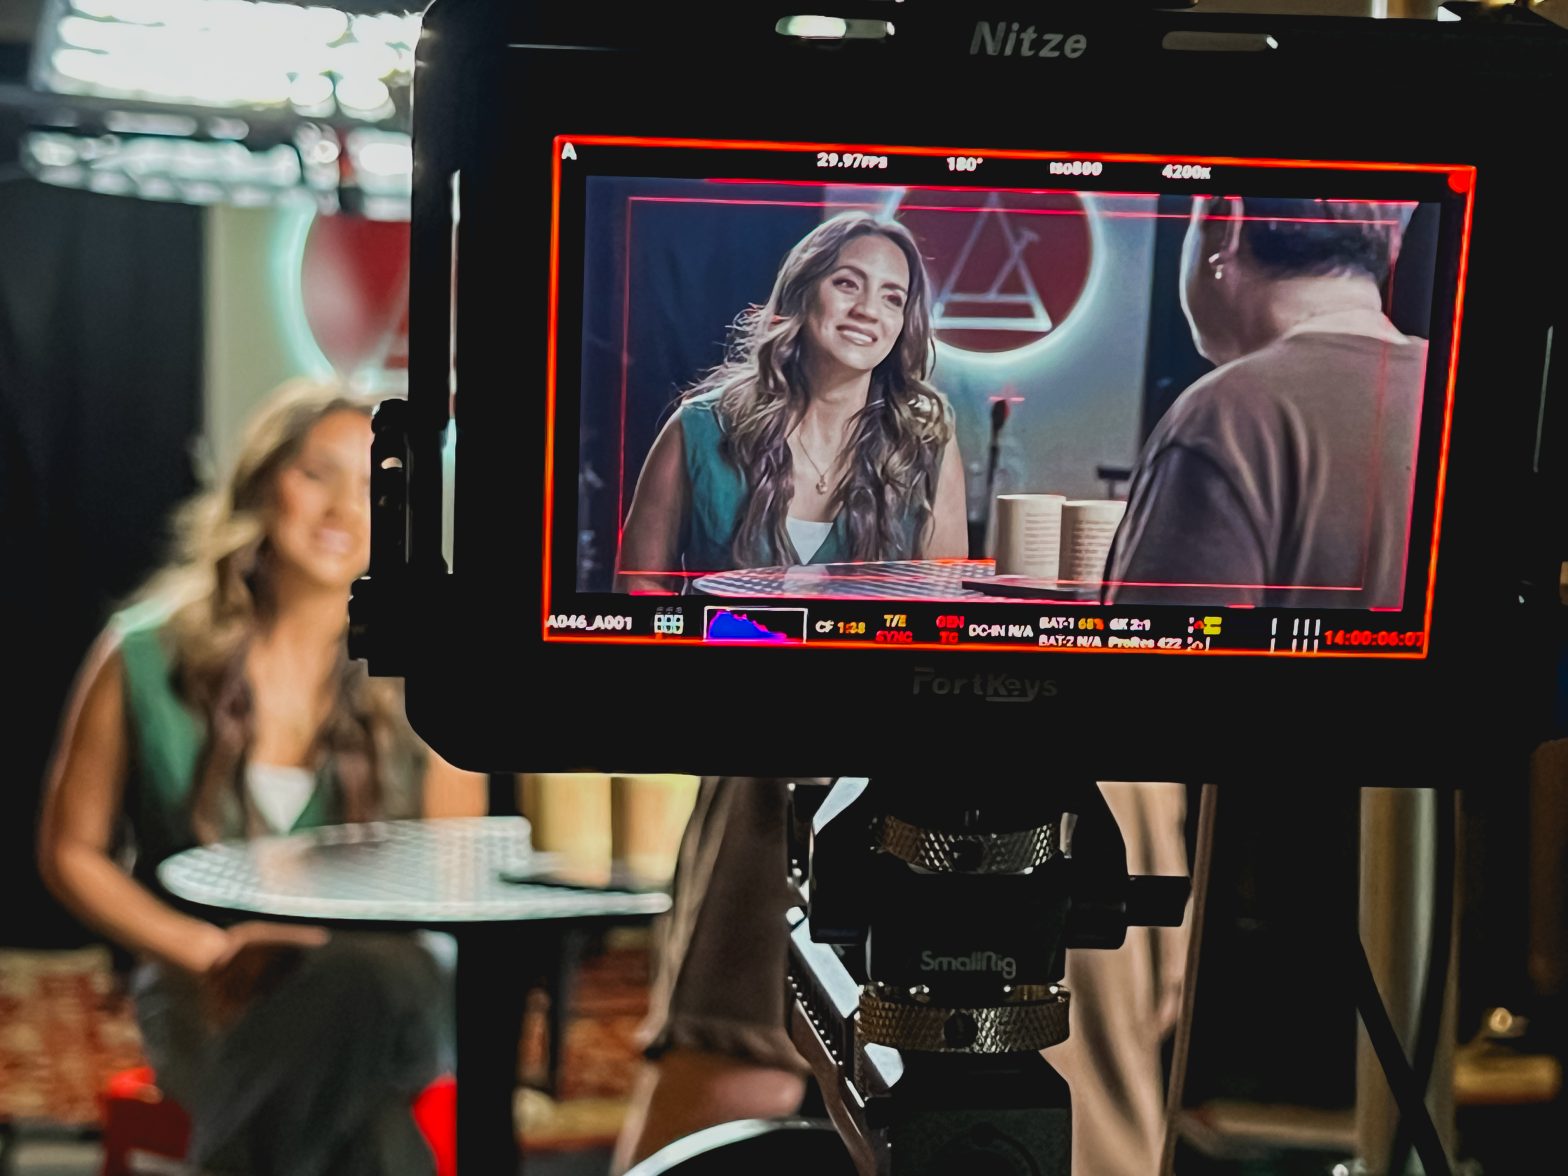
Filming “Tempo” Pilot featuring Rachael Lampa
April 29, 2026
Behind The Scenes
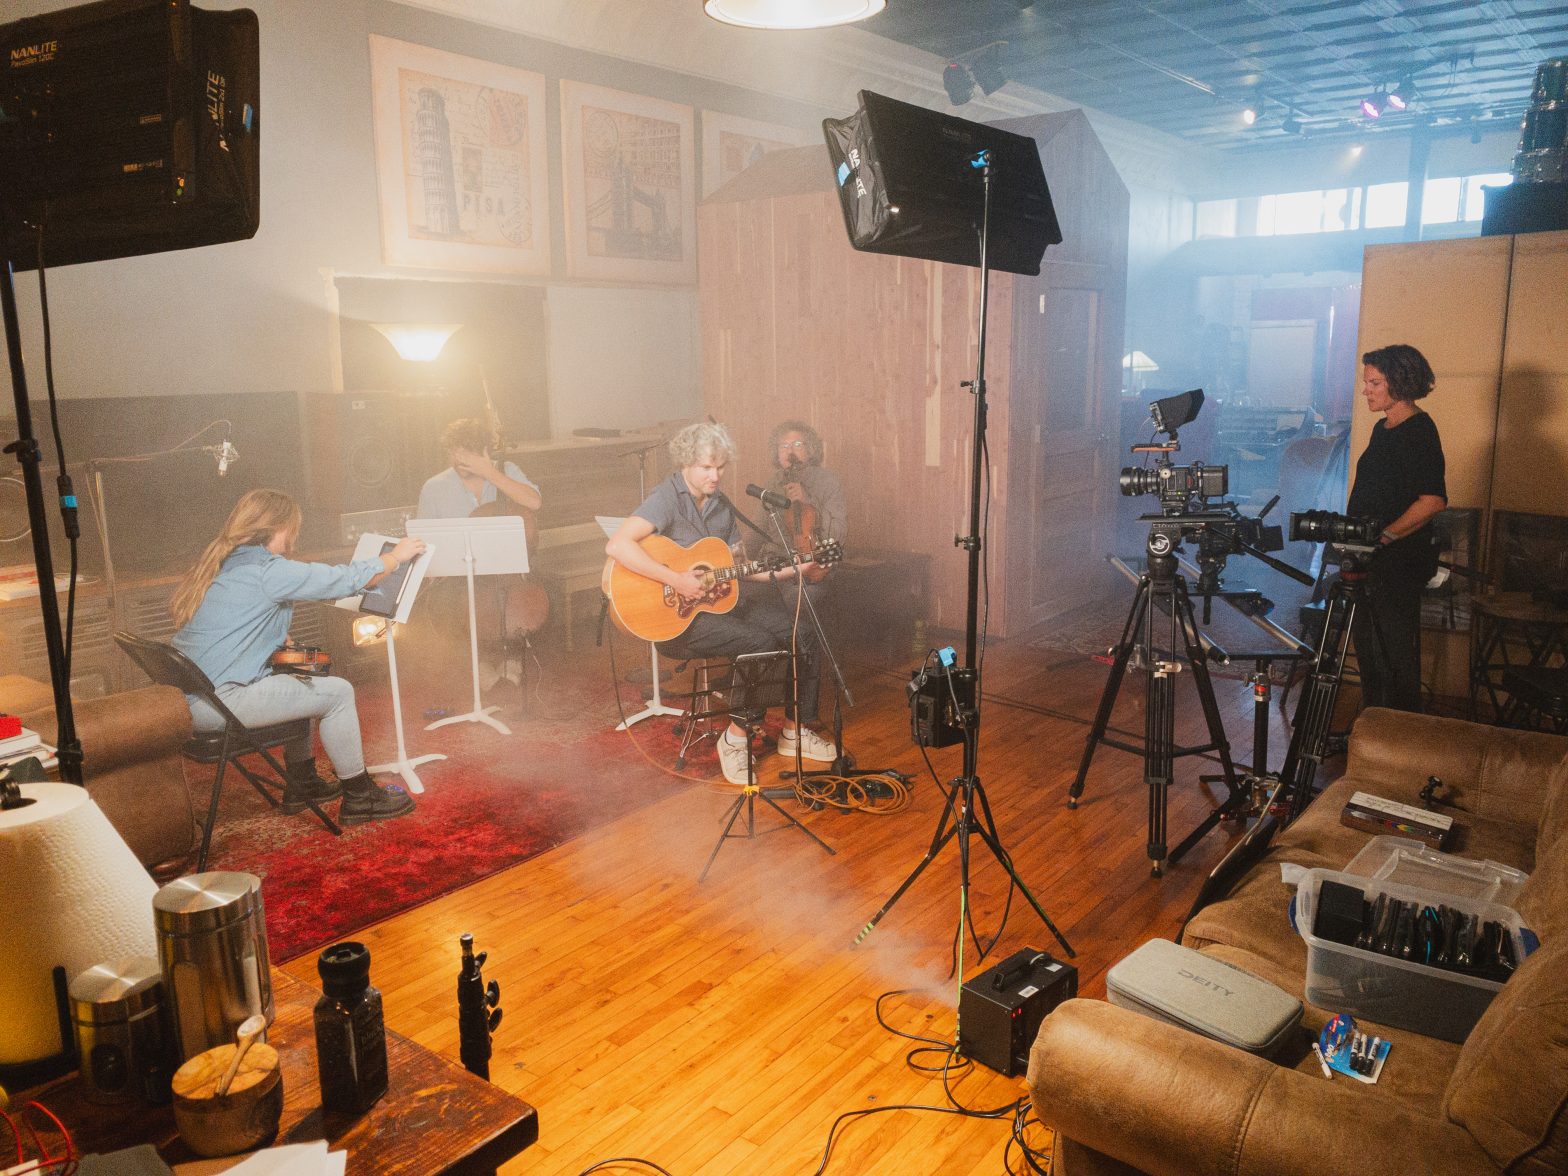
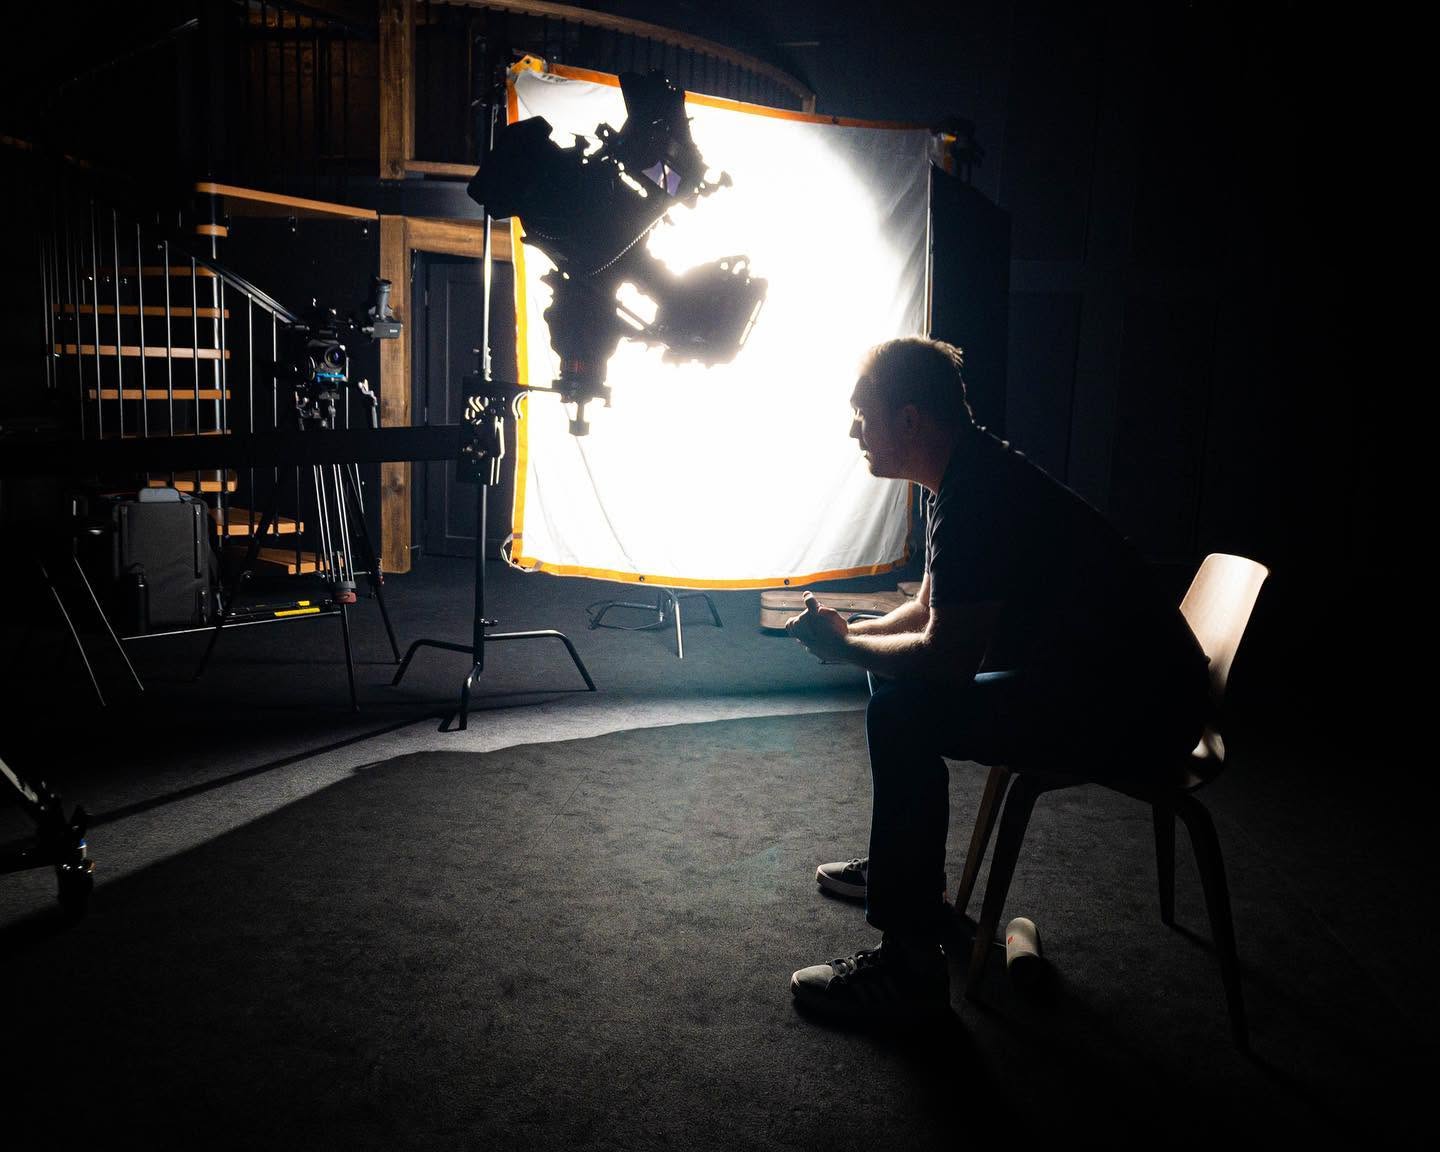
Rhose Studio Strings: Live Sessions
June 25, 2025
Behind The Scenes
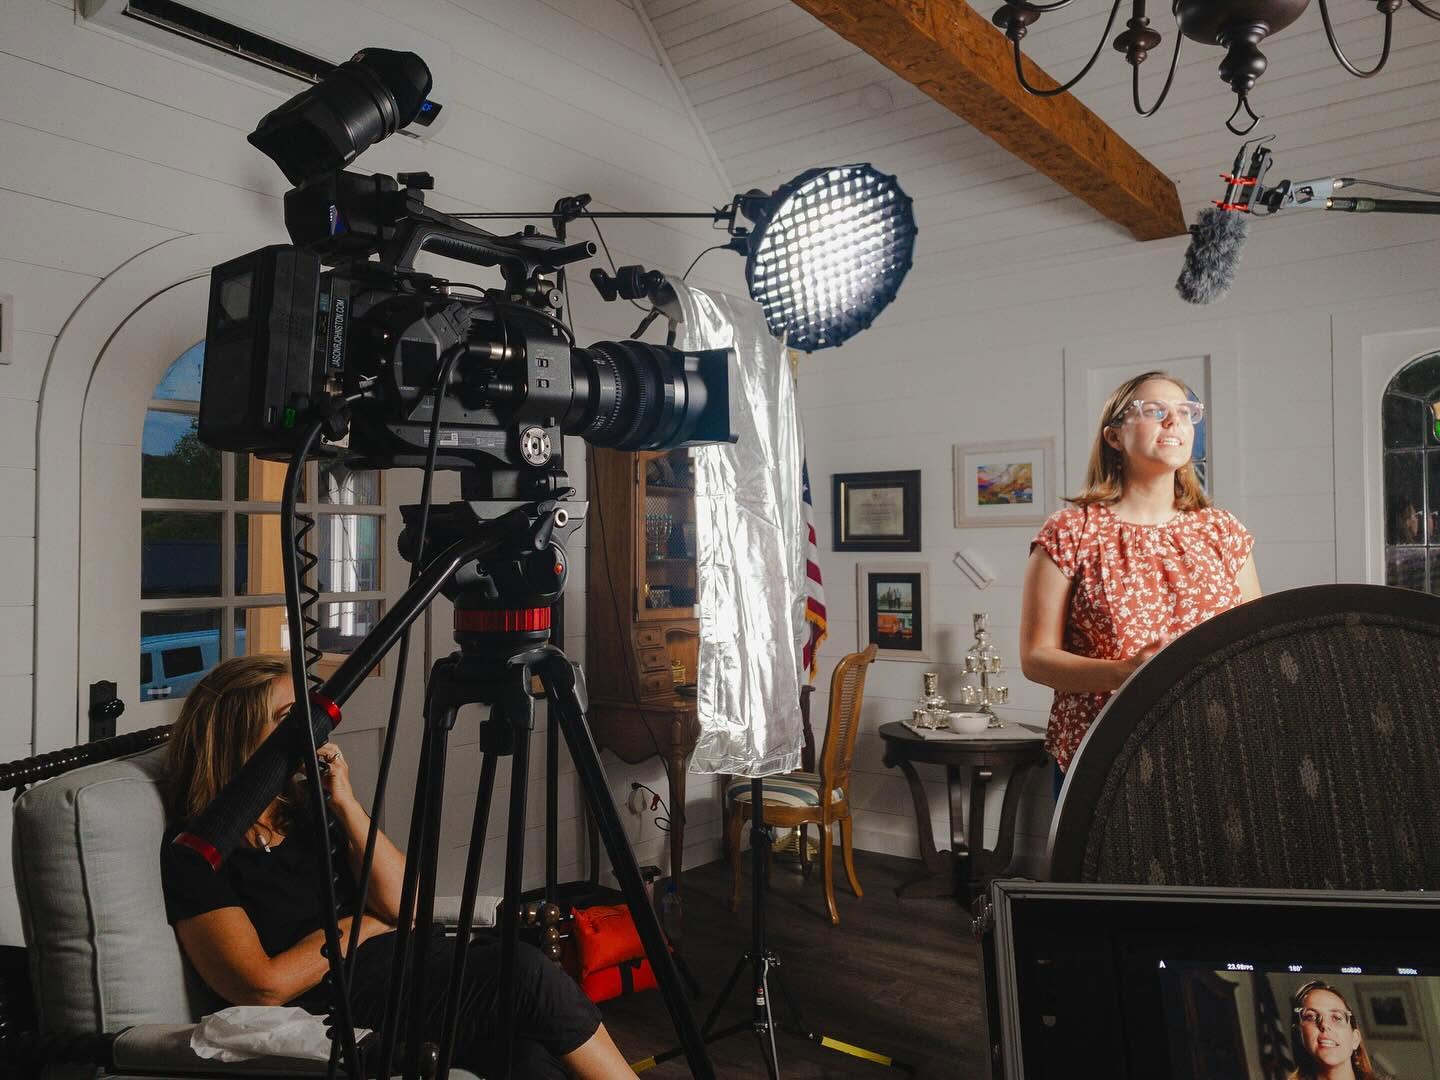
Filming “The Ignite Project” for Sarah Cagle
October 8, 2023
Behind The Scenes
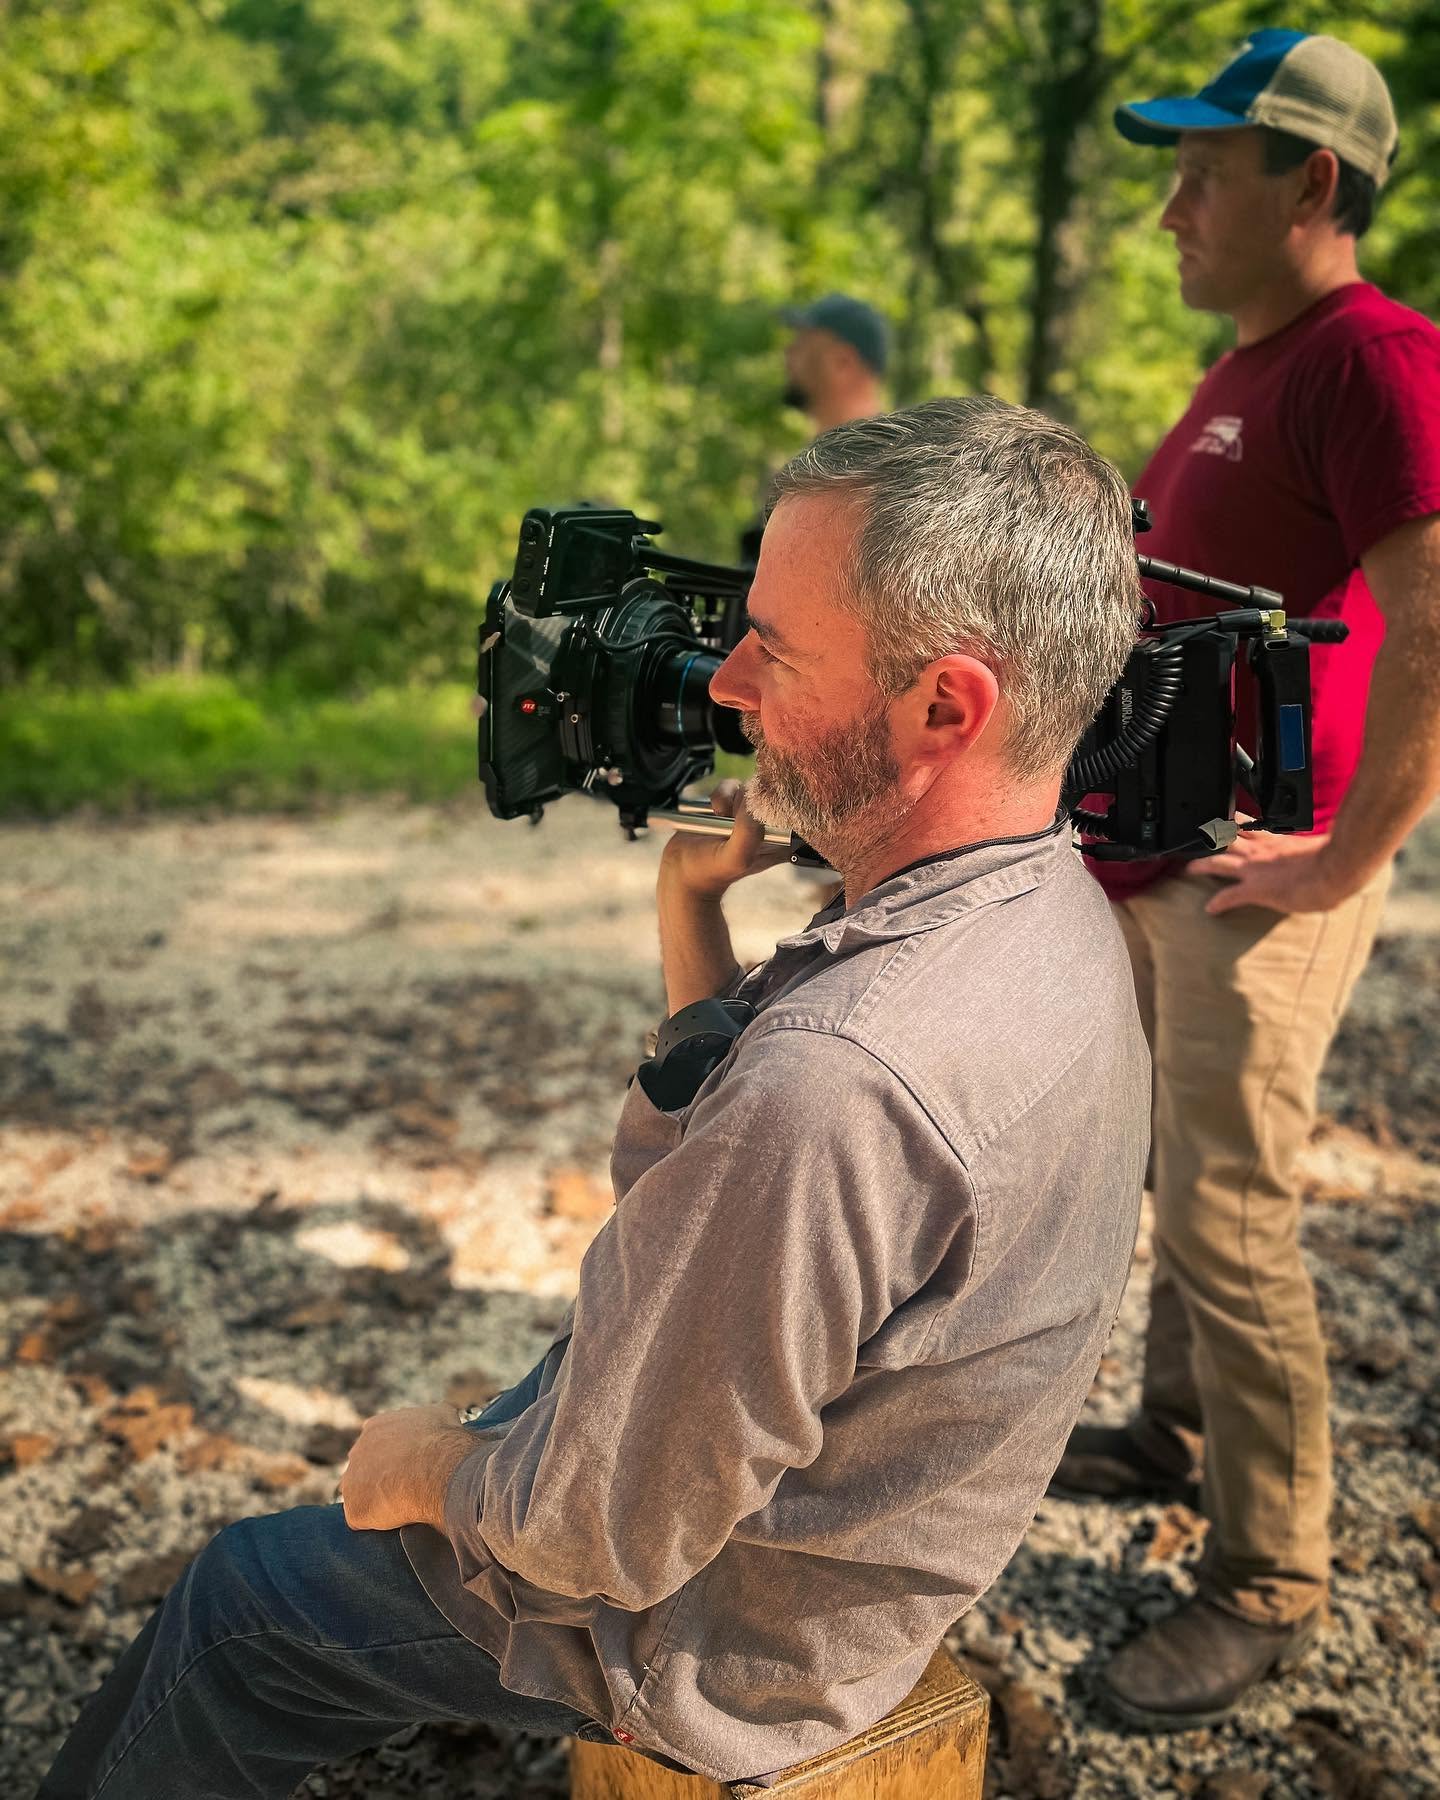
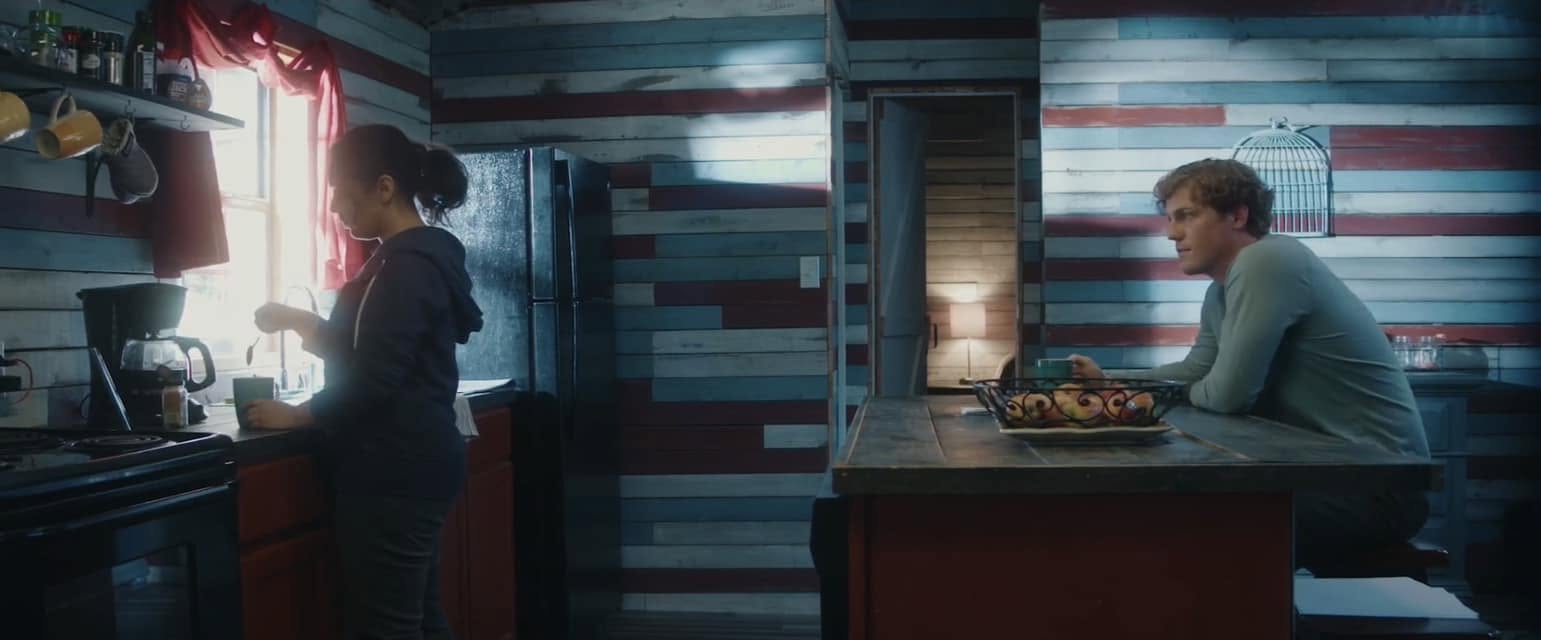
Filming Thriller Feature Film “M30 Oxy” in Kentucky
September 27, 2022
News
Best Cinematography Nomination for “Mending” at Nashville 48 Hour Film Project
September 20, 2022
Behind The Scenes
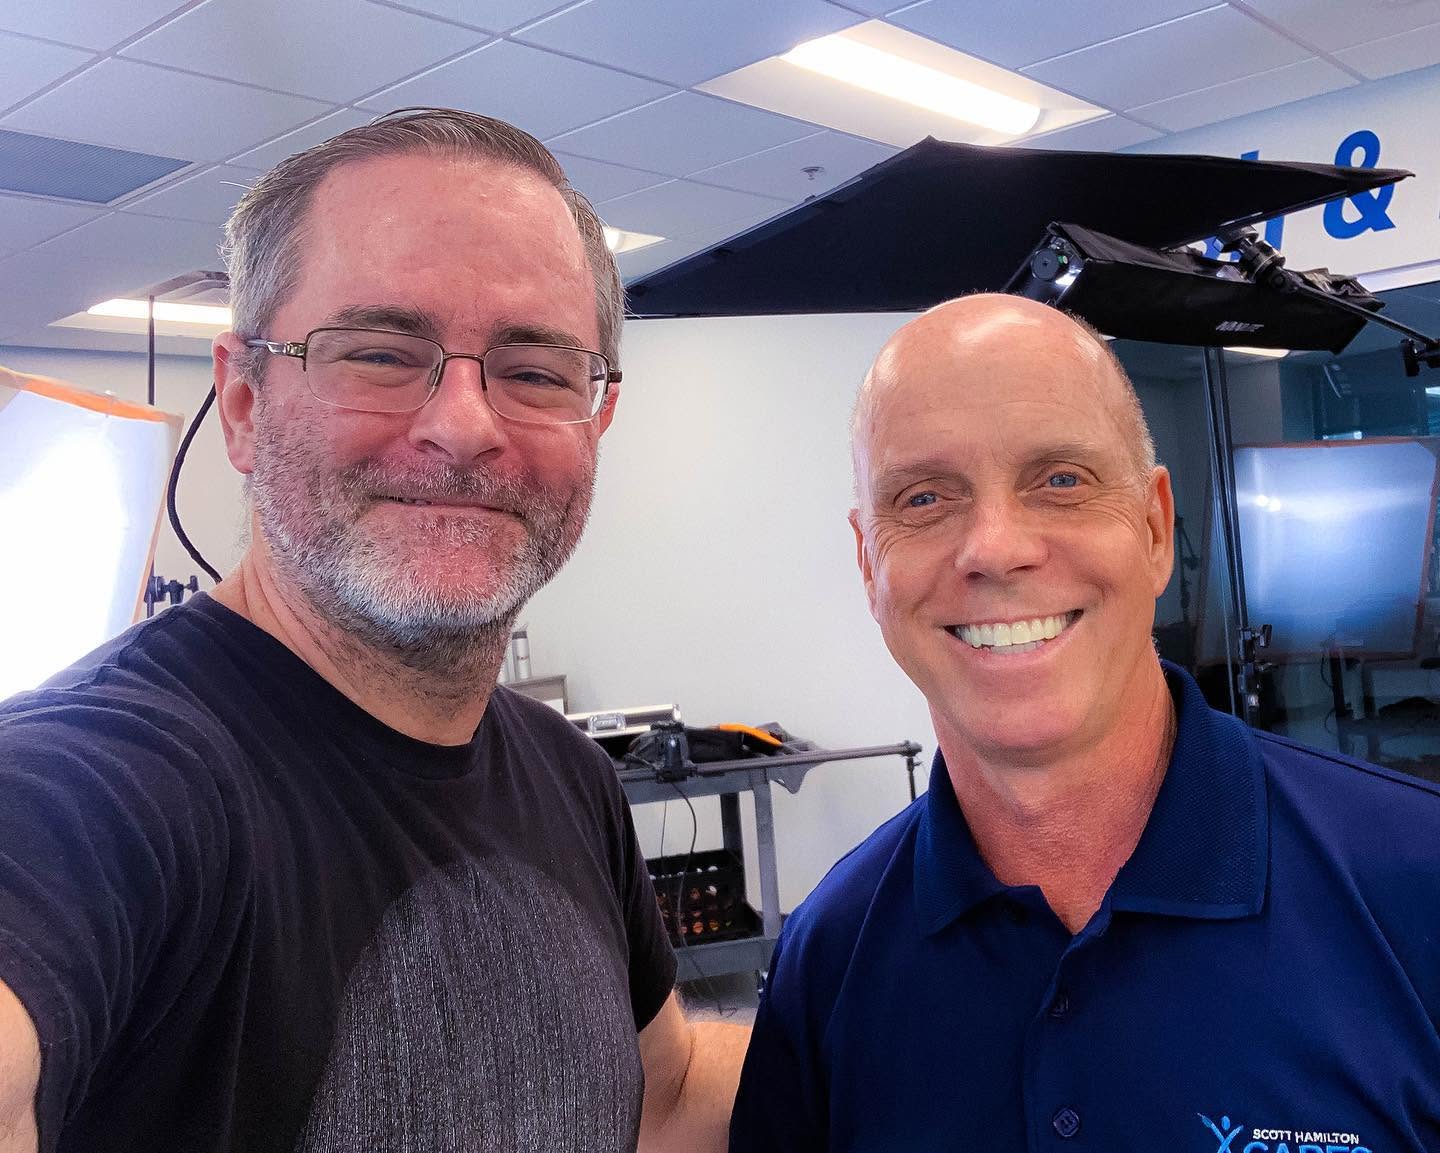
Filming Content for “Top PT Nashville” with Olympian Scott Hamilton
August 14, 2022
News
Music Video of the Year Nomination for “Little Sister” at ISSA Awards in Atlanta
August 6, 2022
Behind The Scenes
Filming 13 Music Videos for Josiah Mann’s Ambitious “Grace” Story Concept Album
June 24, 2022
Behind The Scenes
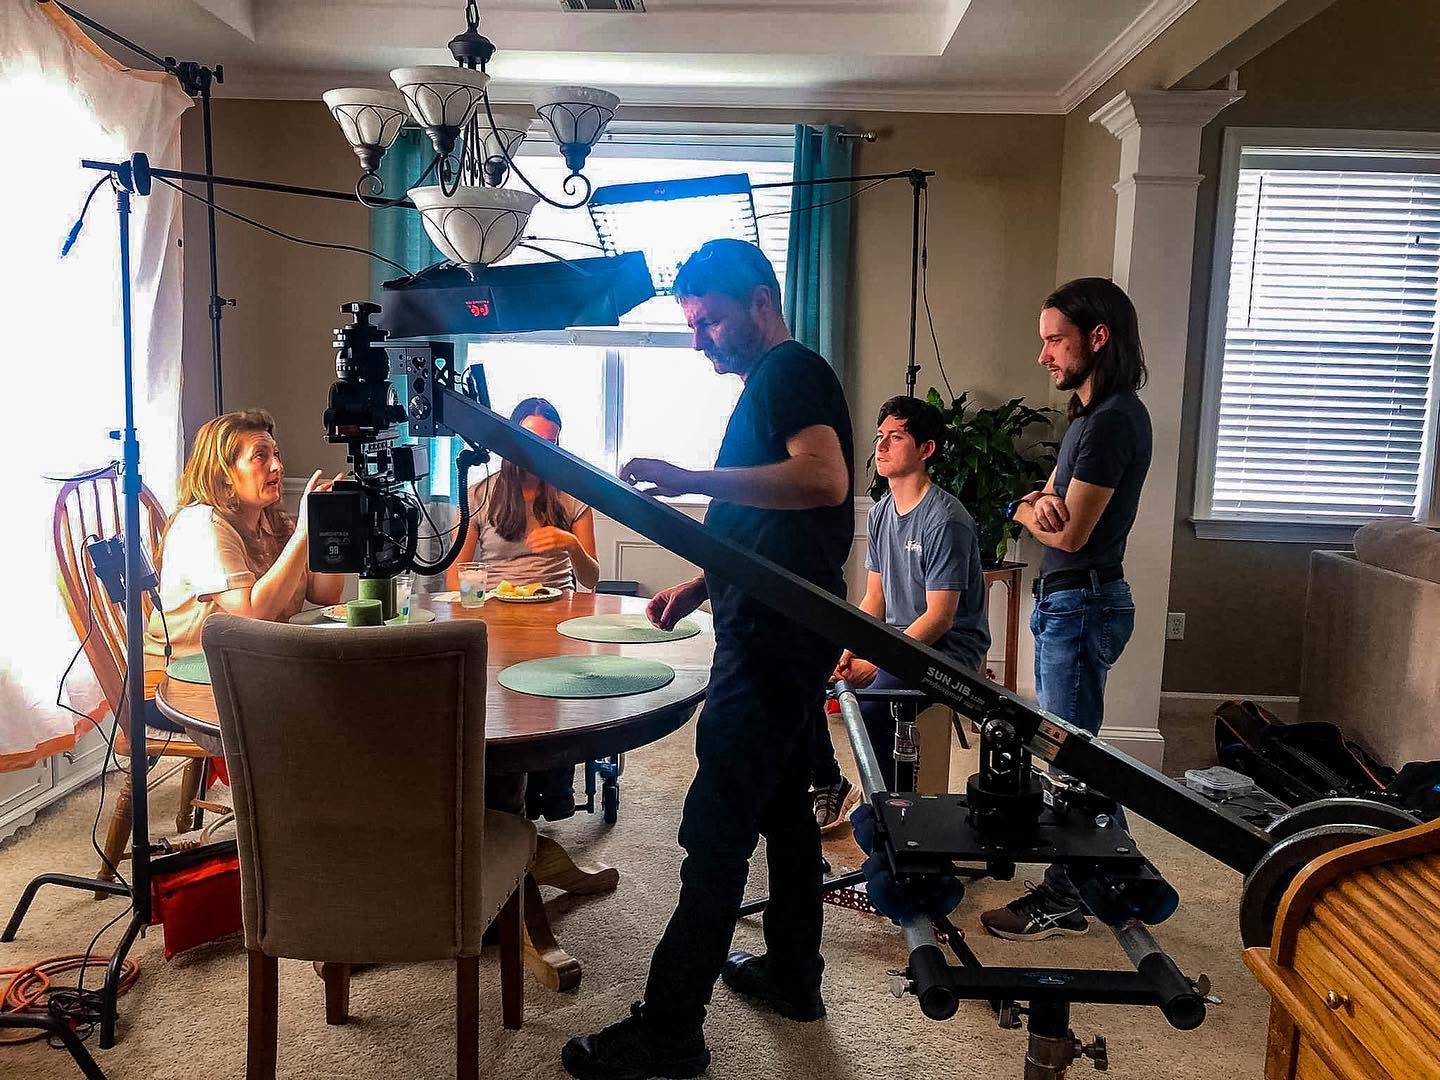
Filming “For Mother’s Day”
April 11, 2022
Behind The Scenes
Filming “Faith Healing” for 39:11 Productions
April 6, 2022
News
Best Cinematography Winner for “All For Me” at Nashville 54FilmFest
March 24, 2022
News
Best Cinematography Nomination for “All For Me”
March 22, 2022
1
2
Next Page
→
Camera
Post
G&E Van
Awards
Facebook
Instagram
YouTube
Flickr
X
© 2005—2026 Jason R. Johnston. All rights reserved.
Legal
Privacy Policy
Log in