Skip to content
Menu
Articles
Bio
Credits
Awards
Hire Me
Cinematographer
Photographer
Production Company
Work
Equipment
Camera Gear
Post Production
Equipment Van
Contact
Articles
Bio
Credits
Awards
Hire Me
Cinematographer
Photographer
Production Company
Work
Equipment
Camera Gear
Post Production
Equipment Van
Contact
Category:
Camera Modding
Camera Modding
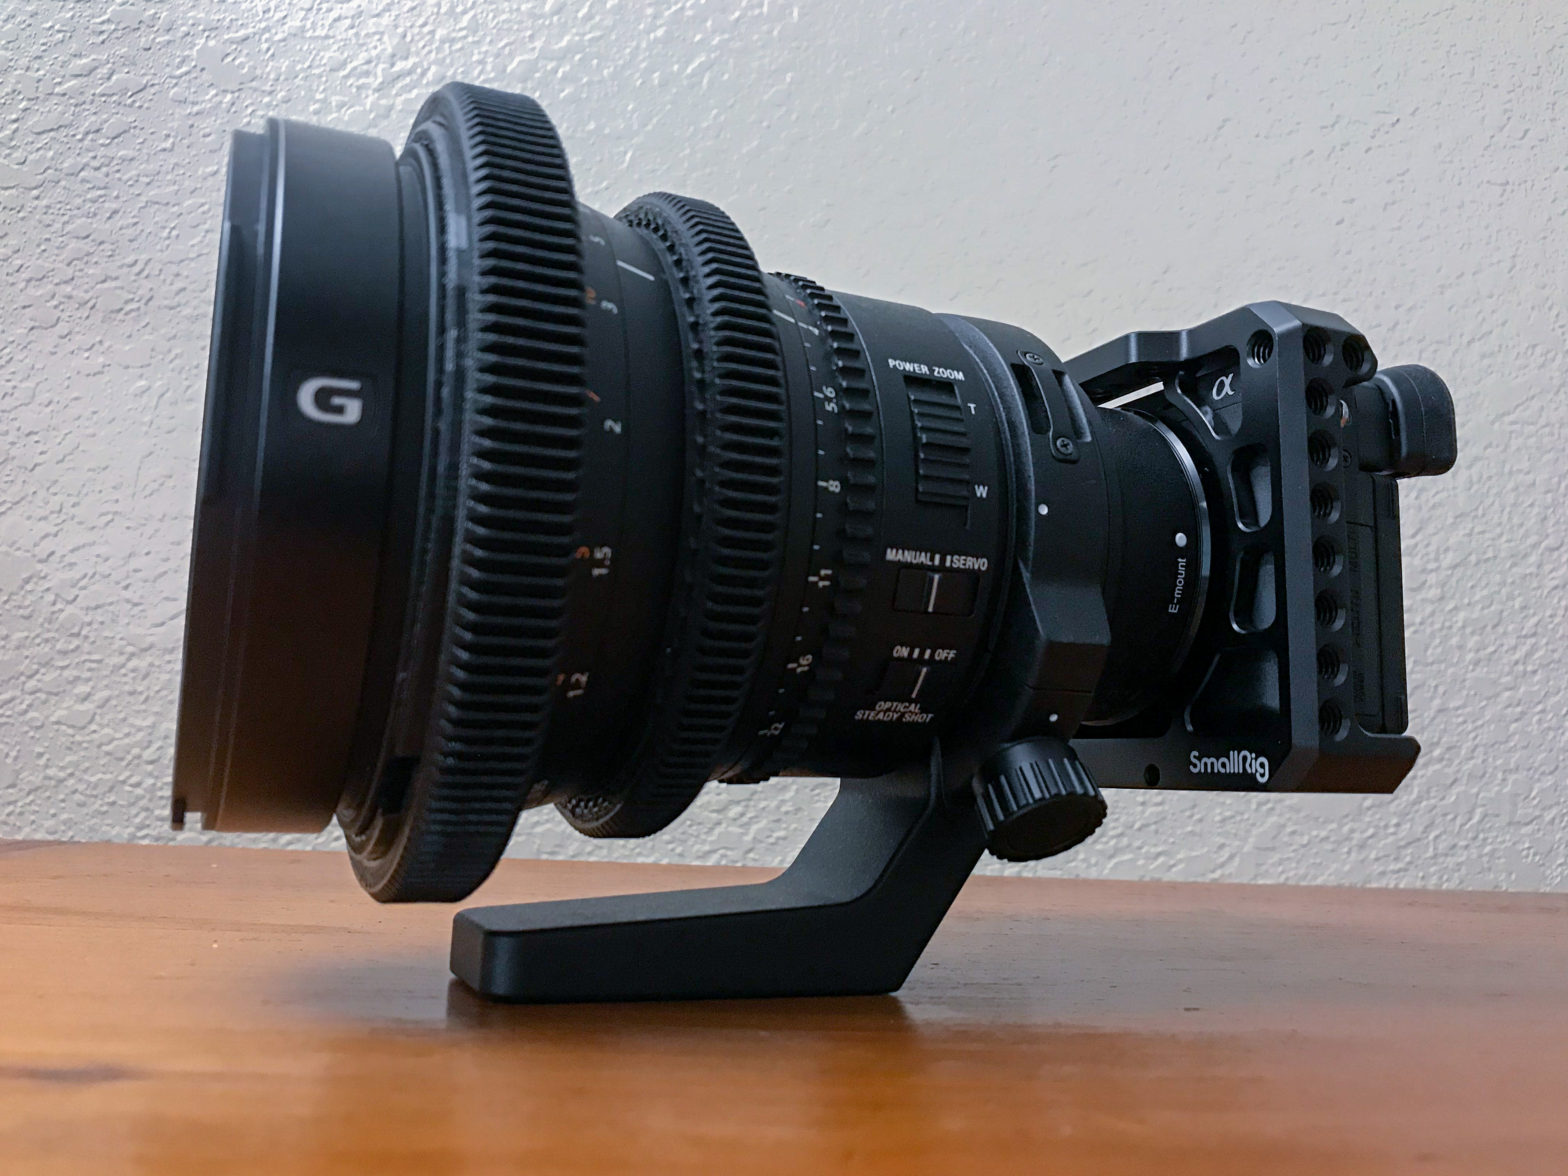
Modding Sony α6400 for Video
April 19, 2021
Camera Modding
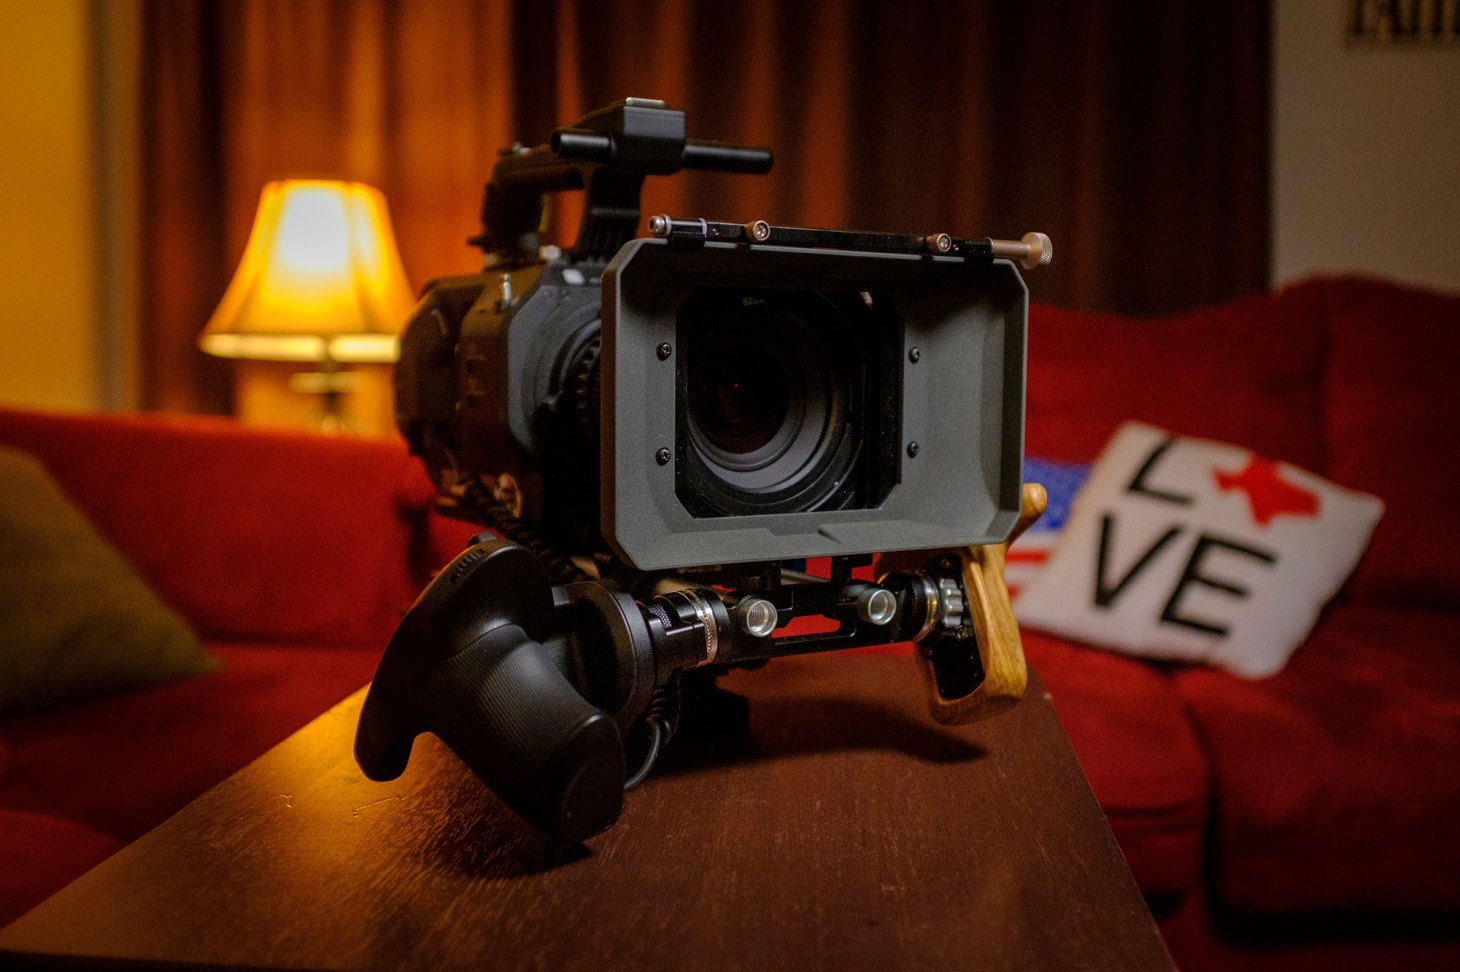
Modding FS7’s Top Handle
March 18, 2021
Camera Modding
Modding FS7’s Handgrip
August 16, 2018
Camera
Post
G&E Van
Awards
Facebook
Instagram
YouTube
Flickr
X
© 2005—2026 Jason R. Johnston. All rights reserved.
Legal
Privacy Policy
Log in