Category: Behind The Scenes

  • Tempo featuring Rachael Lampa

    Tempo featuring Rachael Lampa

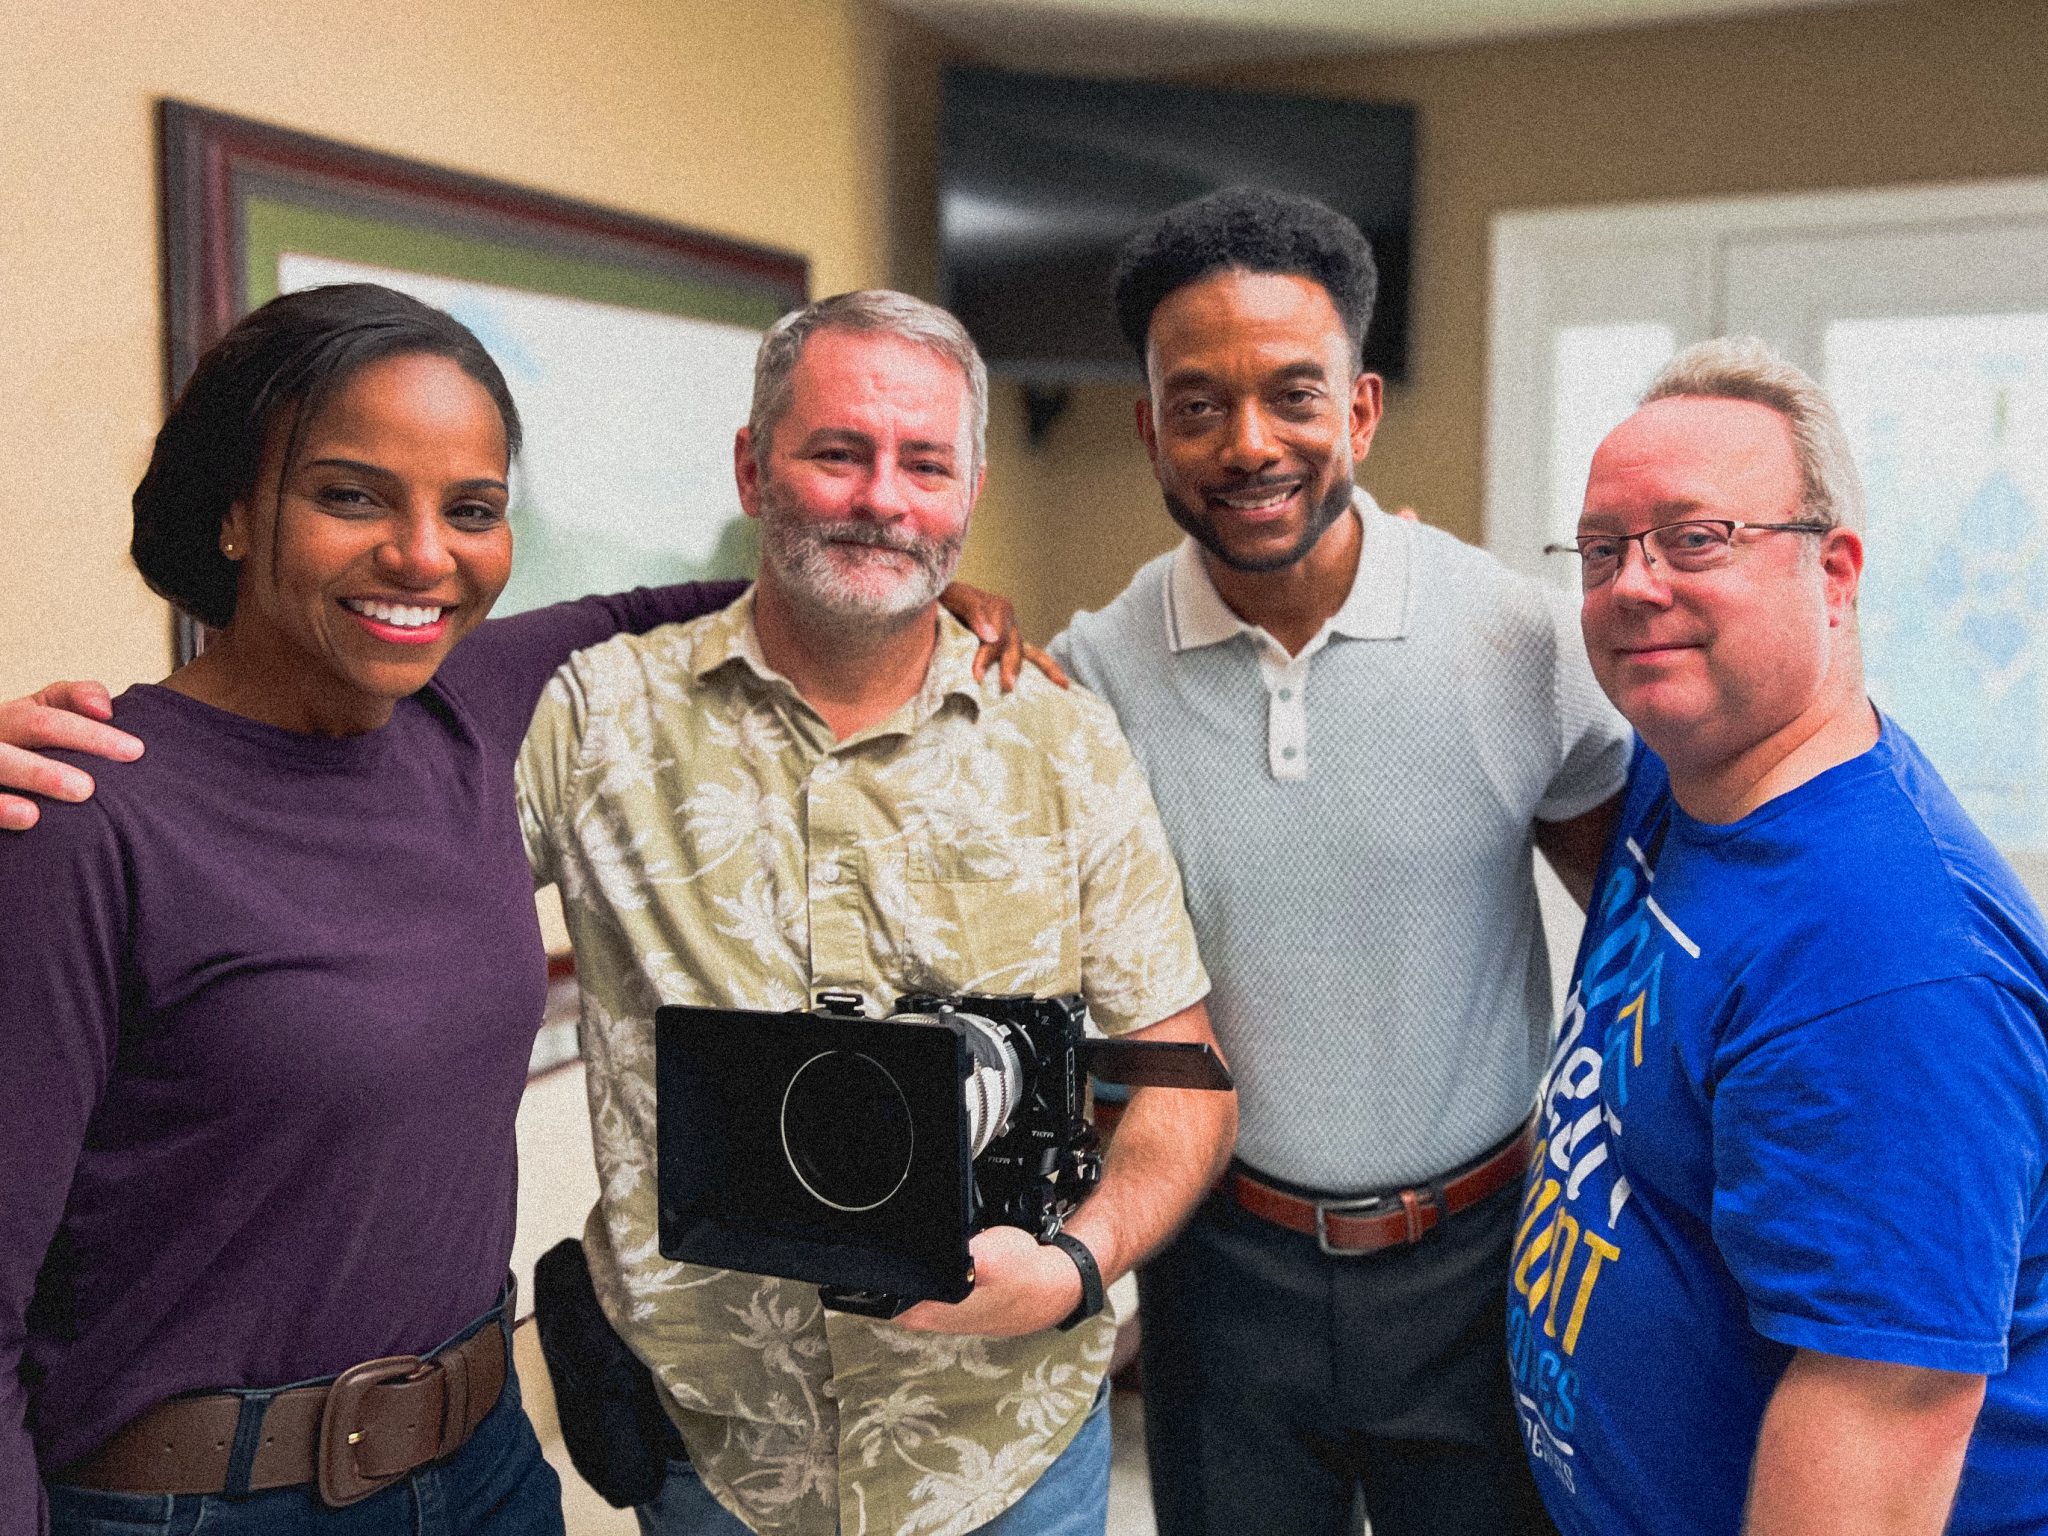
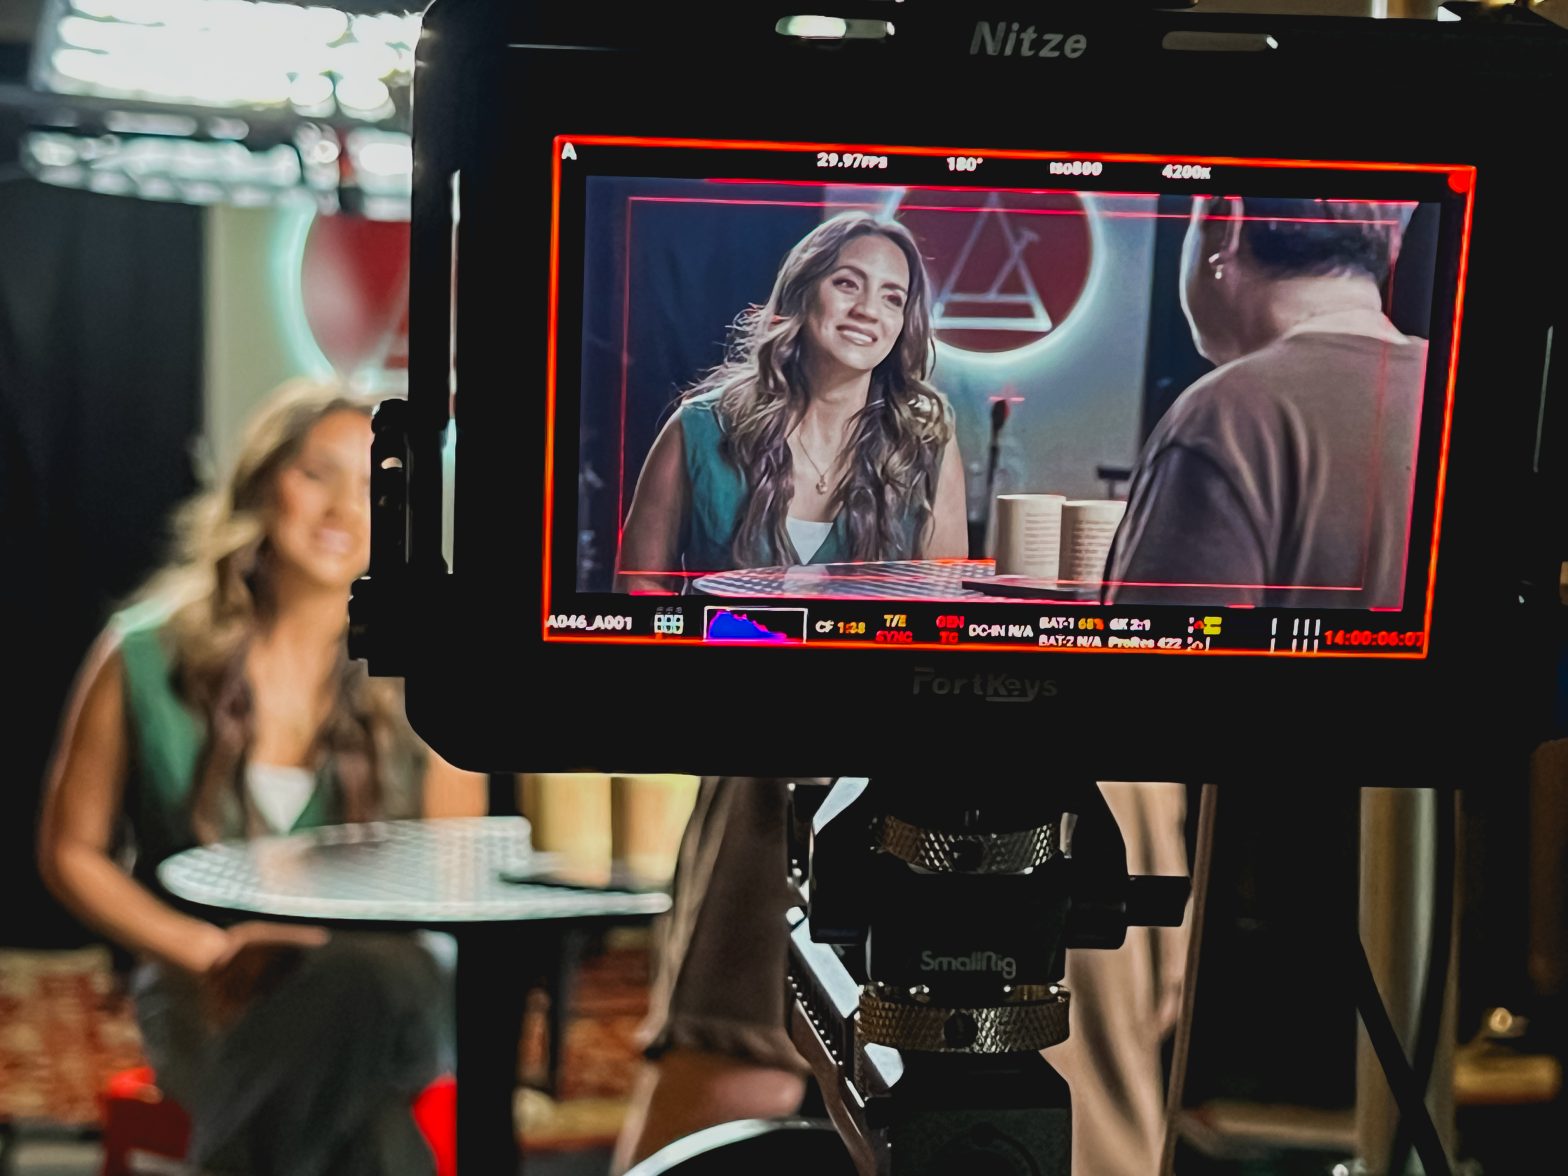
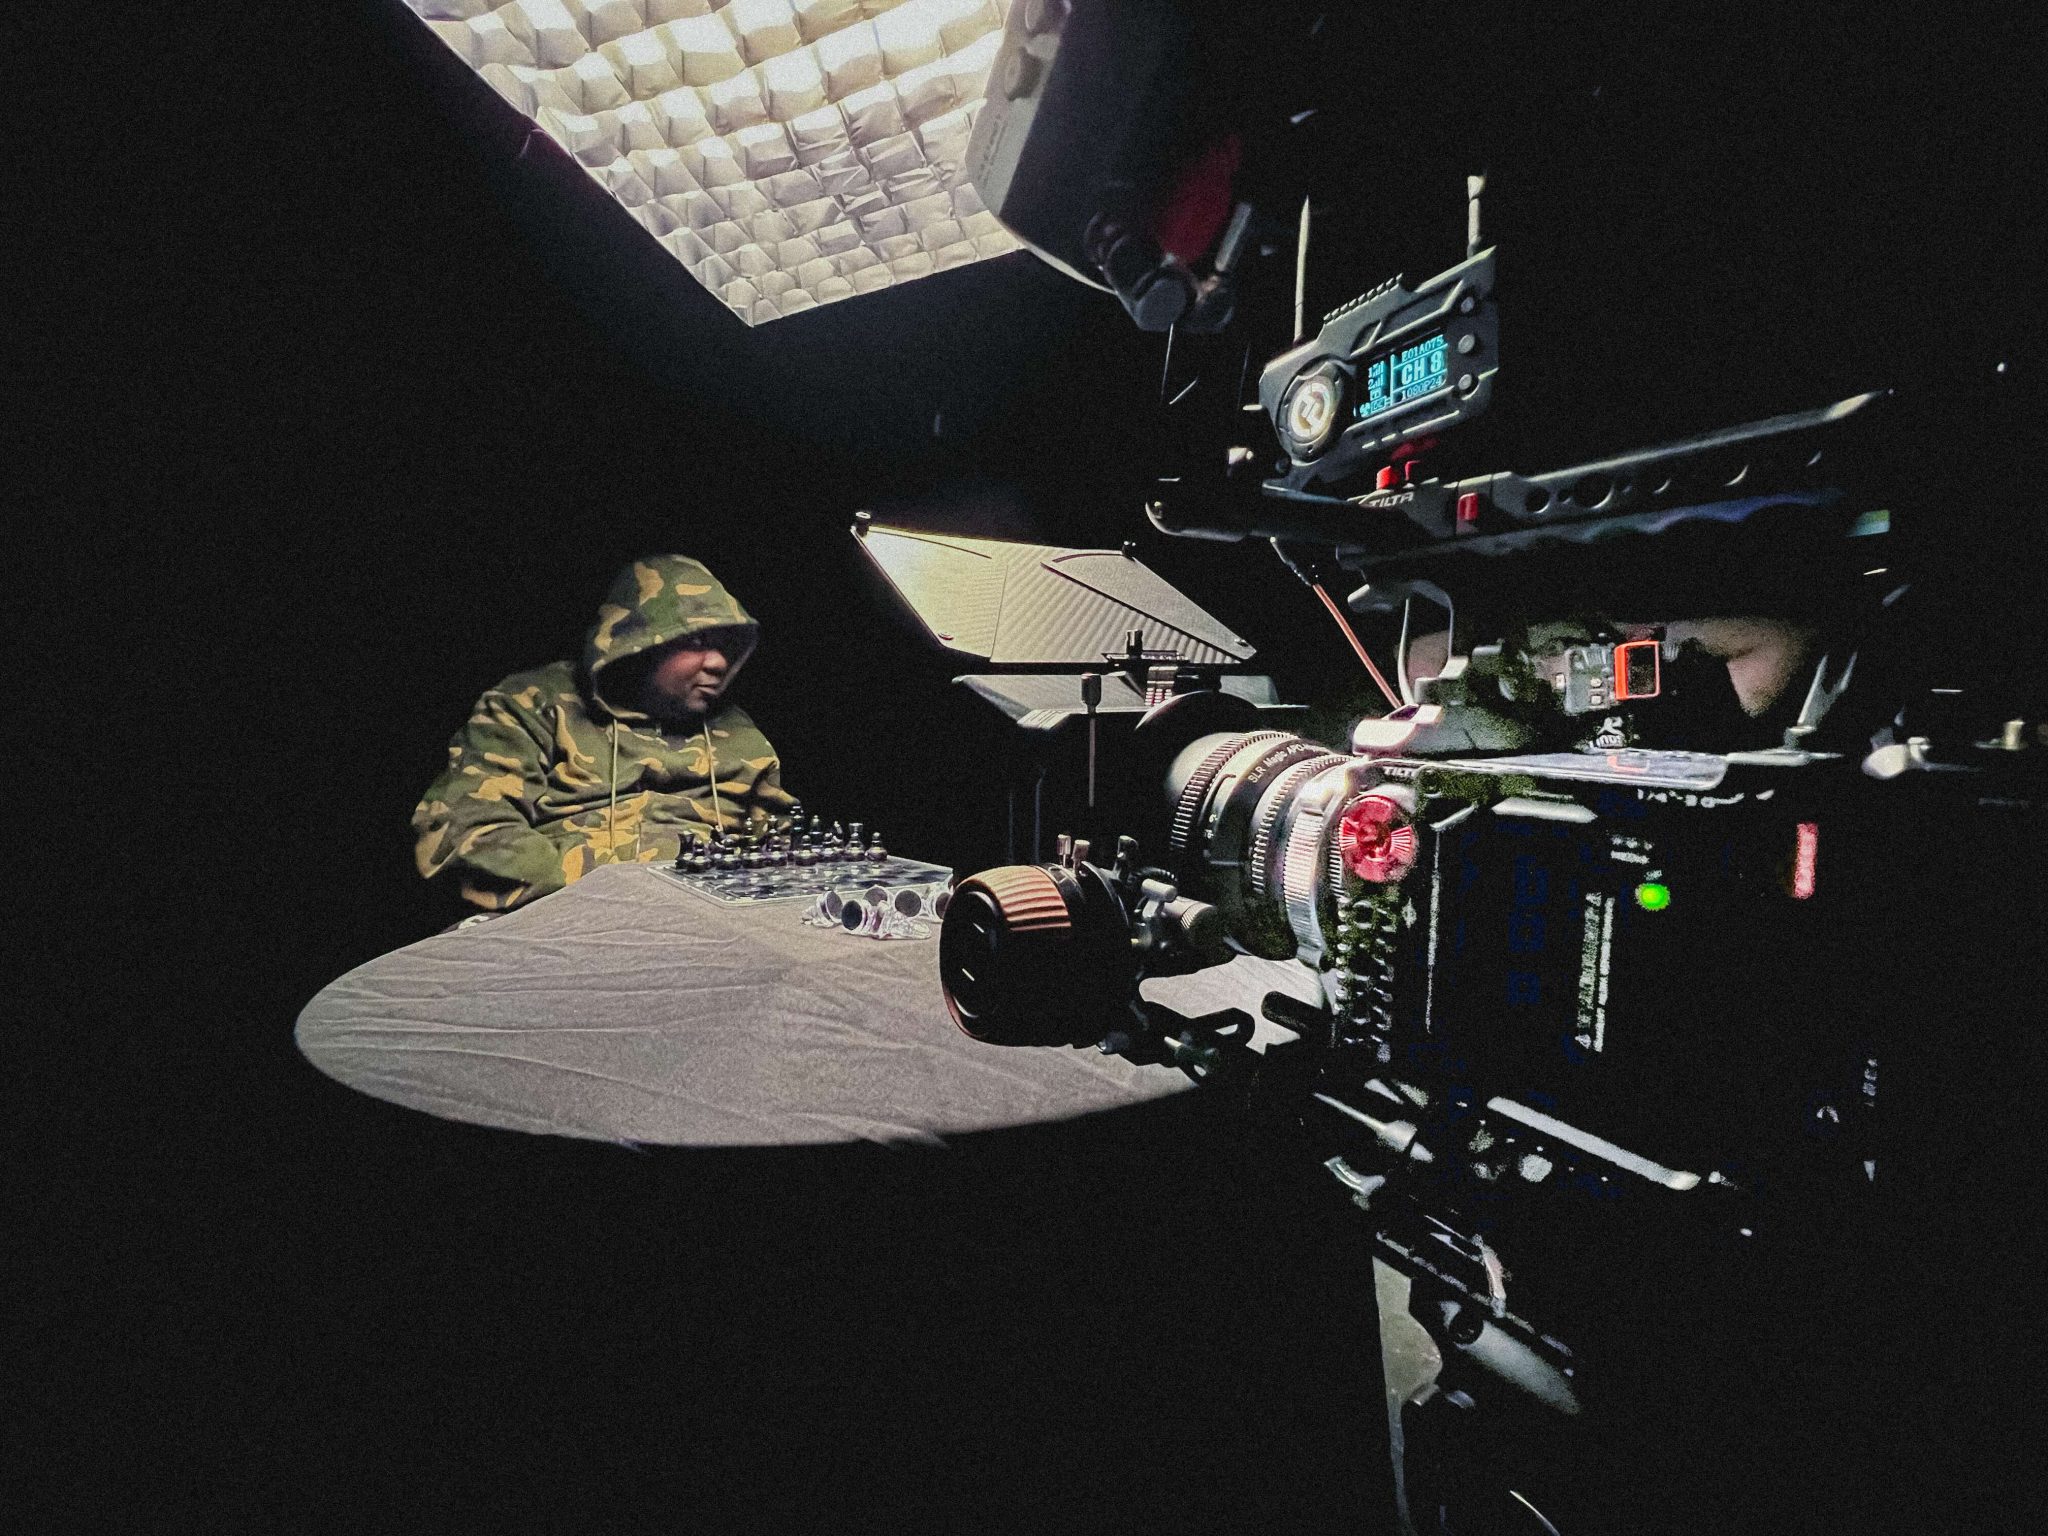
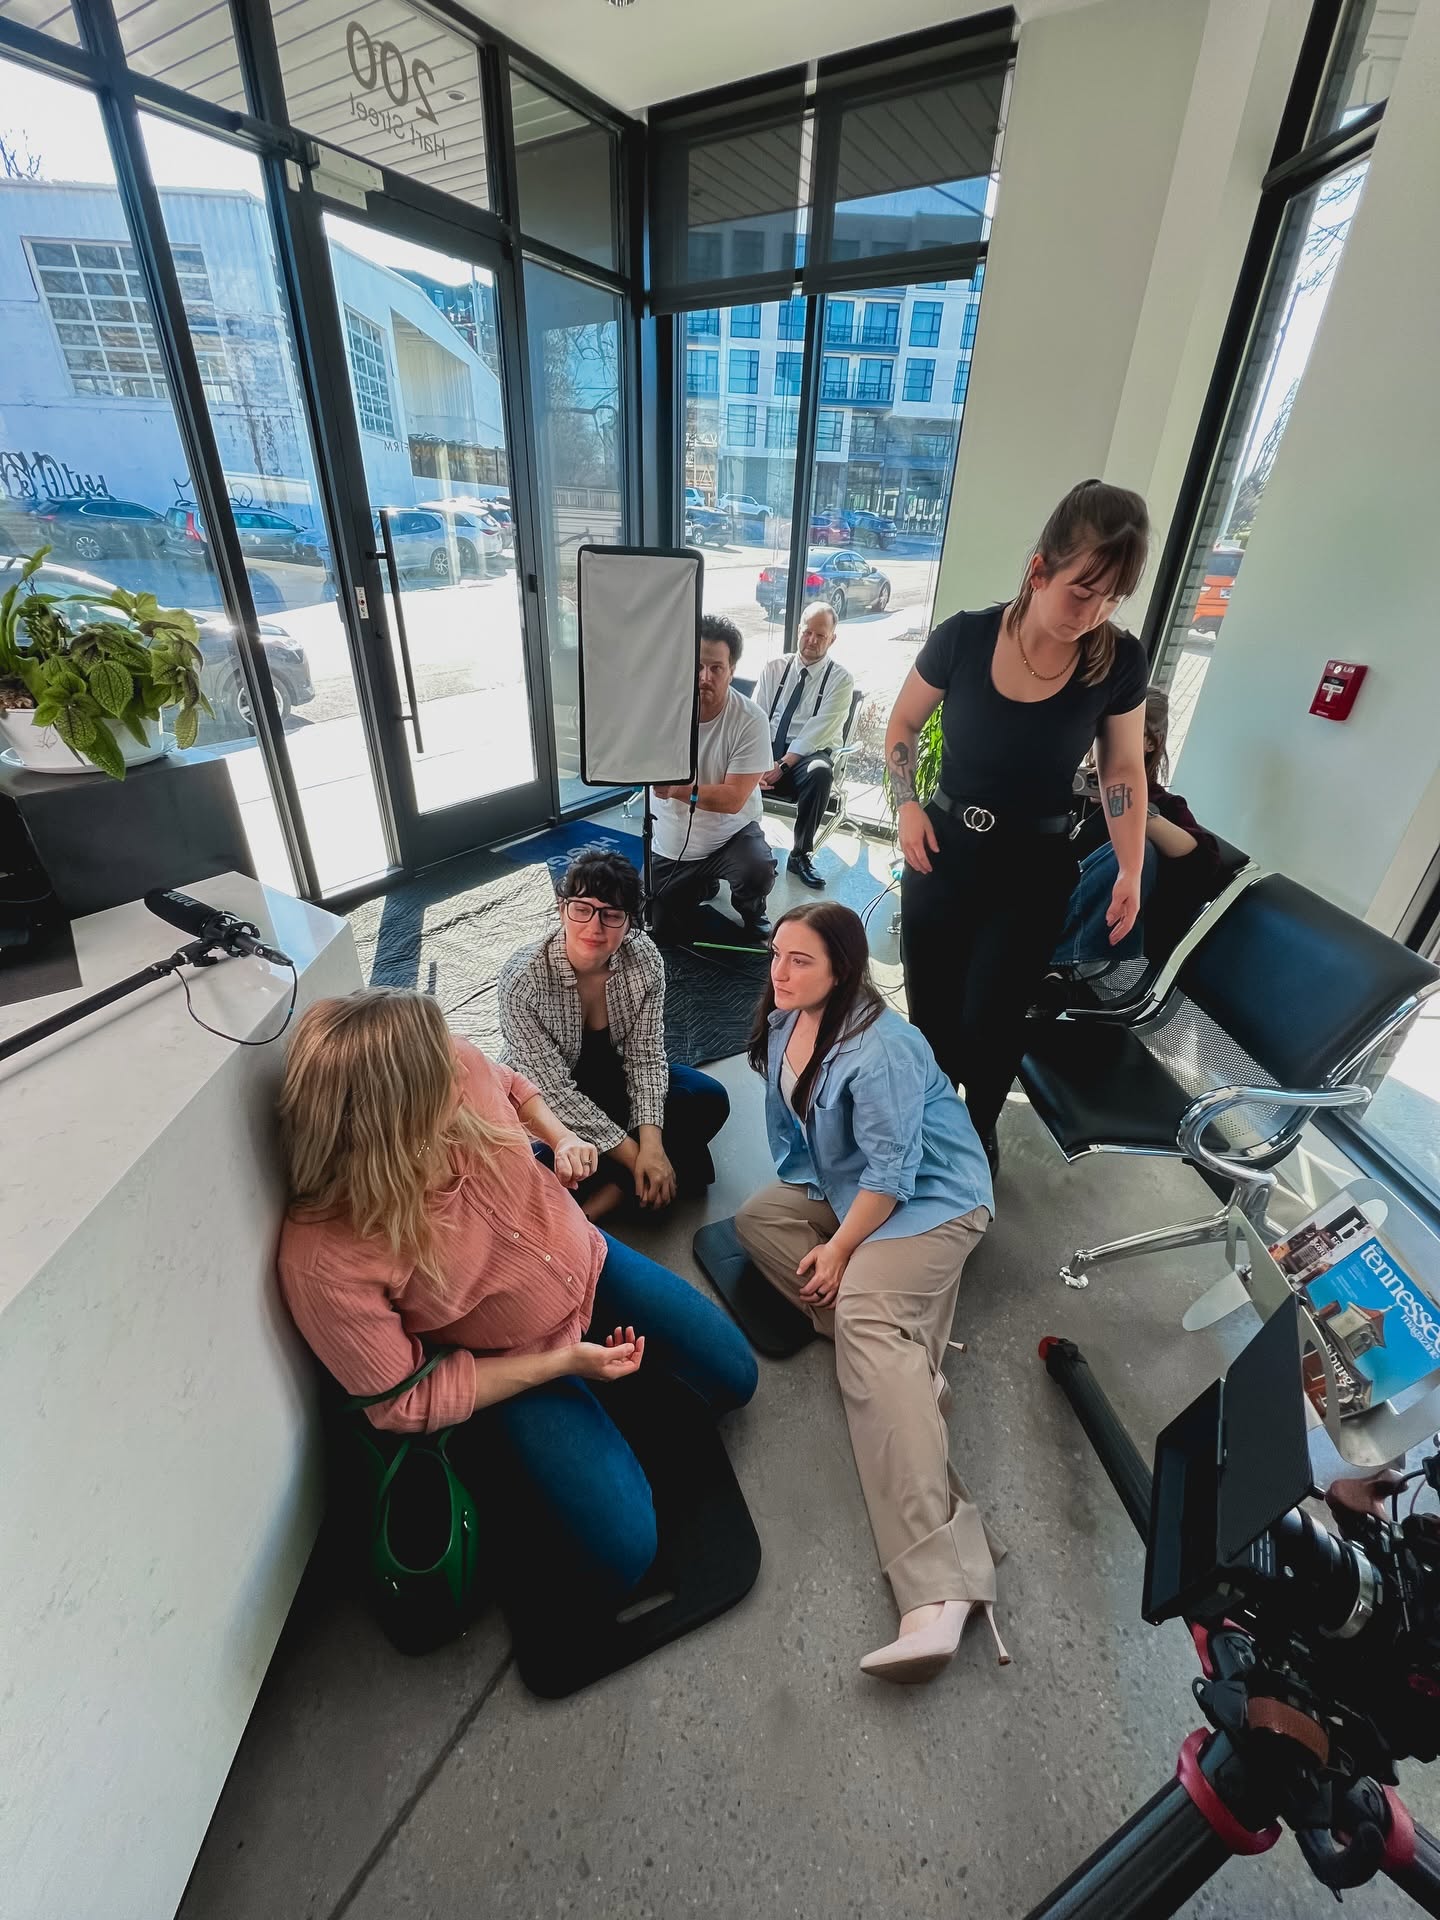
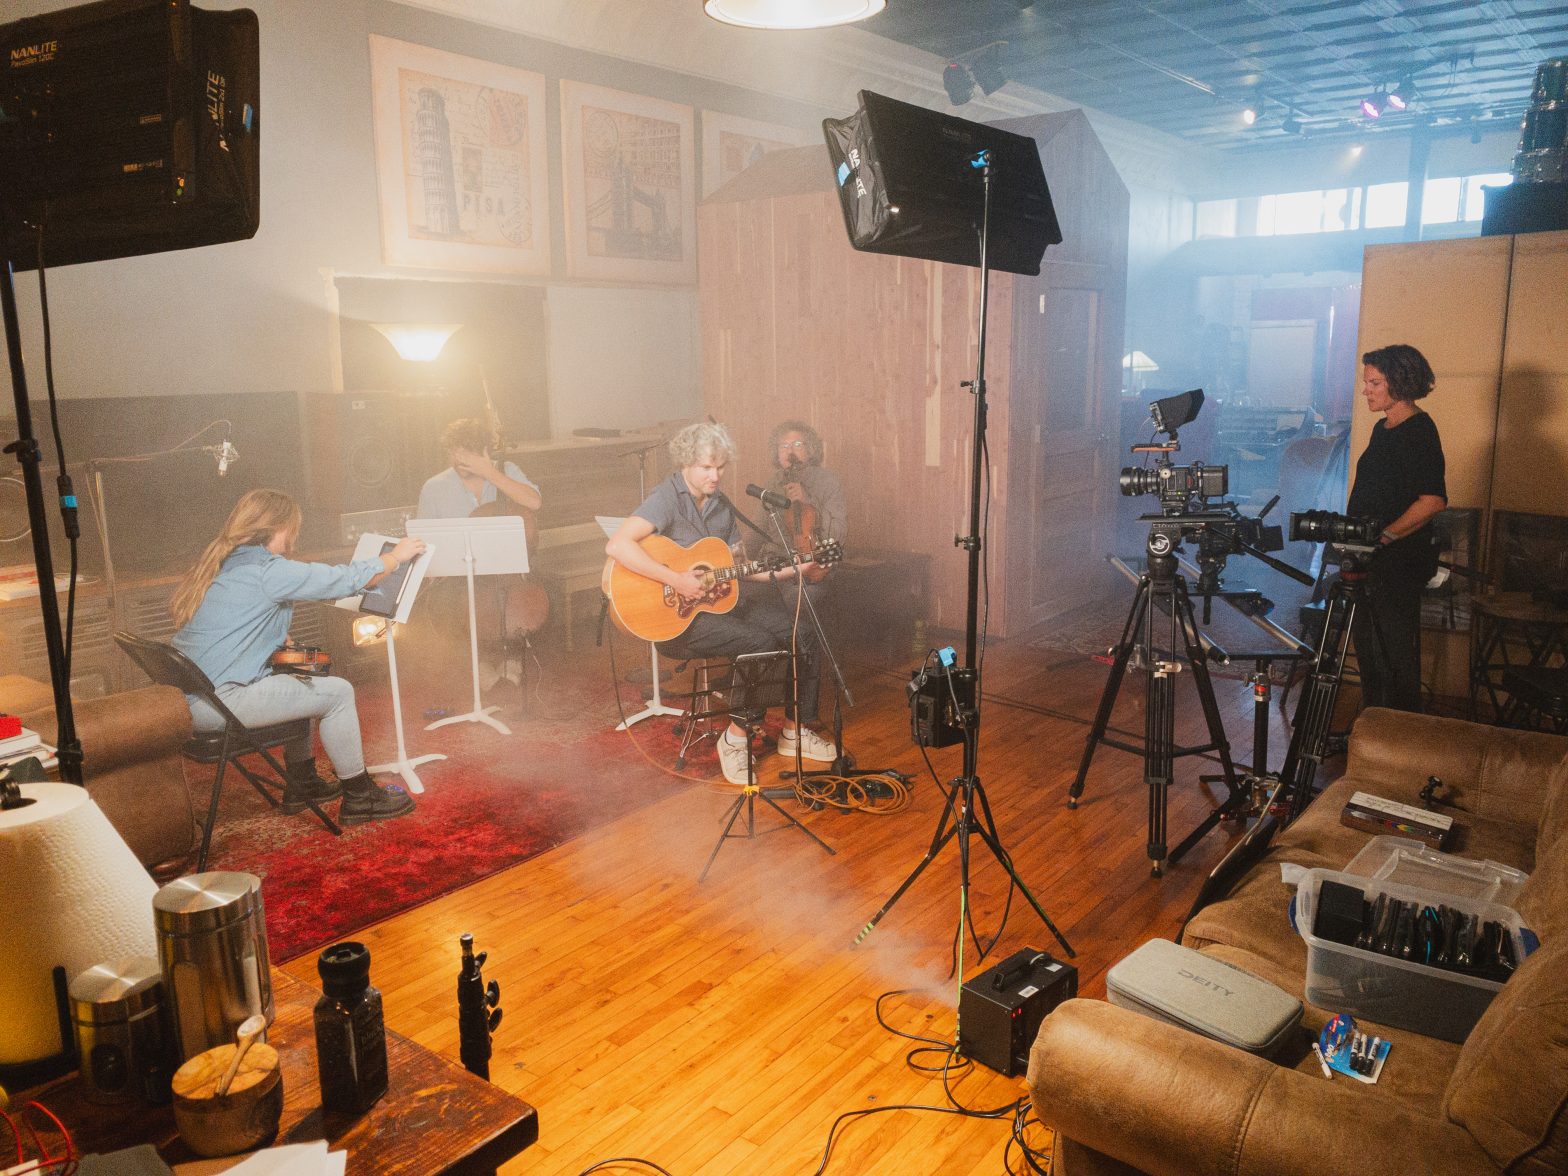
    Making something special at Tempo Nashville for musician Javier Solis and producer Tim Romero yesterday. We transformed the storied coffee shop into a production studio for the day. And despite the rain and allergy attacks, we managed to film a great interview and live music session with the incomparable Rachael Lampa and a live music audience. With two distinct lighting universes, two distinct camera setups featuring five total cameras, from load-in to load-out all in 9.5 hours with a two-man crew. Exhausting, but absolutely glorious. I’m very happy with the results and can’t wait to see the finished product.

    talent:
    Rachael Lampa @rachaellampa
    Javier Solis @javsmusic

    band:
    Javier Solis @javsmusic
    Tommy Sims @tommylsims
    Uriah Zeph Solis @uriahzeph
    Grant Pittman @grantpittman

    bg vocals:
    Rob
    Kynadie

    live sound:
    Abel Orta @abelortajr
    Luke

    tempo:
    Yvonne Solis
    Zylah Solis

    executive producer: Javier Solis @javsmusic
    producer / editor / cam op / grip: Tim Romero @realtimromero
    dp / cam op / gaffer / key grip / dit / sound: Jason R. Johnston @jasonrjohnston
    hmua: Brie Beckman @briebeckmanbeauty
    production equipment: Fifty Oars Motion Pictures @fiftyoars

  • Rhose Studio Strings: Live Sessions

    Rhose Studio Strings: Live Sessions

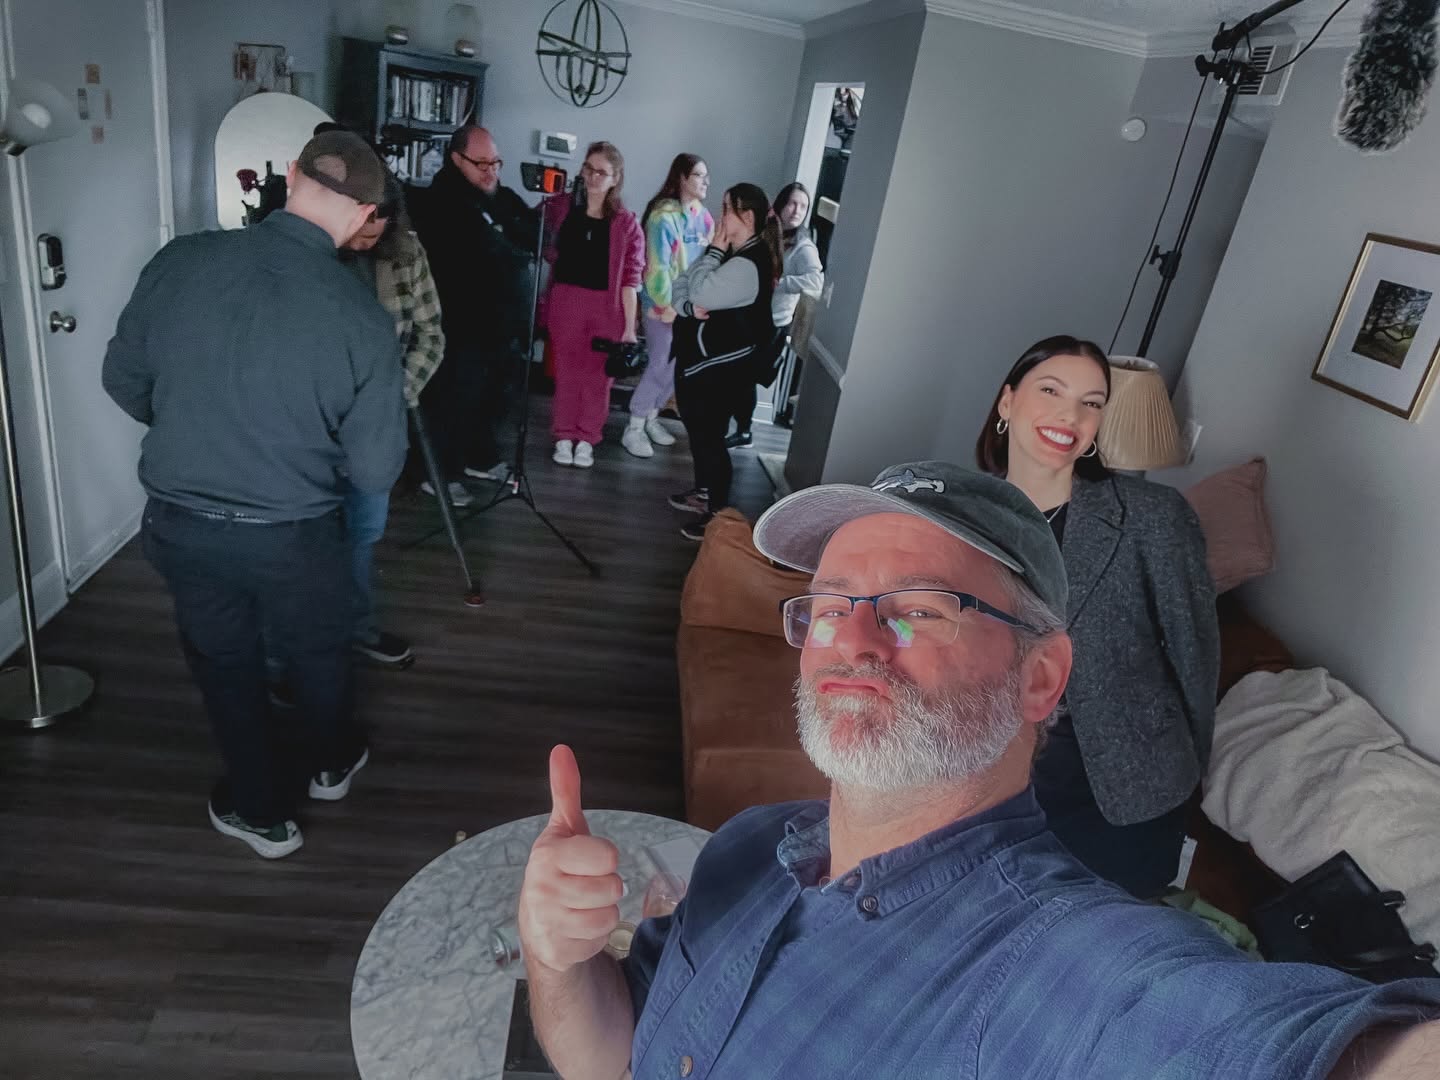
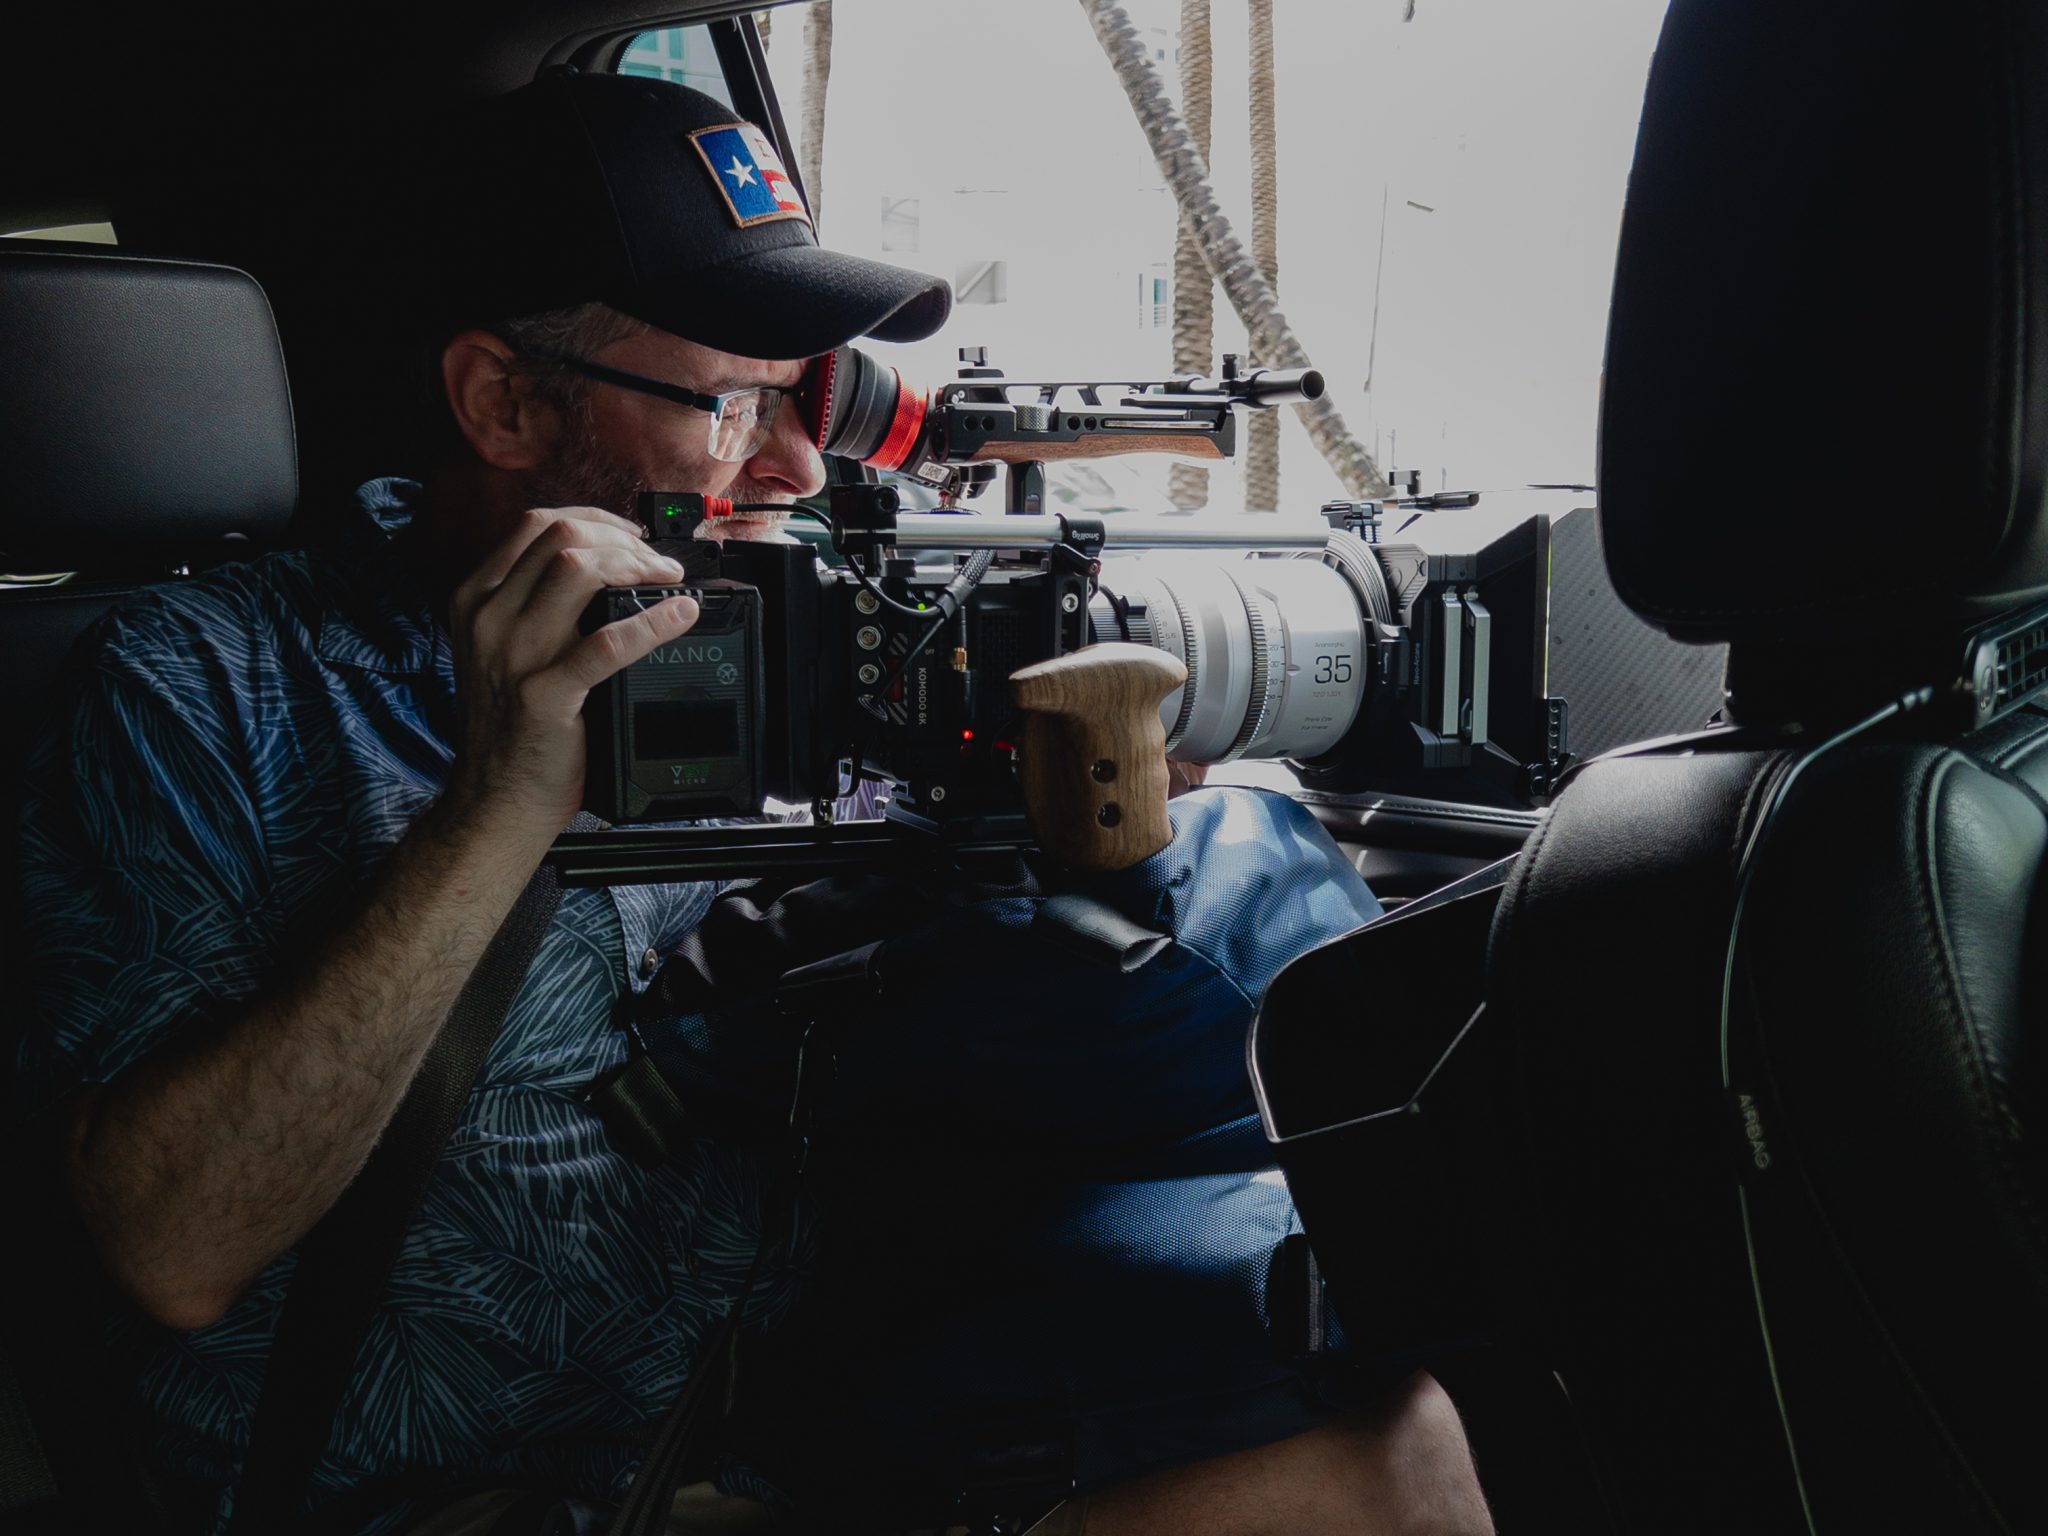
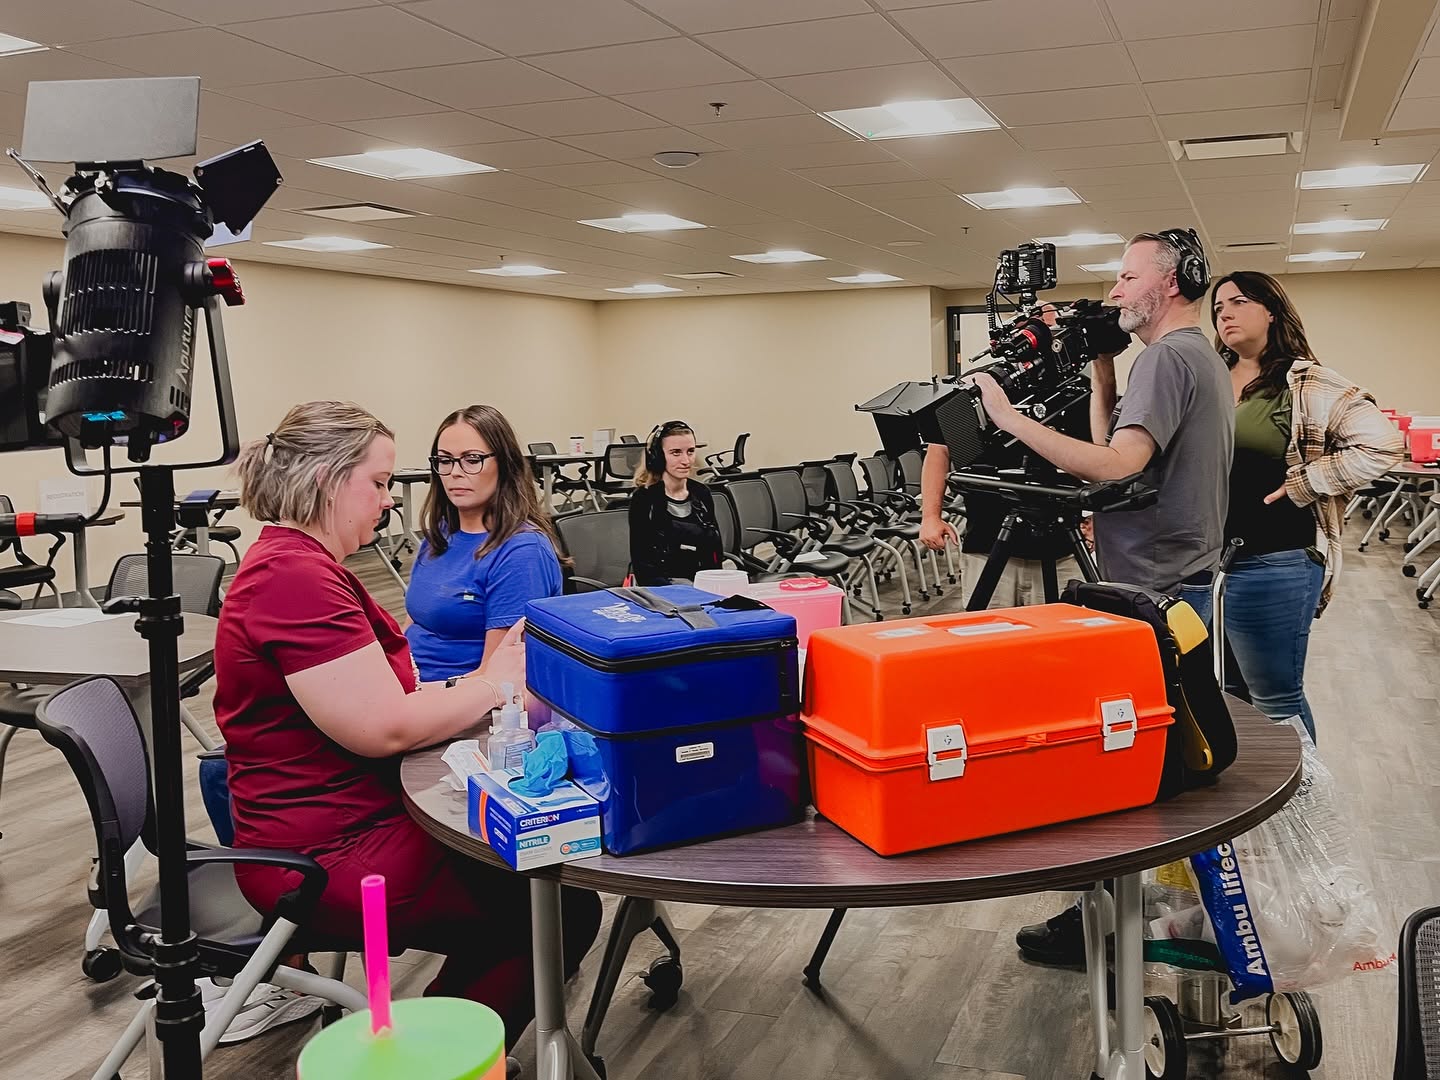
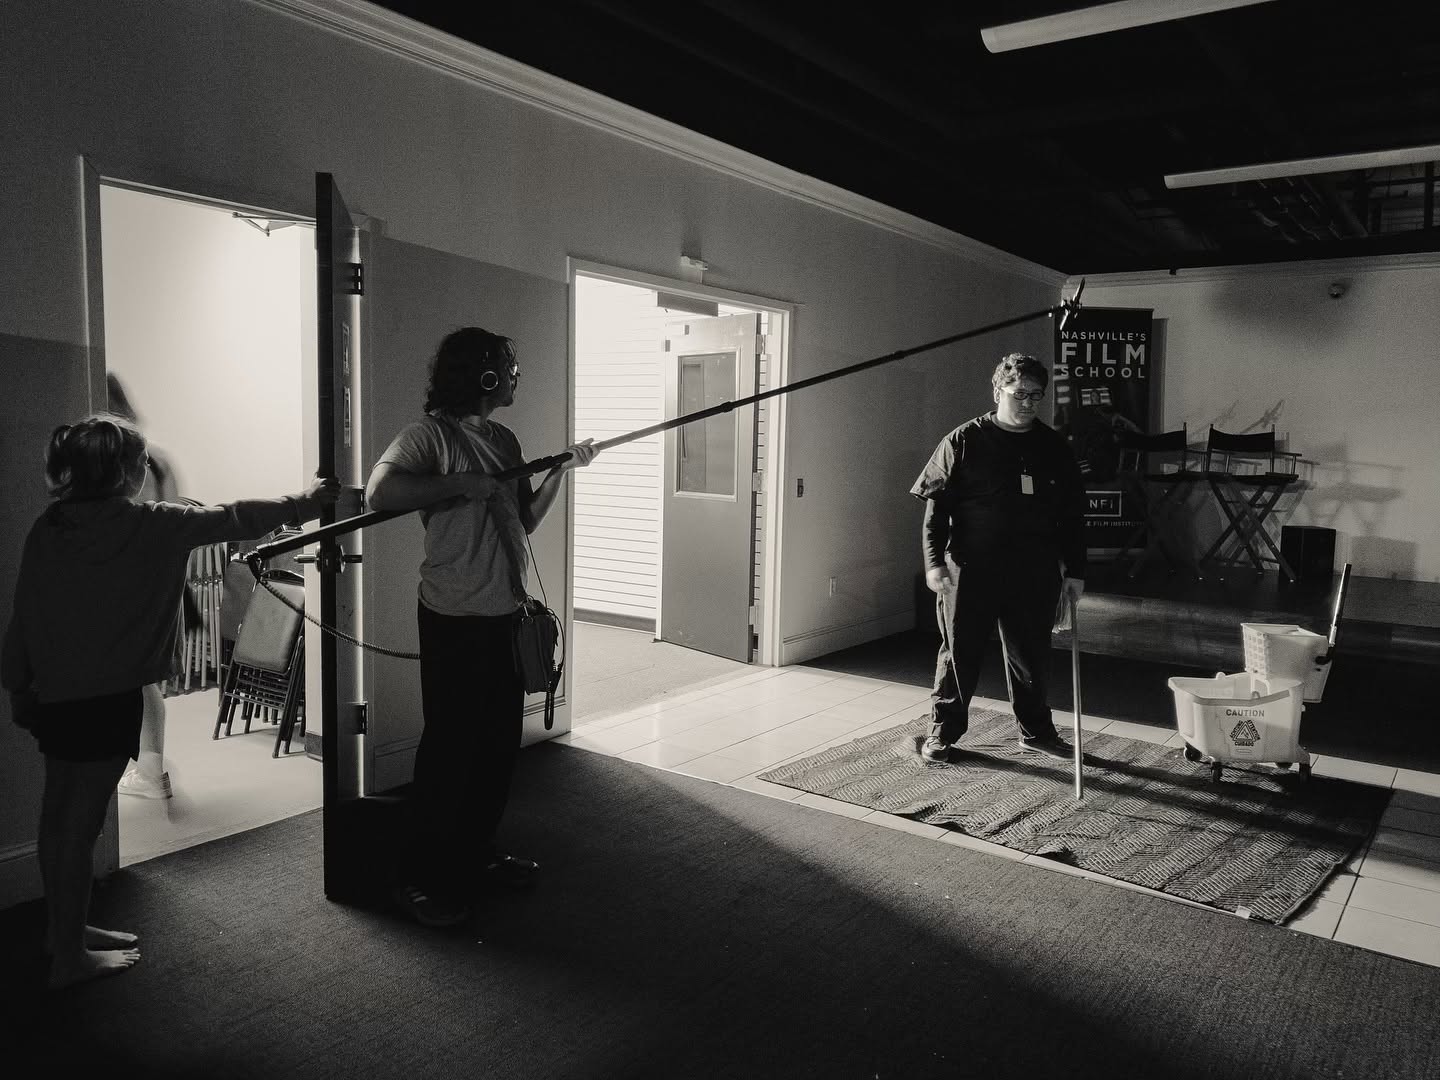
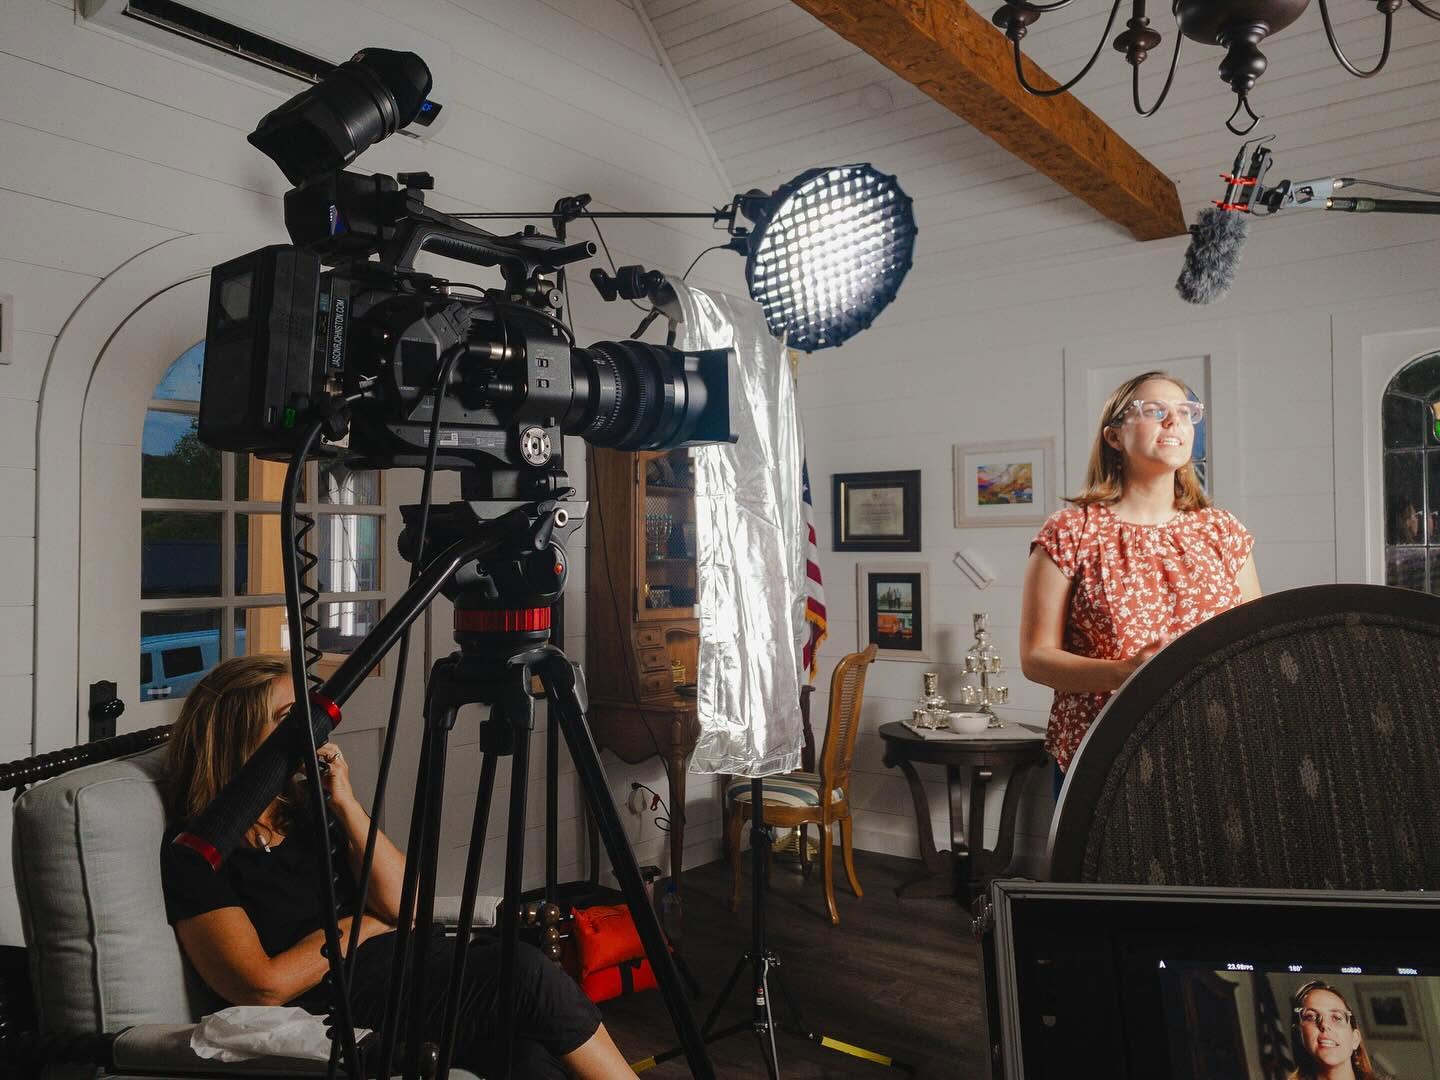
    Here are some behind-the-scenes stills and videos from the ongoing Rhose Studio Strings: Live Sessions web series.

  • Motion Tracking a Smart Phone Screen with Final Cut Pro X

    Motion Tracking a Smart Phone Screen with Final Cut Pro X

    Working on a recent spot for a client, I was required to produce a shot of a phone receiving text messages. I prefer to create effects in-camera as much as possible for the sake of realism, however, the text messages needed to match the client’s current marketing graphics (view this blog to know more about this concept in detail) and be animated, so this would have to be accomplished using visual effects.

    If you don’t know, motion tracking is part of creating special visual effects. Remember that scene in Jurassic Park when the dinosaurs were running past the actors in the field?

    Motion tracked tennis balls help create a digital grid on a virtual ground to aid the animation of dinosaurs. The actors’ eyelines were also tracked so the animators knew where to place the dinosaurs.
    In the final shot, the motion tracking and digital dinosaurs come together and all the actors, both real and digital, appear to share the same space together.

    The special effects team made a grid on the ground with tennis balls so they could recreate the field on their computers and animate the dinosaurs into the shot so it appeared they were really there. They did that by tracking the location of each ball in the field against a digital field with digital balls. Doing that insured the dinosaurs’ feet was accurately touching the “ground” and that when the camera bounced around, the dinosaurs also moved correctly as if they were sharing the same “real” space as the actors.

    What I’m trying to accomplish is no where near as complicated, nor as dramatic as a field of stampeding gallimimus, but the gist of accomplishing the same motion-tracked effect is the same even 27 years later. Except faster and less expensive.

    This is actually my second attempt. My first attempt was a bit frustrating but it was completed, the job was approved, and now it’s done, but I didn’t record any behind the scenes information. Because I wanted to try again, I decided to revise my methods and share the experience with you.

    First, I had to create a motion tracking marker guide to display on my phone. After a bit of research I created a template in Photoshop. The centers of the markers are at precisely 50% of the area of the screen, so after you’ve done the motion track, you only have to scale up your comped media 200% to fit. I’ve made my guides available here for your HD smartphone motion tracking needs in PNG format with two backgrounds: Chroma Green or Chroma Blue.

    I got the shot with my Canon EOS 6D Mark II, and some easy lighting design. The 6D’s auto focus came in very handy since both my hands were already in use.

    BTS: Canon EOS 6D-II, Manfrotto head, Falcon Eyes RX-18T, Matthews grip.

    After ingesting the footage into Final Cut, I used the FCPX Auto Tracker Perspective plugin from Pixel Film Studios to do a corner pin track of the phone’s screen.

    After successful export of the tracking date, I then used the Draw Mask tool in Final Cut to remove the tracking markers. This became time consuming because of the length of the shot and how much movement I was performing.

    After a simple chroma key using the Keyer tool in Final Cut, I was then able to replace the screen with anything I wanted. For this example I am using a photo I created for the same client back in 2018 in Austin.

    With a bit of finessing to get the image to fit the screen, I then layered the image underneath the footage of the phone, and I finally got the results I wanted. The entire post-process took approximately 10 minutes this time, and about an hour on my first attempt as I figured everything out.

    And there it is! I don’t like how the image seems to be “in front” of the phone. It’s Z axis, for some reason, is off, and I can’t fix it using the plugin, even though there is a control for that axis. I think it’s a bug. But, it’s not obvious for a quick shot that doesn’t move very much as is the one I originally produced for the actual spot.

    In the end, the client was very pleased and quickly approved it. Here it is below, my first effort at motion tracking this way.

    I hope this overview shows the potential of motion tracking in Final Cut Pro X. I also hope my 1920×1080 Motion Tracking Marker Guides above come in handy for you one day. Cheers!

    Hindsight is 20/20: I could have done the animation, rendered it, shared it to my phone, and played it off my phone with my fingers synced with the animation action and accomplished the entire shot in-camera, but that’s not what happened! Instead, I wanted to try out a new motion tracking plugin for Final Cut Pro X I hadn’t put to use yet.

  • South Texas ISD “Back to School” Vertical Video Advert

    South Texas ISD “Back to School” Vertical Video Advert

    My first 9:16 vertical video advert. Produced for South Texas Independent School District. Envisioned as a highlight film of collected reality events (no planning, no direction, documentary-style) scheduled throughout the summer of 2019 and shot in both 16:9 and 9:16 formats, then married with 16:9 footage created the standard way (planned, lit, block, directed, etc) for previous spots. Throw some cool music and graphics and you have this spot!

    Director, Cinematographer, Editor: Jason R. Johnston
    Producer: Amanda Odom
    Writers: Jaclyn Garza, Jason R. Johnston, Amanda Odom
    House: Fifty Oars Motion Pictures

  • Rising Scholars Academy “Up For the Challenge” Advert Campaign

    Rising Scholars Academy “Up For the Challenge” Advert Campaign

    These STISD adverts are always a good challenge. I am generally hired on as a one-man-crew and handle everything from pre-production to post. I always collaborate with my clients to give them the most bang for their buck.

    I use my Sony FS7 Mark 2 camera package extensively nowadays. Recorded in April, this shoot took advantage of my Rayzr7 300w LED fresnel lighting kit, and cinema-grade PL lens package, though I only used my 25mm T2.2 prime lens.

    Me recording STISD RSA students working with one of their robots. BTS photo by Jacky at STISD.
    I’m trying to keep up with the RSA football players while framing the shot, keeping it in focus, and not dying. BTS photo by Jacky at STISD.
    I’m on the floor getting a shoe’s POV of the ladies in a huddle. BTS photo by Jacky at STISD.
    My Sony PXW-FS7 Mark II taking a break in the RSA gym.

    On this particular shoot, I had only two 8-hour days to shoot everything I needed with myself as director, DP, camera operator (and the rest of the camera department), gaffer, best boy and key grip (and the rest of G&E), and sometimes PA. I always have great help from Amanda and Jacky, the STISD Public Relations crew. We’ve been working together since 2012, and they trust me enough to let me go crazy on just an idea of what the adverts could be. 

    The “Up For the Challenge” advert campaign was another great time on set, and was fun to figure out in editing. I always look forward to these STISD projects.

    Director, Cinematographer, Editor: Jason R. Johnston
    Producer: Amanda Odom
    Writers: Jaclyn Garza, Jason R. Johnston, Amanda Odom
    House: Fifty Oars Motion Pictures

  • Behind the Scenes of Ingress

    Behind the Scenes of Ingress

    A little throwback to 2014 when I was the cinematographer on writer and director Christian Blake’s sci-fi thriller feature film Ingress. This behind the scenes video was filmed during principal photography near Anchorage, Alaska, in October 2014.

    Which brings me to that time when a moose visited the set. We had just wrapped at a location and were waiting for the production vehicle to swing by and pick us up when this happened:

    In case you missed it, here is the official trailer of the film:

    I also served as an executive producer on the film.

  • Multi-cam Setup for Commencement Ceremony Livestreams

    Multi-cam Setup for Commencement Ceremony Livestreams

    My secret weapon is the Blackmagic Design Web Presenter with Teranex Mini Smart Panel. The Web Presenter features both SDI (via BNC) and HDMI inputs. The optional Mini Smart Panel gives the Web Presenter the ability to live switch between the two inputs using smooth transitions, as well as monitor the program feed, and access settings more easily using visual menus. This effectively converts the Web Presenter into a two-input live switcher with professionally customizable options.

    My Sony PXW-FS7 Mark 2 would be fitted with a telephoto lens and provide medium podium shots of all the presenters. My Panasonic AG-DVX200, with it’s affixed servo zoom lens at its widest setting, would remain mostly static throughout the events, providing me with something to cut to when the presenters changed. FS7-II and DVX200 would be connected to Web Presenter via SDI and HDMI, respectively.

    The Web Presenter’s outputs are another worthy topic. Yes, the whole point of the Web Presenter is its primary function of converting a high-bandwidth broadcast quality signal and converting it to a 720p H.264 signal that is more easily digested by a computer’s web broadcaster (in this case, my 27″ iMac 5K Retina running OBS to my client’s YouTube Live) via USB. It has SDI and HDMI loop-outs, yes. But, the biggest feature here is Program Out via SDI. This output sits before the conversion happens but after the live switching, meaning the broadcast-quality live switching can be output uncompressed via SDI to a recorder before the coversion to low-quality web deliverable intended for live stream. That means a Full HD copy of the live-switched event can be recorded during the live stream.

    I own an Atomos Ninja Blade Full HD recorder which would be perfect for this job. However, it is HDMI only so I needed a way to convert the SDI Program Out coming from the Web Presenter. Another requirement was the house video switcher needed to be fed an SDI or HDMI signal from my nest so whatever I was livestreaming was also playing live on video projectors in the house. The Blackmagic Micro Converter SDI to HDMI, with SDI Loop-out, was my solution.

    From Web Presenter’s Program Out via SDI to Micro Converter SDI to HDMI’s SDI-In, I then fed the house switcher with SDI Loop-out, and my Ninja Blade with HDMI-out. The Ninja Blade could then be monitored on my SmallHD 7″ AC7-SDI via HDMI. I used two Atomos Micro to Full HDMI coiled cables for this.

    During one of the ceremonies, the client requested a special video be played on the same projection screens as the livestream. To do this, the house video switcher was used to switch between my livestream feed and a Macbook containing the special video. The Macbook used a Thunderbolt (actually, Mini Display Port) to HDMI adapter to feed the switcher the video, plus a 1/8″ TRS to XLR adapter to feed the house audio patch.

  • Sharyland Water Supply

    Sharyland Water Supply

    Day 1

    I was hired by Damaso Creative to DP testimonials and B-roll footage for their upcoming corporate film for Sharyland Water Supply this past week. Shot with their FS100 onto Atomos Ninja Flame in and around Alton, Texas. Lenses were a combination of Rokinon cine primes and Sony E-mount zooms. Key grip was Juan Torres with his grip truck. Grip/PA: Cyndi Rios (also associate producer and talent wrangler) and Janie Martinez. Thanks to producer/director/editor Mario DeLeon for inviting me onto his project.

    Day 2

    Damaso’s in-house DP Manny Botello was back onboard yesterday as we travelled across the Texas towns of McAllen, Mission, Alton, and Sharyland, shooting narrator vignettes with talent Ivette Vargas. I was hired as gaffer this time. Juan was back as key grip with grip Carlos, and Cyndi returned as associate producer/PA. Mario was back again in the driver seat.

    Crew call time was 8 AM at Damaso Creative in McAllen. Because I live in Harlingen I had an hour commute so needed to be up by 6-6:30 AM. Traffic conditions en route become unpalatable by the time you reach the HWY 83/281 interchange in Pharr. The cars are just stopped.

    Our first location was a lovely historic mission situated a few hundred feet from the Rio Grande River separating Texas from Mexico.

    We were visited intermittently by the US Border Patrol and their very loud helicopter which kept interrupting audio takes. It also flew lower and slower over our heads each time! We think they were busy looking for someone.

    Second location was the original water plant in Sharyland. Because it was a wide shot, we had to wait for cloudcover before rolling.

    Our third location was the gorgeous Mansion on Shary whose owners allowed us to film against the backdrop of their home and private pond.

    Lunch time! I ate tacos. Then, I ate tacos the others were too full to eat. Chased by Mexican Coke in a glass damn bottle.

    Fourth location was the Sharyland Water Supply main office where Ivette recorded her outtro (and had slight difficulty saying “rural”.

    After Ivette wrapped, the rest of us headed back to Plant 3 where we captured a few shots of technicians in one of their labs.

    Besides the ~10 MPH wind and the clouds which kept playing peek-a-boo with the sun, nature was kind to us. At 8 AM crew call in McAllen temperatures started at 71°F and did not reach the nineties until we wrapped at 4:30 PM in Alton. Occasionaly passing cars would rudely honk at us throughout the day. Sometimes a plane would fly overhead on its way to McAllen-Miller International Airport, ruining takes. Otherwise, it was a pleasant and productive day.

    Here is the final video as provided by director Mario Deleon at Damaso Creative. I shot the interviews of Sherilyn Dahlberg, Lisa Helle, Roel Treviño, and Joe Guzman, plus some of the b-roll of the hard hat-wearing workers at the construction site and water plant.

  • Rio Vista Dentistry Branding Film

    Rio Vista Dentistry Branding Film

    Day 1

    December 8, 2017 – Snow day! Somehow the weather worked out perfectly for snow in subtropical south Texas. Perfect for anyone who has yearned to build a snowman on the beach, but not perfect when I am supposed to be shooting evergreen exterior footage of the Allure Dental office in Harlingen, Texas.

    Today I photographed stills images of the doctors and staff at Rio Vista Dentistry to populate their upcoming newly designed website. Portraits were shot of all key staff members, as well as a few groups for Christmas cards.

    I then began video recording of b-roll footage of the doctors and staff at work for a branding film I will produce to coincide with their new website. As I shot 4K video footage with my DVX200, I would then simply stop the action and capture stills photos with my 6D. This way both the photos and the videos would have a similar look: same lighting, same angles, same fields of view.

    Once I wrapped the staff, I walked the office with Mavic Pro (which I intended to record jib-like exterior shots but was outgunned by Nature) and recorded Steadicam-like flying shots of the office interiors using Mavic’s gimbaled 4K camera.

    After breaking for lunch, we returned to the office to capture patient testimonials. It’s difficult as a solo shooter without assistance running an interview whilst also being aware of the camera, sound, and lights. But, I managed to get it all done on time and on budget. Everything went smoothly, the doctors were impressed and I was gifted a bottle of red wine. The doctors interviews and exteriors will need to wait for another day.

    Day 2

    January 19, 2018 – Early this morning we continued production of the branding film as I was scheduled to interview doctors Bonnie and James. As always I generally prefer to travel light when in one-man-production mode. I trollied my DVX200, three Dracast 1×1 LED light kits, audio gear, tripod systems, and light stands, in just a few bags. Each interview lasted about 45 minutes. I still need to grab exterior shots and a few shots of the lobbies and other area of the office with exterior views, weather permitting.

    Day 3

    February 6 – Today the weather finally cooperated and we were able to continue production of the branding film. This is the first project I was able to use my new Sony PXW-FS7 Mark II on as I just purchased it in Austin three days before. I was finally able to fly my Mavic Pro before the office opened after lunch to grab some lovely jib-like exterior shots. Also, I shot redux portraits of doctor Bonnie.

    Once the film is completed it will become available to the web developers who will place it on the new website for its launch.

    Delivery

    February 20 – Finally delivered! Assembled and finished in Final Cut Pro X, the film is a brief tour of the office and overview of their services, peppered with patient testimonials, as well as informative monologues by the doctors, all tied together with succinct narration. Told with minimal effects or graphic embellishments, and some lovely dramatized footage of the staff in action, the delivered branding film for Rio Vista Dentistry is just shy of five minutes in total duration.

    Rio Vista Dentistry loved the final film and approved it with zero feedback or revisions.

  • Siempre Natural

    Siempre Natural

    Earlier this year I was asked by Jerry Medina, principle of advertising agency Aviso Media Group, to photograph a new campaign of television commercials for Siempre Natural, a quick-service restaurant franchise, in Mexico and Texas, with a menu they describe as ‘American with a Mexican Flair’. Siempre Natural serves wraps, pitas, yogurts and salads with natural fruit drinks. To promote the healthy (and tasty) brand, the new spots would need to be as colorful, fresh, and fun, as their food. After discussing the desired style of the spots with Jerry, we began prep. It was decided we would need at least three bilingual employees, plus 15-20 extras.

    This past Friday evening, I met with Jerry and representatives of the client at the North 10th location in McAllen, Texas. We discussed our intentions for the weekend shoot and formulated our plans. I scouted the location with my iPhone 7 Plus, Cadrage, a director’s finder app, Cine Meter II, a light meter app, and Sky Guide, an app very useful for predicting the travel of our sun. Cadrage, a French word meaning ‘framing’, is very useful as it can emulate the field of view of any combination of camera and lens. Once the pre-viz images have been recorded, a PDF shot list can be created and emailed to anyone on the production team. Production would commence Saturday morning from 7 to 11 AM, and Sunday morning 9 AM to 12 noon.

    When I arrived Saturday morning, I ordered the front, Eastward-facing windows and glass door, covered in black muslin to avoid fighting color temperatures and morning shadows. Unhappy with the weak punch and short throw of my available LED lights, I had recently created an old-school tungsten light kit for use on an upcoming short film. Consisting of three Strand Ianiro 1000 ‘redheads’, as well as the Strand version of what Arri calls a ‘mini flood’, I immediately put the new-to-me kit to use on the production of these TV spots.

    The Ianiro redheads are proper 1k tungsten open-face focus-flood lights and need to be softened for flattering closeups. I would generally punch two redheads through a 6×6″ butterfly of artificial silk. On closeups and direct-to-camera standups I would use a small, bi-color, LED Obie light set at 3200º Kelvin with just enough punch to lighten up the shadows. Backgrounds would be lit with the mini flood, plus another redhead through 216 for a kicker.

    I opted to shoot the footage with my Panasonic AG-DVX200 video camera. Needing at least 1080/24p ProRes 422 10-bit to pull a grade from the camera’s Varicam V-log L and 10-bit 4:2:2 output, I recorded the footage externally to my Atomos Ninja Blade, and monitored the footage with my SmallHD AC7-SDI on-camera field monitor. Preferring physical filtration, I used DVX200’s built-in neutral density for exposure, plus a Tiffen Black Pro-Mist 1/2 to take the digital edge off.

    We did not have the time we needed to sweeten every shot as much as I would have enjoyed, but I think the photography is dynamic and colorful enough to squelch any nags. Also, I believe the 12 stops of dynamic range afforded by the DVX200’s V-log L, as well as the 10-bit 4:2:2 recording via the Atomos Ninja Blade, help by giving me plenty of room to grade the footage reasonably well in post.

    The spots will be cut and graded in Final Cut Pro X. Overall, I am happy with how they are turning out.

  • DREAM for Edcouch-Elsa ISD School Board Candidate Films

    DREAM for Edcouch-Elsa ISD School Board Candidate Films

    From July 16 and 22, 2016, I produced “meet the candidate” films for the Delta Revitalization Engagement & Action Movement (DREAM) campaigners for Edcouch-Elsa Independent School District (EEISD) school board membership. A film each was produced for candidates Carolina Saenz, Reynaldo Rodriguez, and Jose Saldivar. Photographed with my new Panasonic DVX200 in Vlog-L, and cut in Final Cut Pro X.

    Cinematography Selects

    Behind the Scenes

  • Gaffing a Church Promo Video Shoot

    Gaffing a Church Promo Video Shoot

    Yesterday evening I was gaffer/AD/grip for my friend Elyssa who was tasked to shoot a promo video for her church at a historic location in San Benito. We only had about two hours to shoot so I needed to keep my light kit small, fast and economical. I opted to pack my LED lights which are three Yongnuo YN-600L fixtures with AC packs and Matthews reverse light stands. The lights pack up easily in a medium-size laptop briefcase and the stands are easily slung under an arm.

    The house where we were shooting had halogen light fixtures in the interiors and large windows letting in overcast sunlight. The bi-color nature of the lights allowed us to adjust and experiment with the best combination of color temperatures quickly without need of color correction gels. I only used a bit of 1/4 diffusion.

    Notice also that the lights are not too powerful so I like to mount two of them together on a light stand. Usually I use a single umbrella but those are always too bulky and, again, I needed to move fast and not bang into anything priceless.

    The Yongnuos come with an adapter for two Sony NP-F series batteries, each powers a bank of either the 5500 K or 3200 K LEDs. I don’t have any of these batteries as of this writing so I can’t comment on this aspect of the lights, though I hear they are less bright with the batteries and last about an hour on full brightness, but I’m sure this depends on the battery and I would of course get the biggest, most powerful ones. I think the NP-F975 is the one for me, multiplied by six, obviously. Regardless, using the lights tethered to the wall outlets is about as easy/frustrating as working with any AC-powered light.

    However, these are LEDs and so are more efficient than an incandescent equivalent; using only about 10% of the wattage an incandescent source would require. With both sets of diodes at full brightness, the Yongnuos each seem to have the output of a 500w open face incandescent fixture at 6 feet from the subject. I don’t like the light quality of a naked LED source, so I use a lot of diffusion which drops the light output considerably. With 1/2 artificial silk at 2 feet I get the same exposure as I would an Arri 1K fresnel, full flood at 6′ with the same diffusion. And the color temperature with this configuration is maybe around 4000 K. Again, I double or triple-up these guys for more output, and that’s still less expensive than a single unit that has that combined output. You would need more rigging and grip gear, though.

    One of my concerns, however, is the automatic fan on the light unit. It’s very noisy and comes on whenever it wants, despite the fixtures don’t seem to be hot enough to warrant the fan, but then I’m not deep inside ghe fixture maybe the parts are cheap and prone to melting easily? No idea. What I do know is that the lights are not very bright, digital cameras love light and you need to get a diffused small LED fixture very close to your subject for wrap-around light and proper exposure. This is fine for an MOS project like this promo. But, for an interview? You’re screwed. My solution is, again, to combine two or three of these lights together behind a single area of diffusion (like an umbrella or frame of artificial silk) and, to get the fans to stay off, run the lights’ output at no more than 50% for each bank of diodes.

    At the end, we spent a bit more than the time we were allowed, but we finished shooting and the client seemed pleased with everything. Elyssa will also edit the video for the church. She’s young and has come along way from when we met on Oz. I look forward to working with her again.

    BTS photos taken with my trusty iPhone 6 and the VSCOcam app. Speaking of VSCOcam: I just bought the rest of their preset collections as I’ve been very impressed with their products thus far. The presets are fun, but I do respect the level of customization the app gives you to go further beyond the presets (which I use like single-node LUTs) and, of course, the manual camera. All of these BTS shots are snapped with the standard iPhone 6 Camera app and then graded in VSCOcam. Camera is fast, but not reliable and the presets and customization options are not very good for someone like me.