Skip to content
Menu
Articles
Bio
Credits
Hire Me
Cinematographer
Photographer
Production Company
Work
Equipment
Camera Gear
Post Production
Equipment Van
Contact
Articles
Bio
Credits
Hire Me
Cinematographer
Photographer
Production Company
Work
Equipment
Camera Gear
Post Production
Equipment Van
Contact
Author:
Jason R. Johnston
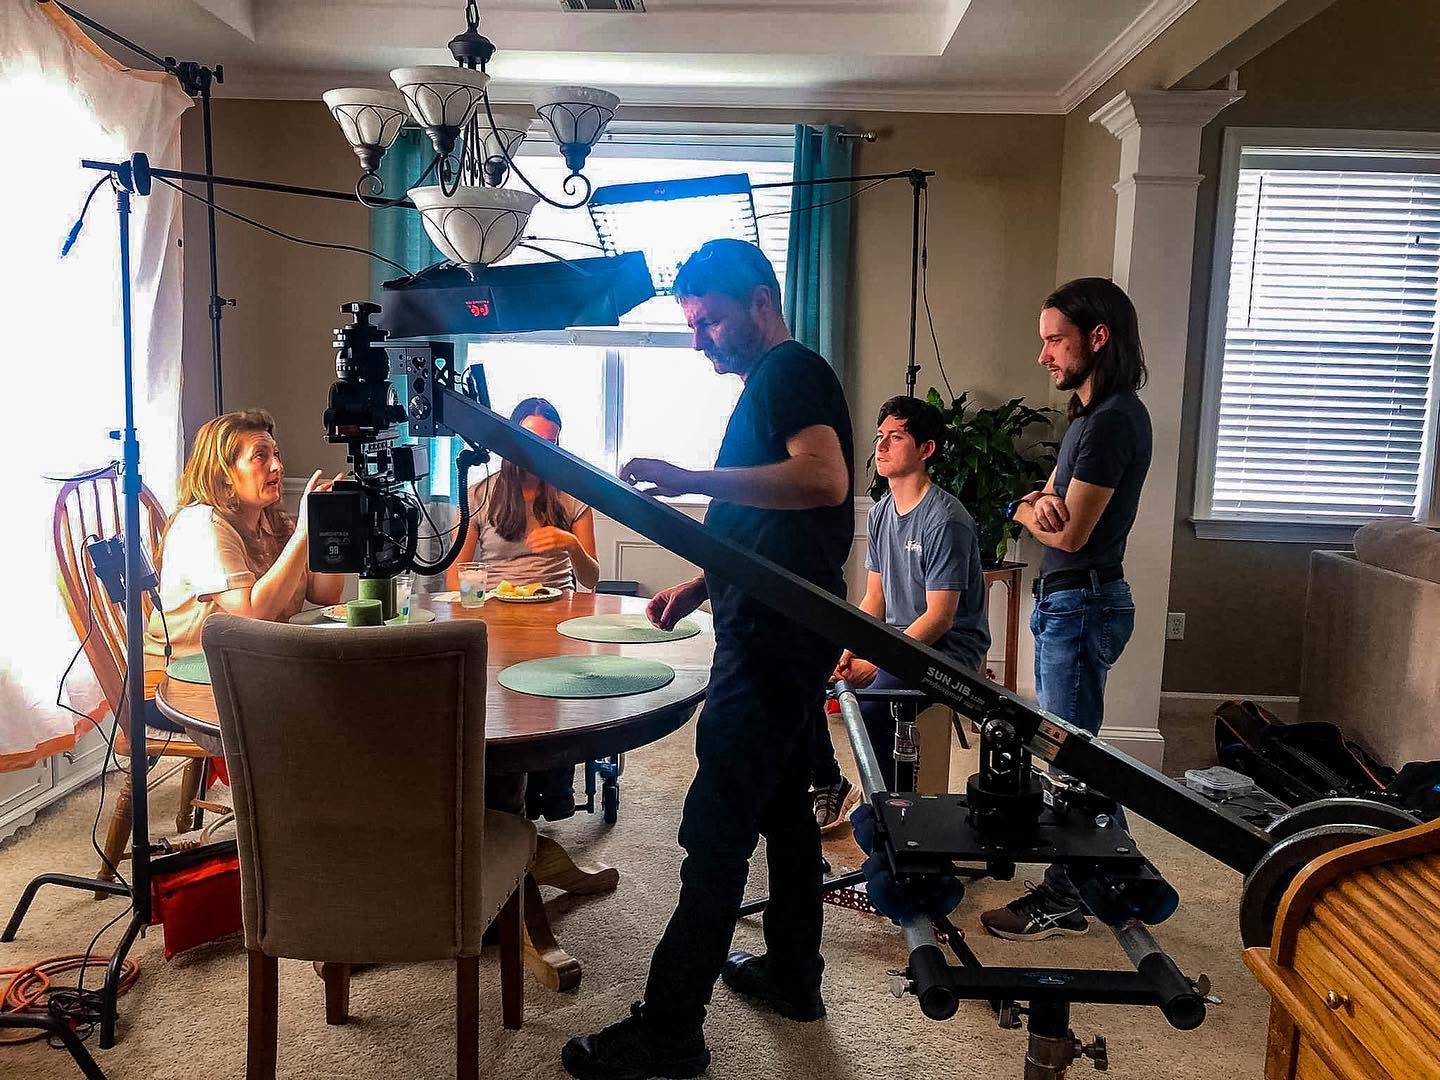
Behind The Scenes
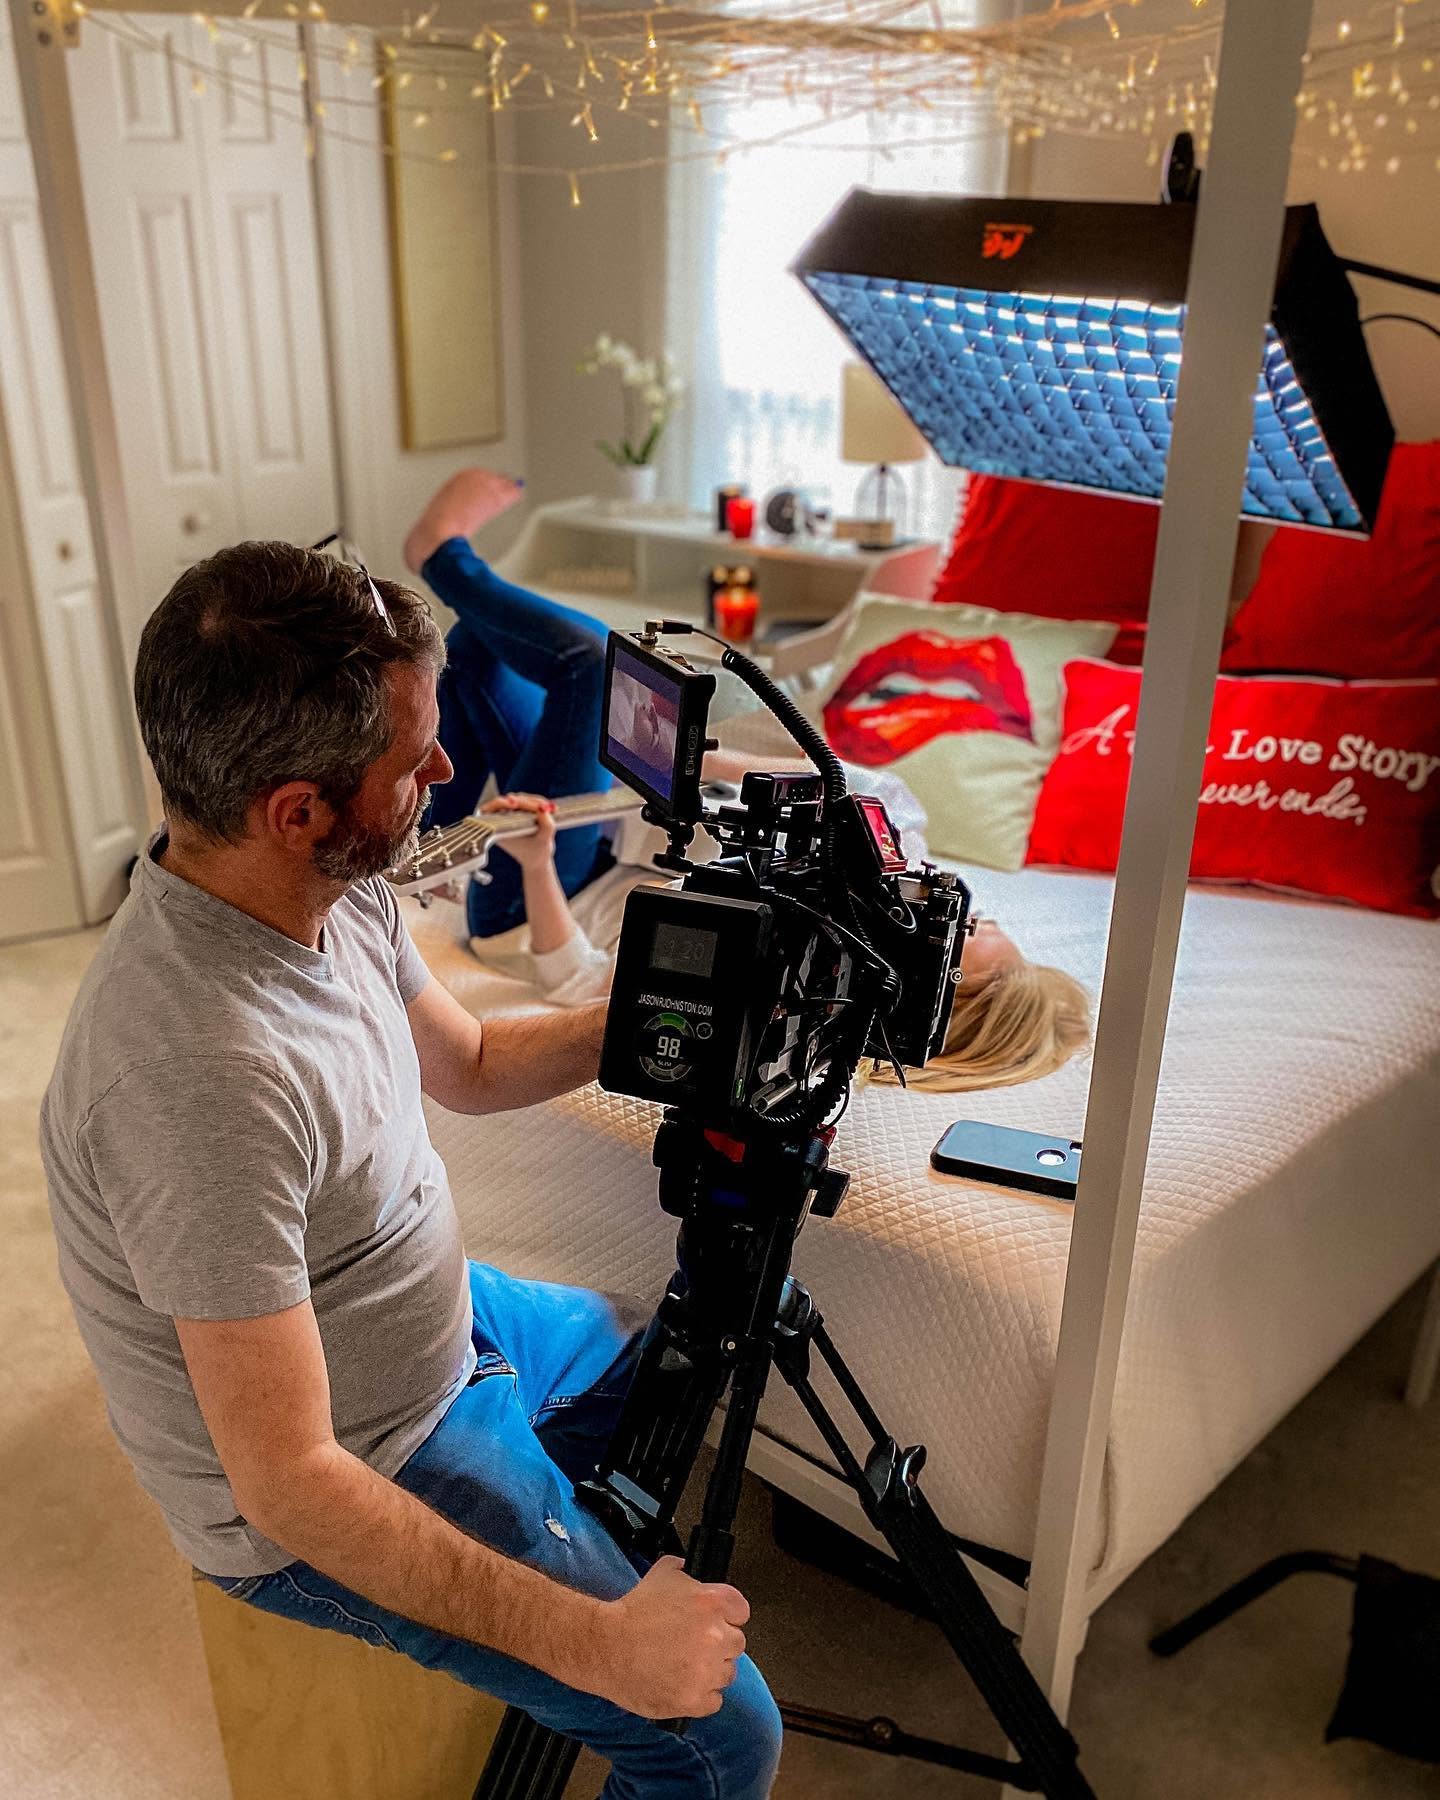
Filming “For Mother’s Day”
April 11, 2022
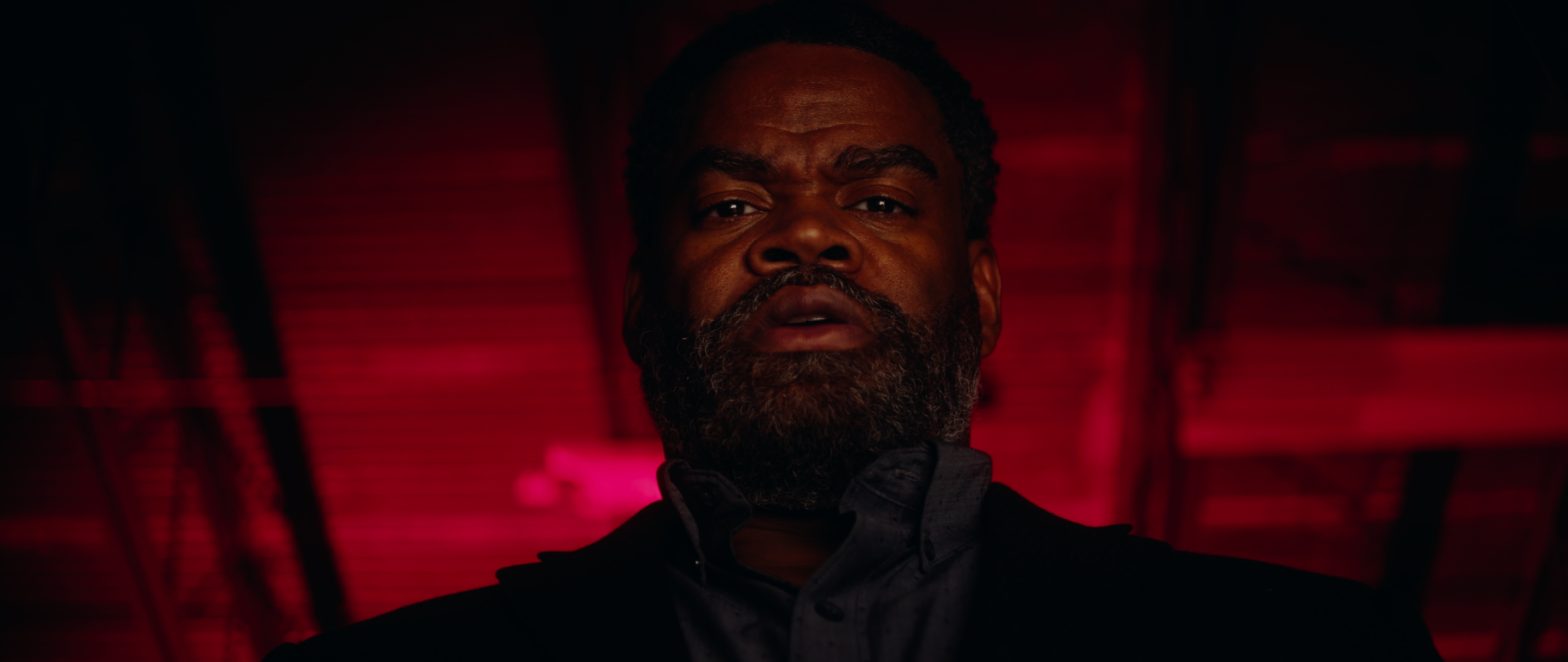
Behind The Scenes
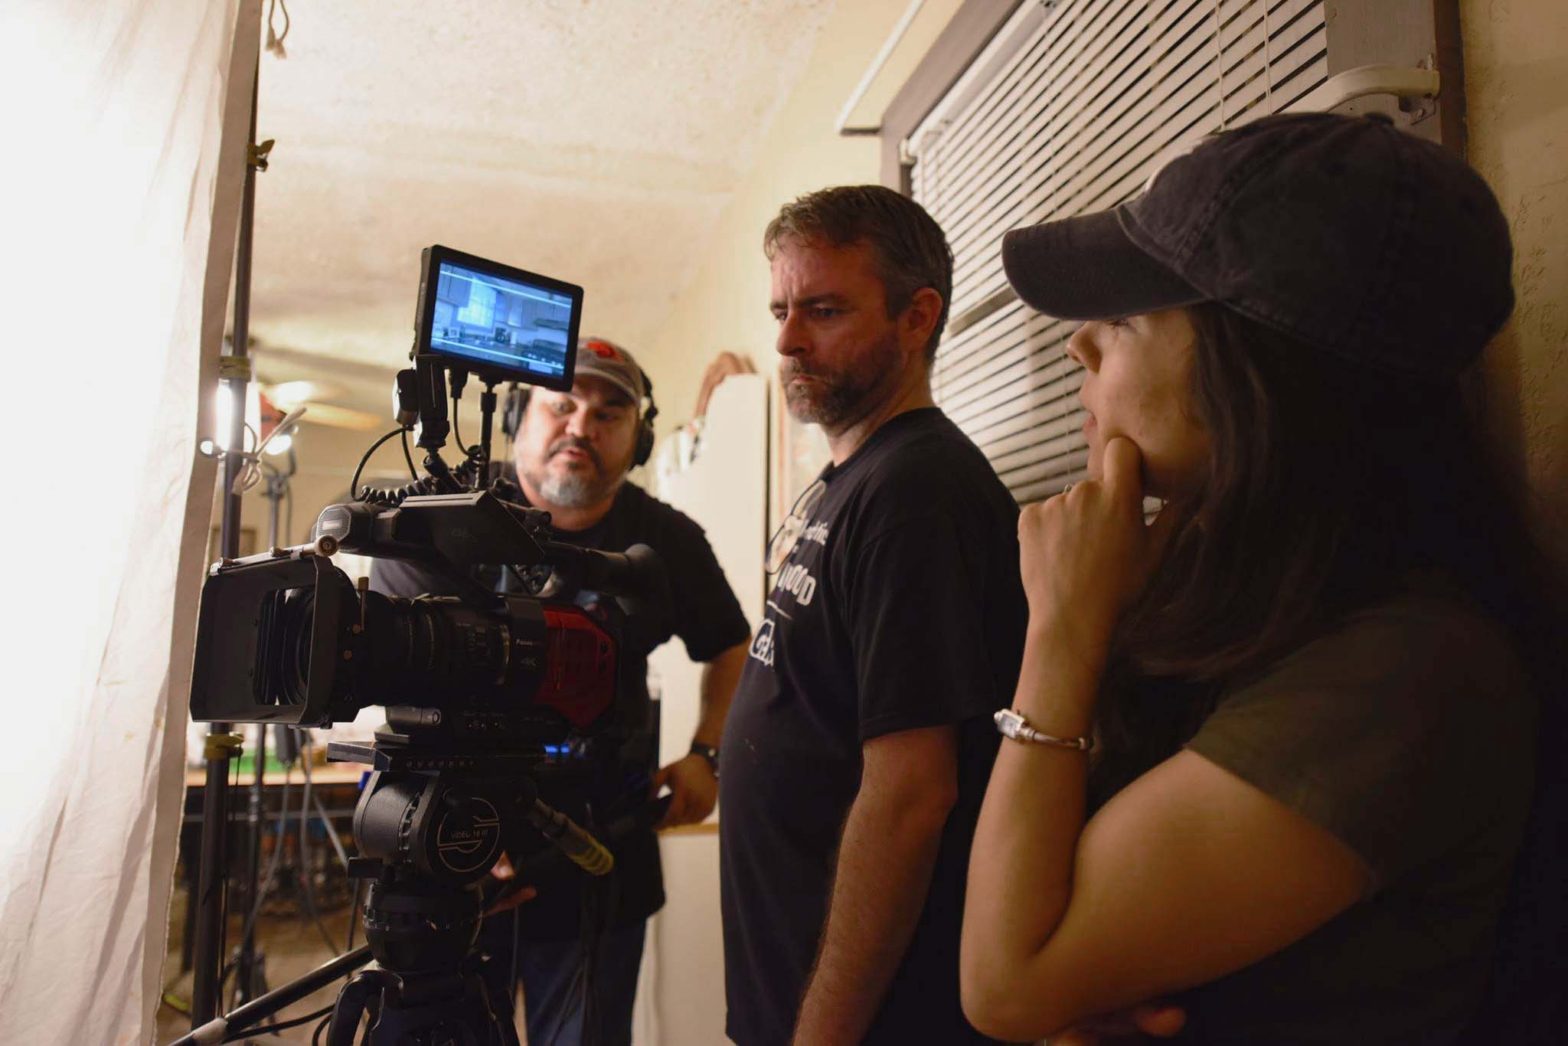
Filming “Faith Healing” for 39:11 Productions
April 6, 2022
News
Best Cinematography Winner for “All For Me” at Nashville 54FilmFest
March 24, 2022
News
Best Cinematography Nomination for “All For Me”
March 22, 2022
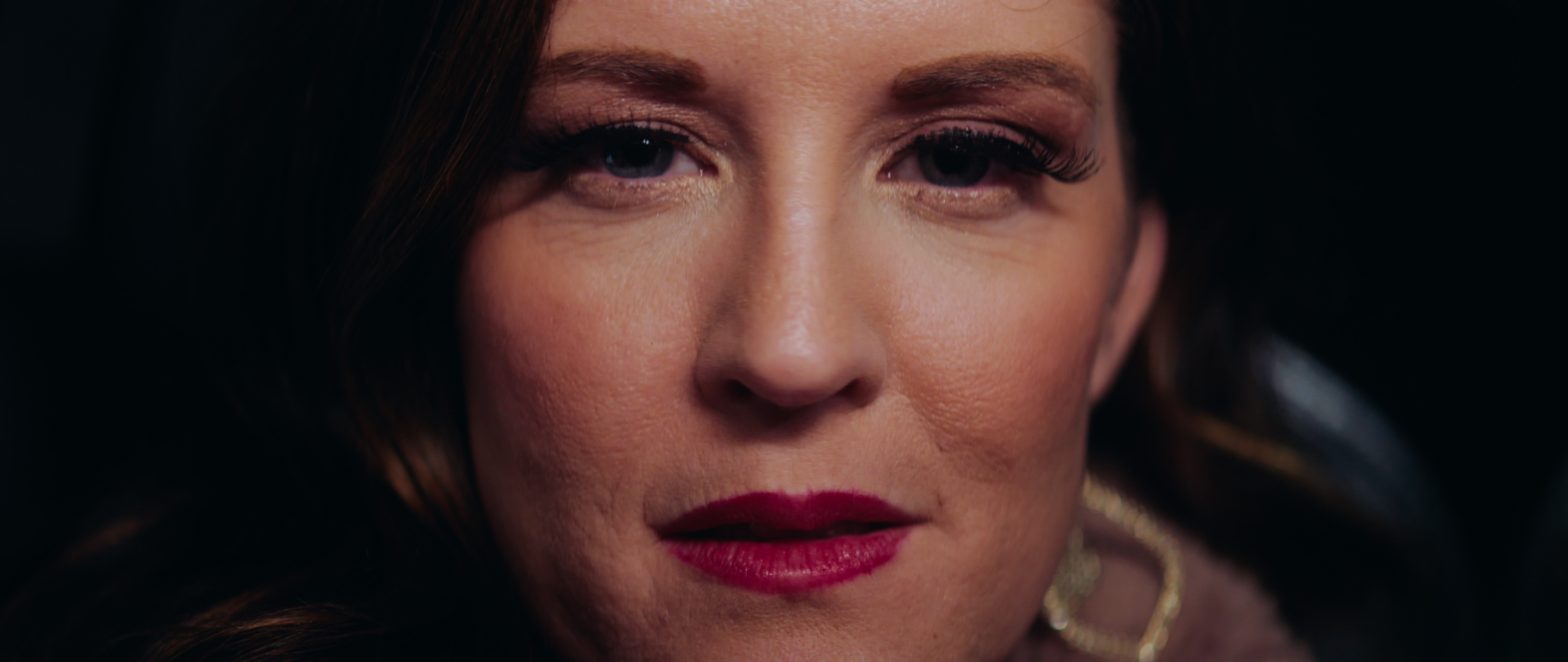
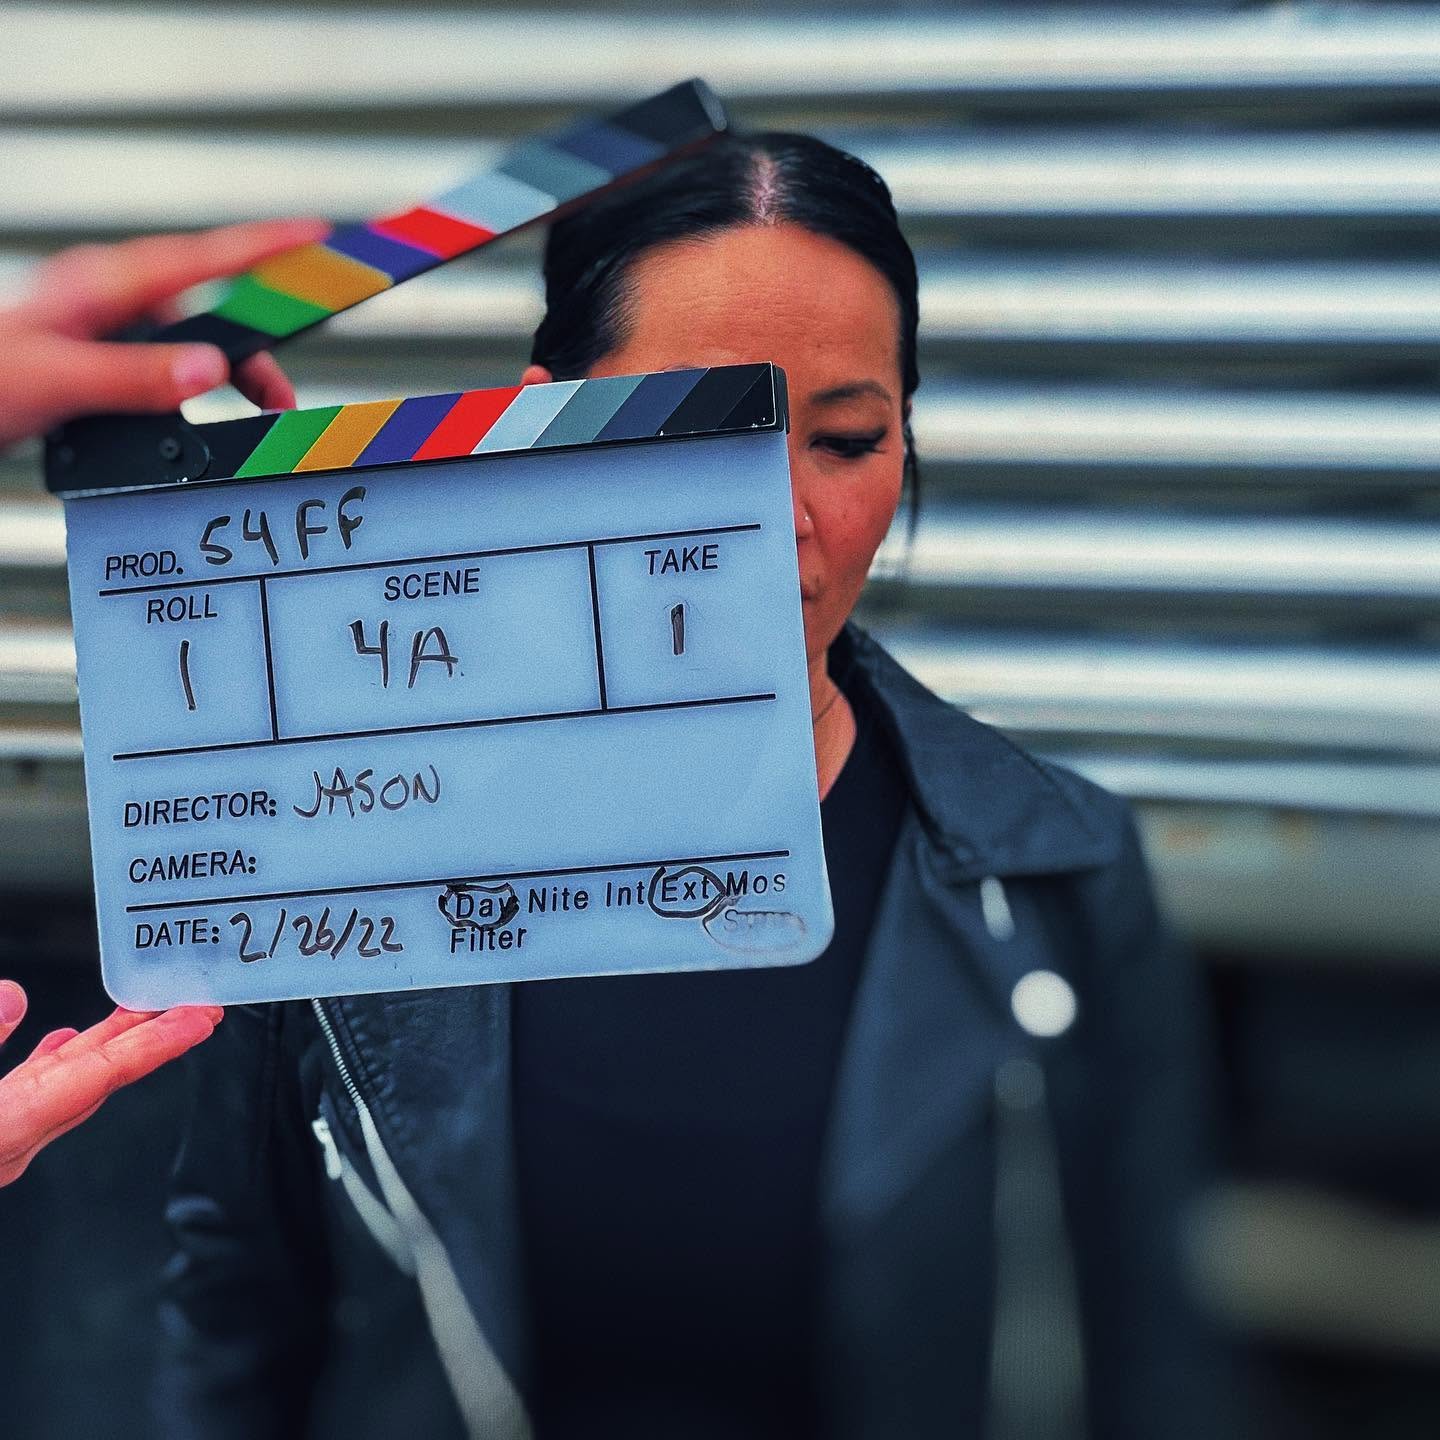
Behind The Scenes
Filming “All For Me” for Nashville 54FilmFest
February 28, 2022
Behind The Scenes
Filming Ainsley Costello’s “Little Sister” Music Video
February 4, 2022
Editorial
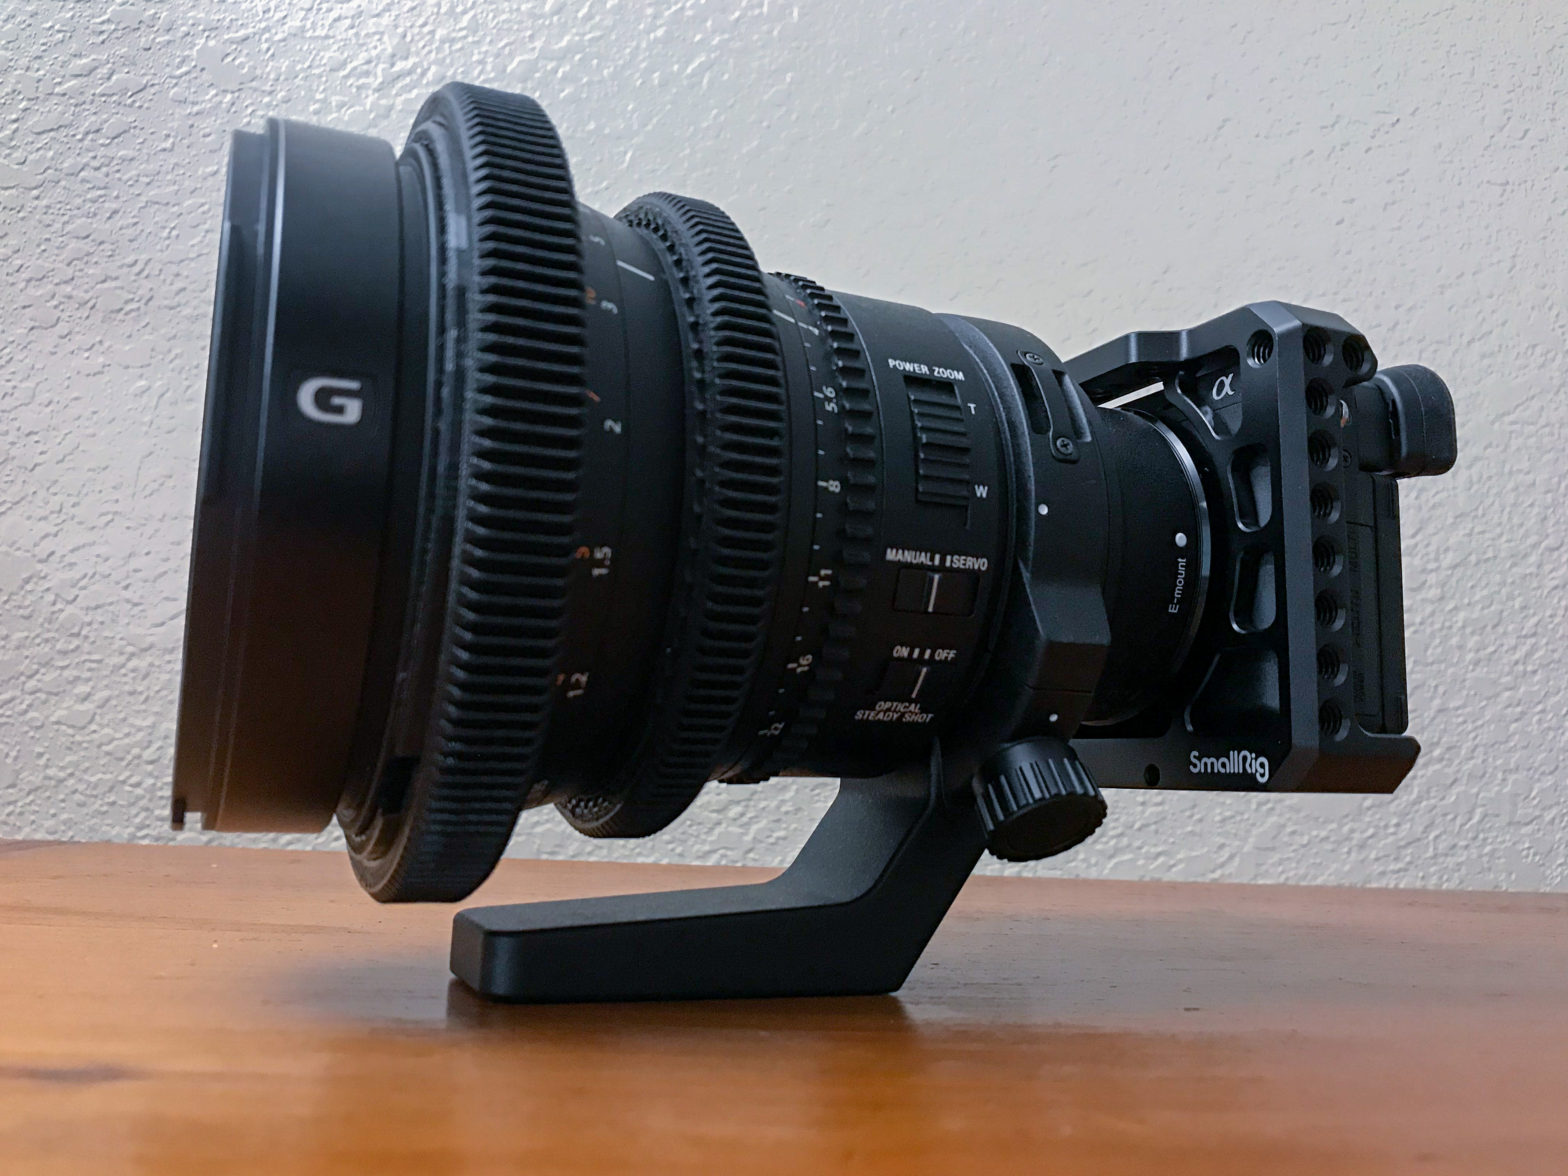
Is It Worth Investing In Lenses For Micro 4/3”?
January 24, 2022
Editorial
Keyframes for Non-Linear Editing
November 29, 2021
Editorial
Stills Zoom Lenses Changing Aperture
November 7, 2021
Camera Modding
Modding Sony α6400 for Video
April 19, 2021
Camera Modding
Modding FS7’s Top Handle
March 18, 2021
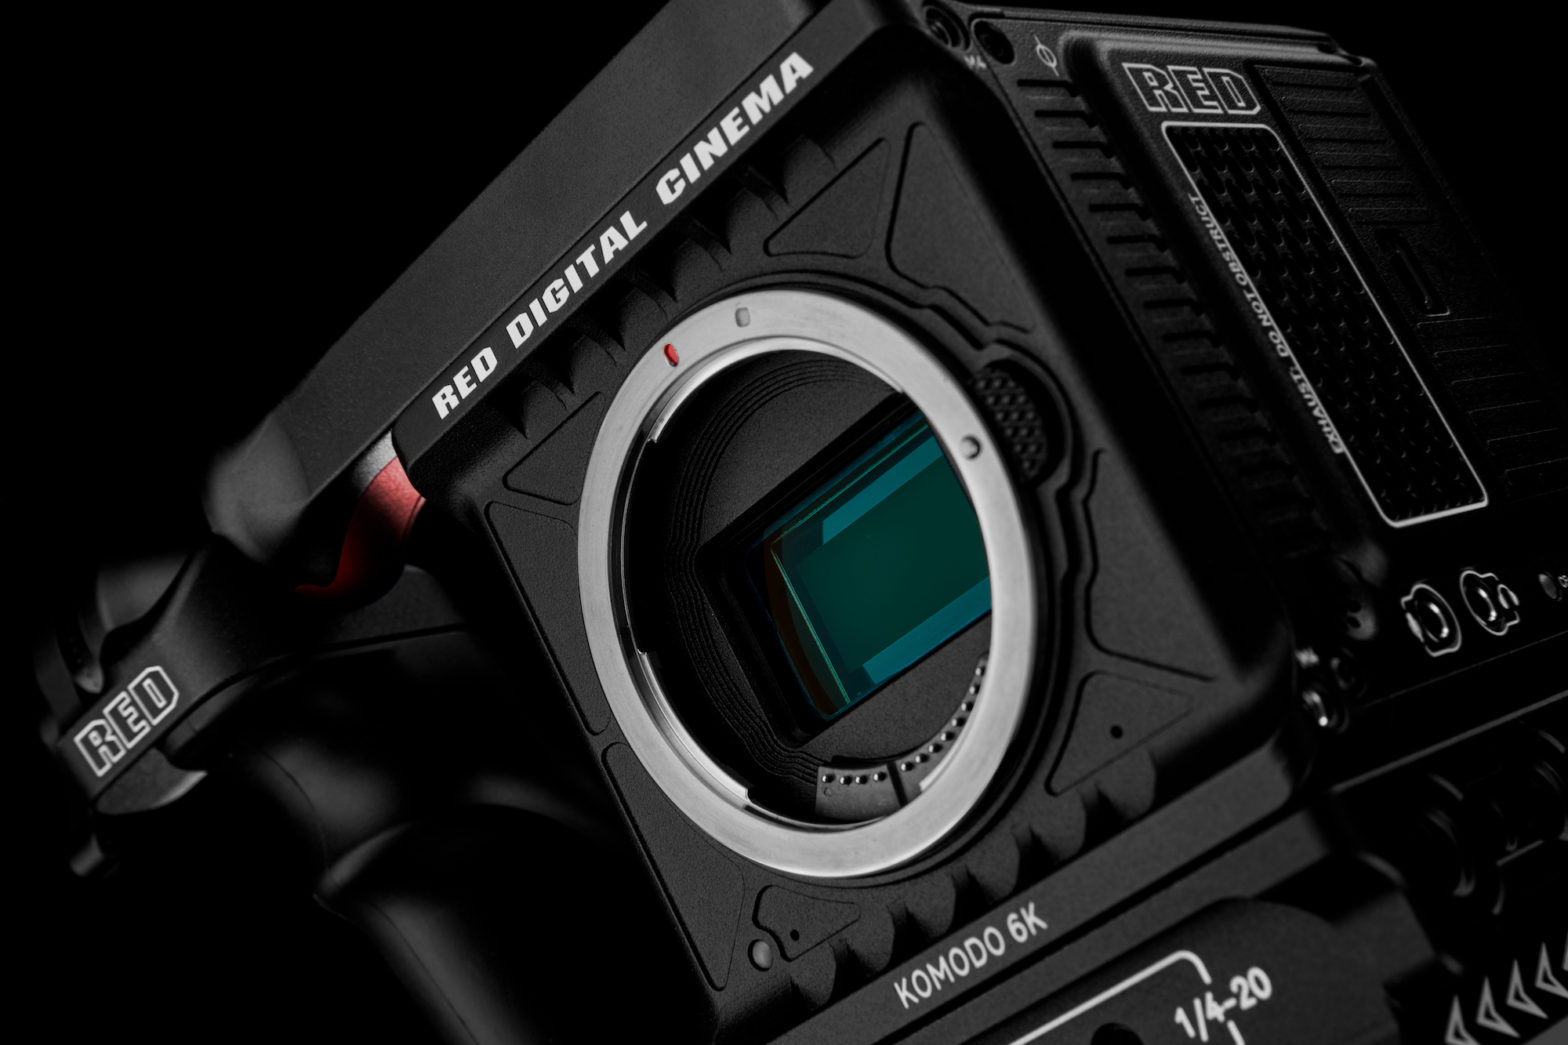
News
In Anticipation of RED KOMODO
January 19, 2021
Previous Page
1
2
3
4
5
6
7
Next Page
Camera
Post
G&E Van
Awards
Facebook
Instagram
YouTube
Flickr
X
© 2005—2026 Jason R. Johnston. All rights reserved.
Legal
Privacy Policy
Log in