Skip to content
Menu
Articles
Bio
Credits
Hire Me
Cinematographer
Photographer
Production Company
Work
Equipment
Camera Gear
Post Production
Equipment Van
Contact
Articles
Bio
Credits
Hire Me
Cinematographer
Photographer
Production Company
Work
Equipment
Camera Gear
Post Production
Equipment Van
Contact
Author:
Jason R. Johnston
News
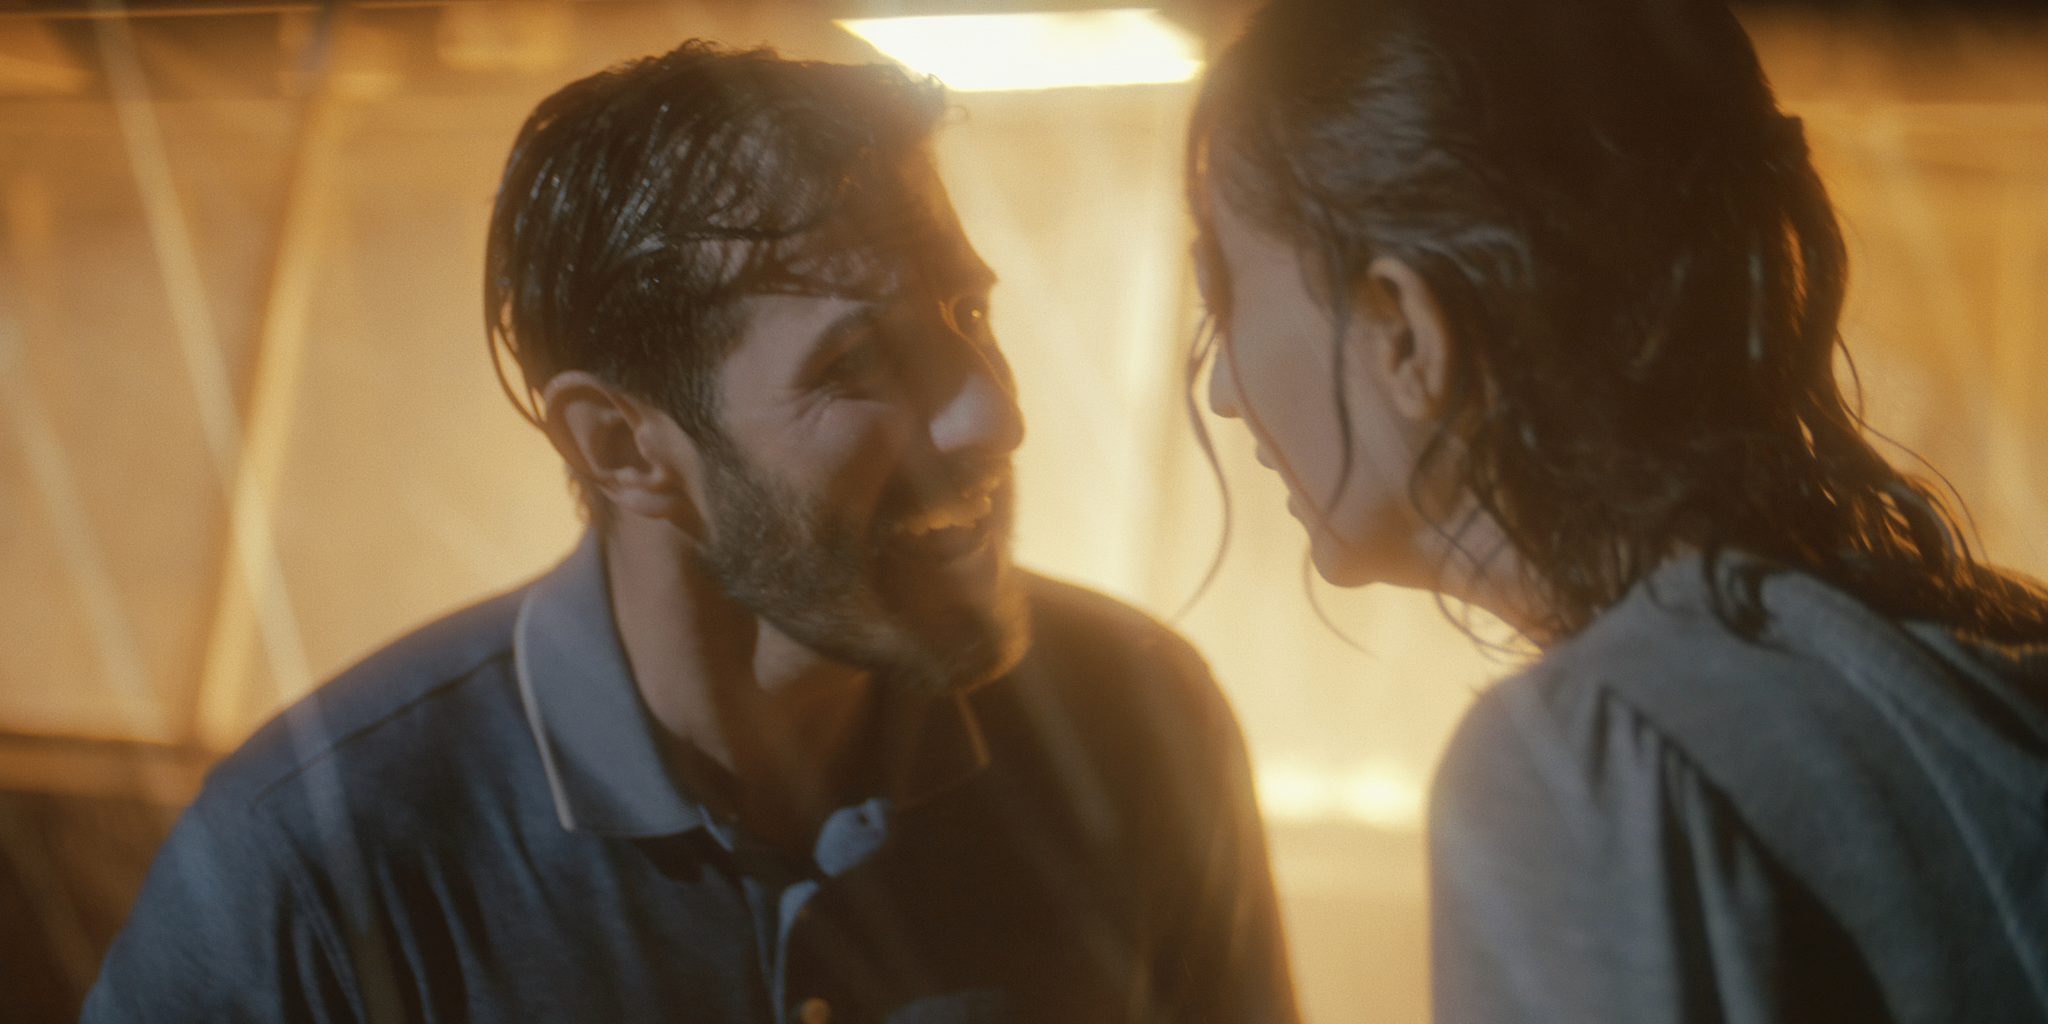
Best Cinematography Nomination at CONTENT2026 for “Till My Last Breath”
June 23, 2026
Behind The Scenes
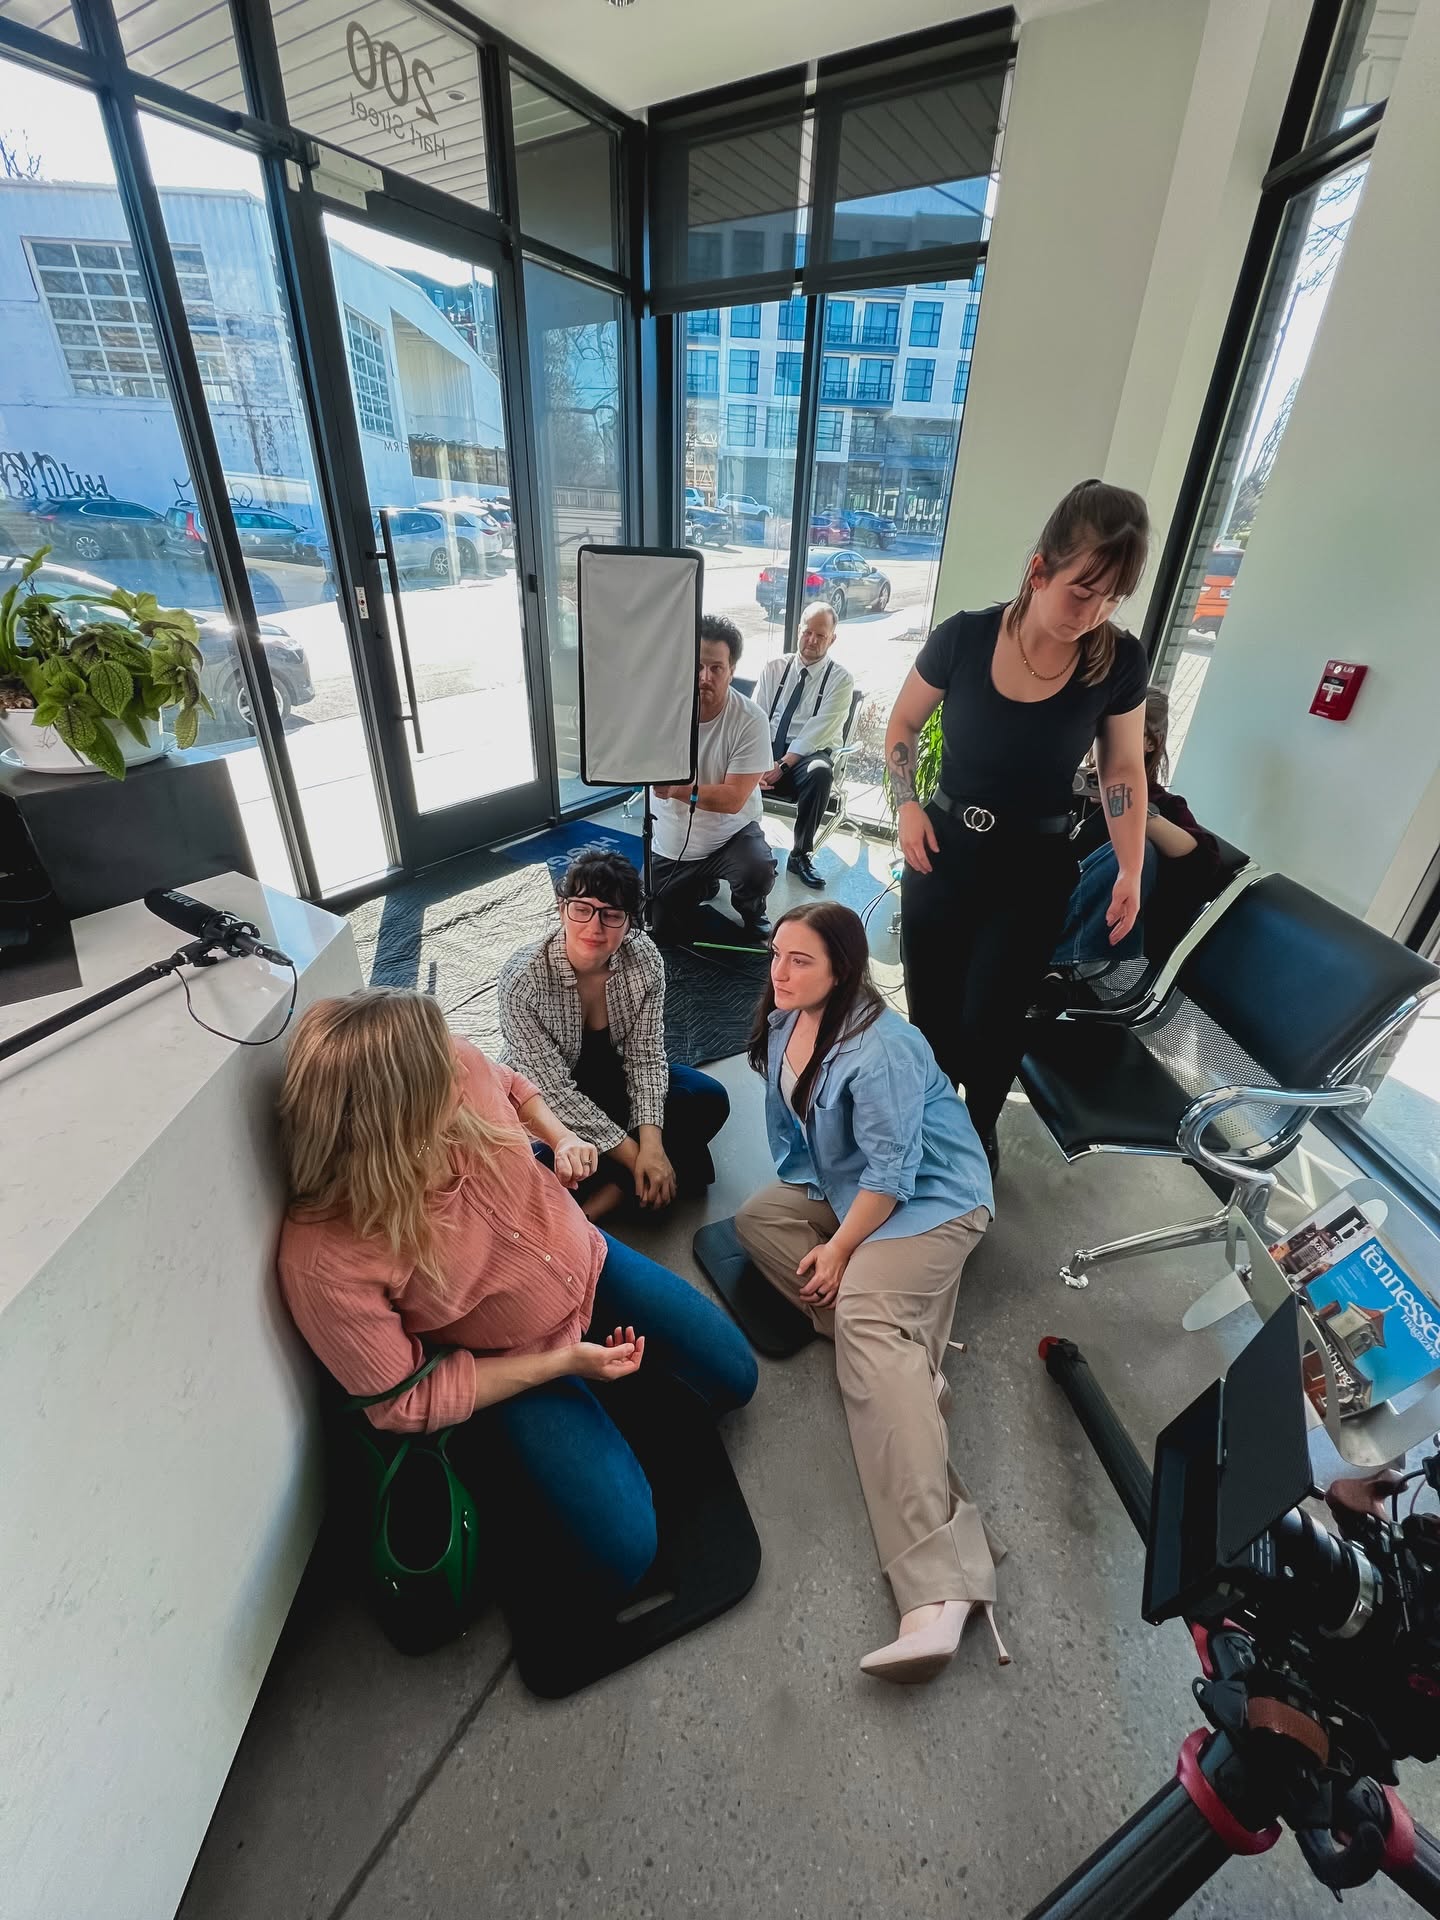
Filming Vertical Content for Mike Croley for Congress
June 22, 2026
Behind The Scenes
Homework for Aspiring Film Directors
June 20, 2026
Behind The Scenes
Filming “Tempo” Pilot featuring Rachael Lampa
April 29, 2026
Behind The Scenes
Filming “Jamal Stewart – Long Road” Music Video for Lindsey Entertainment
April 21, 2026
News
Best Cinematography Nomination at 54FilmFest for “Dirty Little Thieves”
April 11, 2026
Behind The Scenes
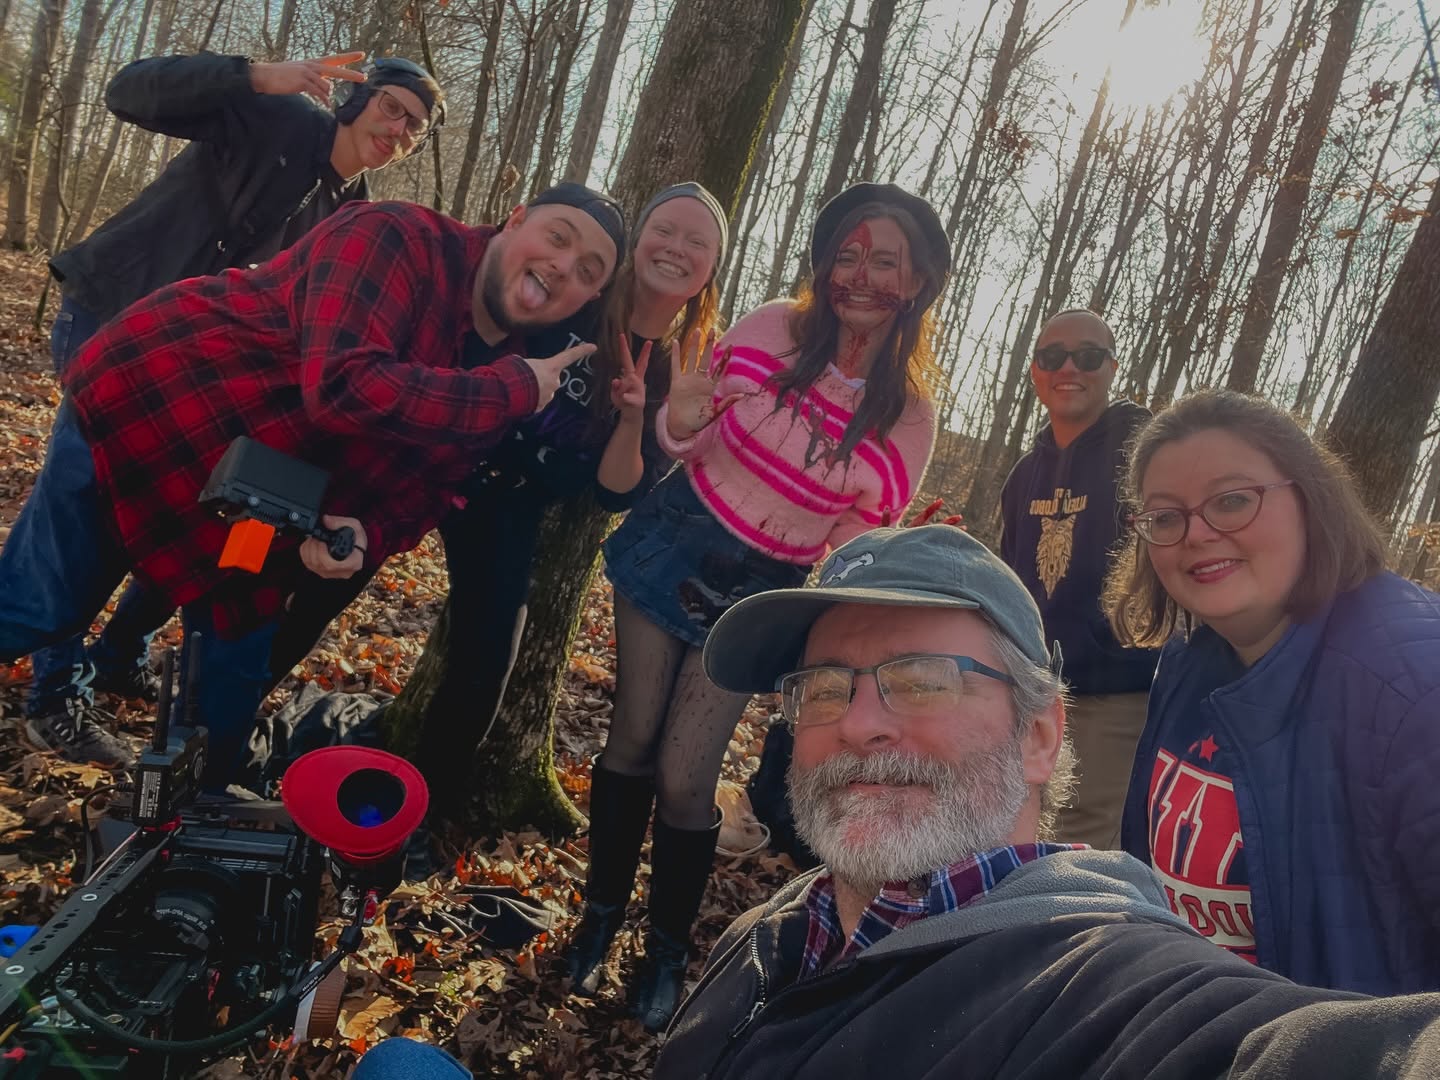
Filming “Dirty Little Thieves” for 54FilmFest
March 2, 2026
Personal
A ROUgh Start to 2026
February 3, 2026
Behind The Scenes
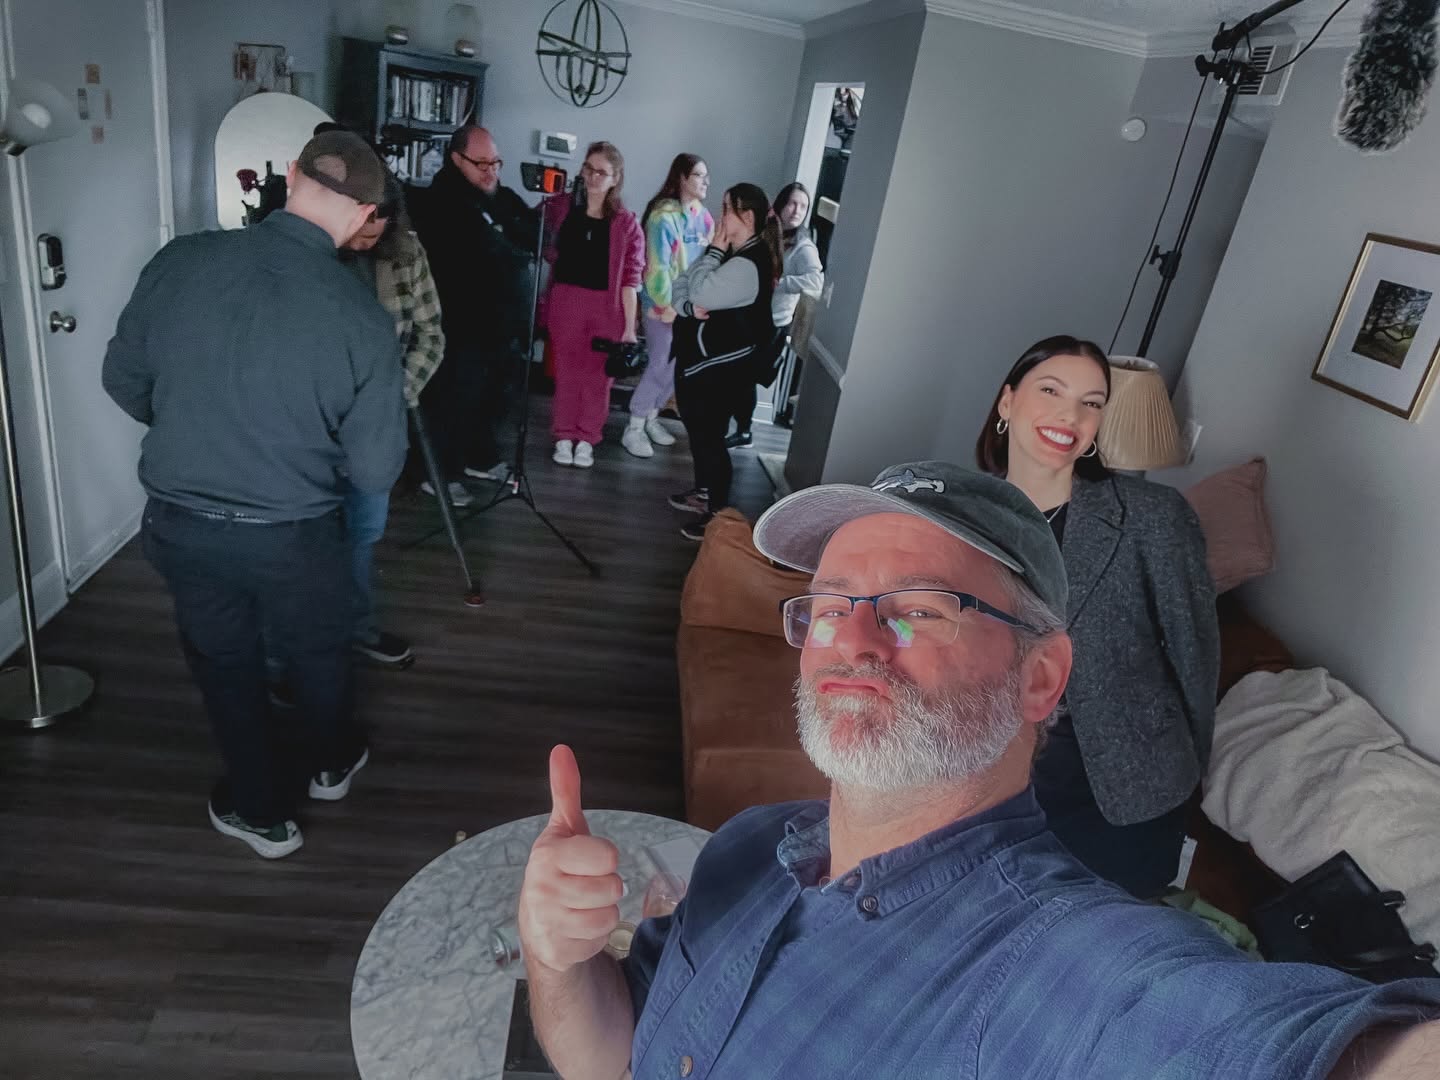
Filming “All She Wrote”
December 11, 2025
News
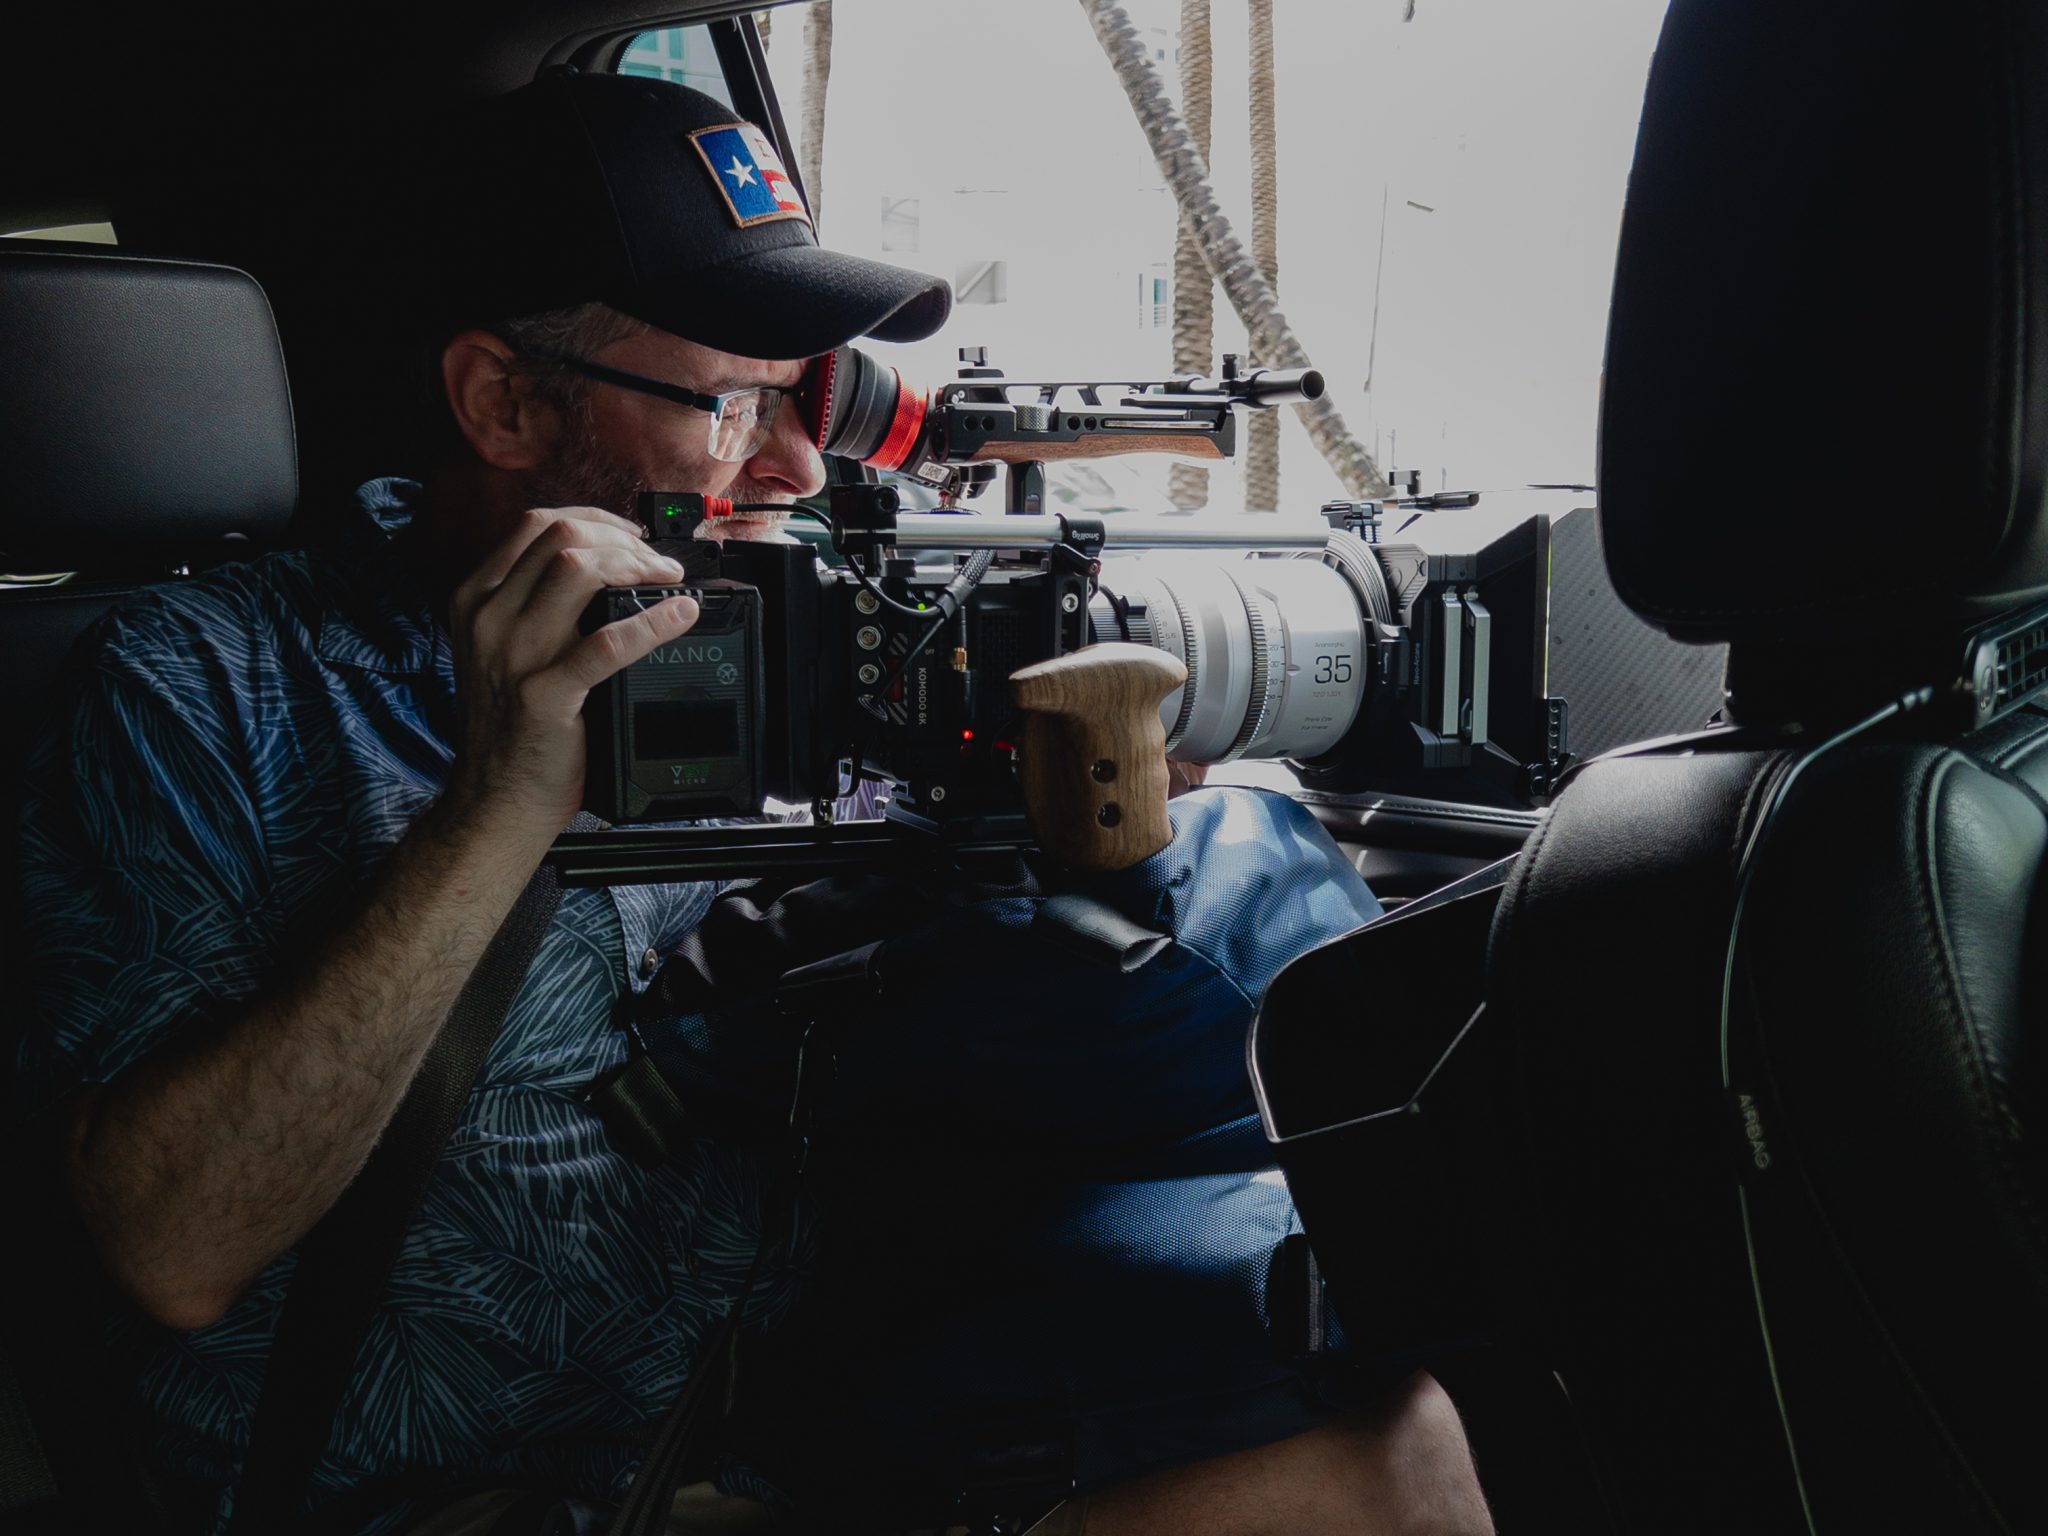
My New RED Komodo-X Digital Cinema Camera with Z-Mount
November 11, 2025
Behind The Scenes
Filming “Michael Gilas – You and Me and Miami” Music Video in Miami Beach
September 6, 2025
Behind The Scenes
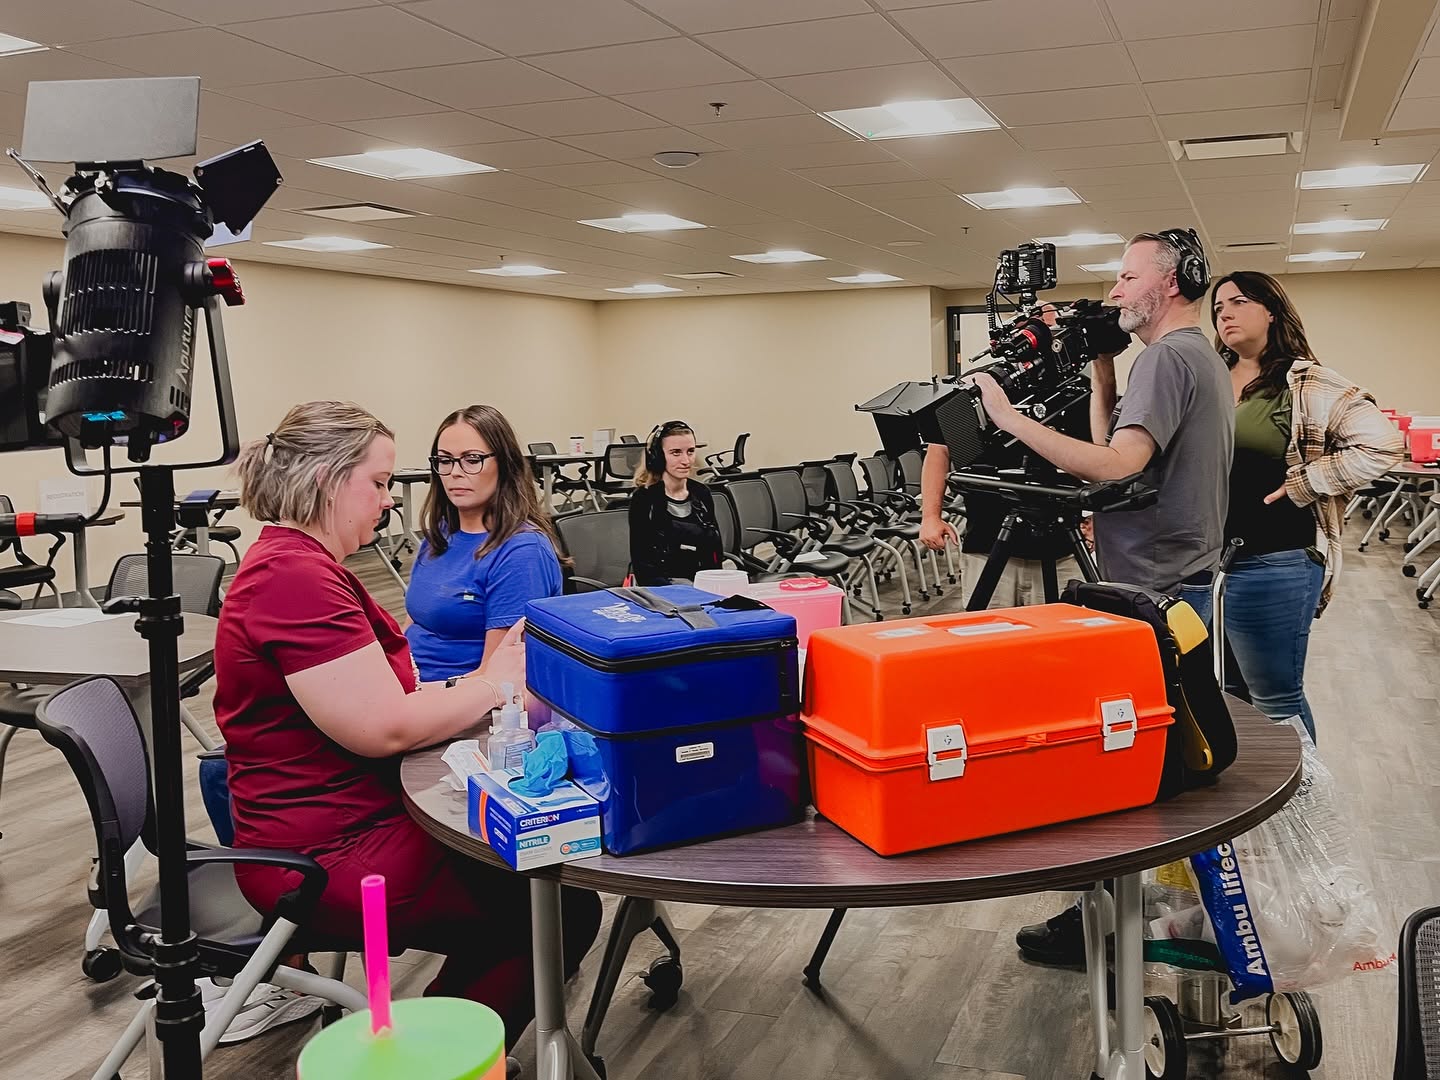
Filming for “Barren River District Health Department” in Bowling Green
August 9, 2025
1
2
3
4
5
6
7
Next Page
Camera
Post
G&E Van
Awards
Facebook
Instagram
YouTube
Flickr
X
© 2005—2026 Jason R. Johnston. All rights reserved.
Legal
Privacy Policy
Log in