Skip to content
Menu
Articles
Bio
Credits
Awards
Hire Me
Cinematographer
Photographer
Production Company
Work
Equipment
Camera Gear
Post Production
Equipment Van
Contact
Articles
Bio
Credits
Awards
Hire Me
Cinematographer
Photographer
Production Company
Work
Equipment
Camera Gear
Post Production
Equipment Van
Contact
Tag:
FCPX
Behind The Scenes
Motion Tracking a Smart Phone Screen with Final Cut Pro X
August 7, 2020
Behind The Scenes
Rio Vista Dentistry Branding Film
February 20, 2018
News
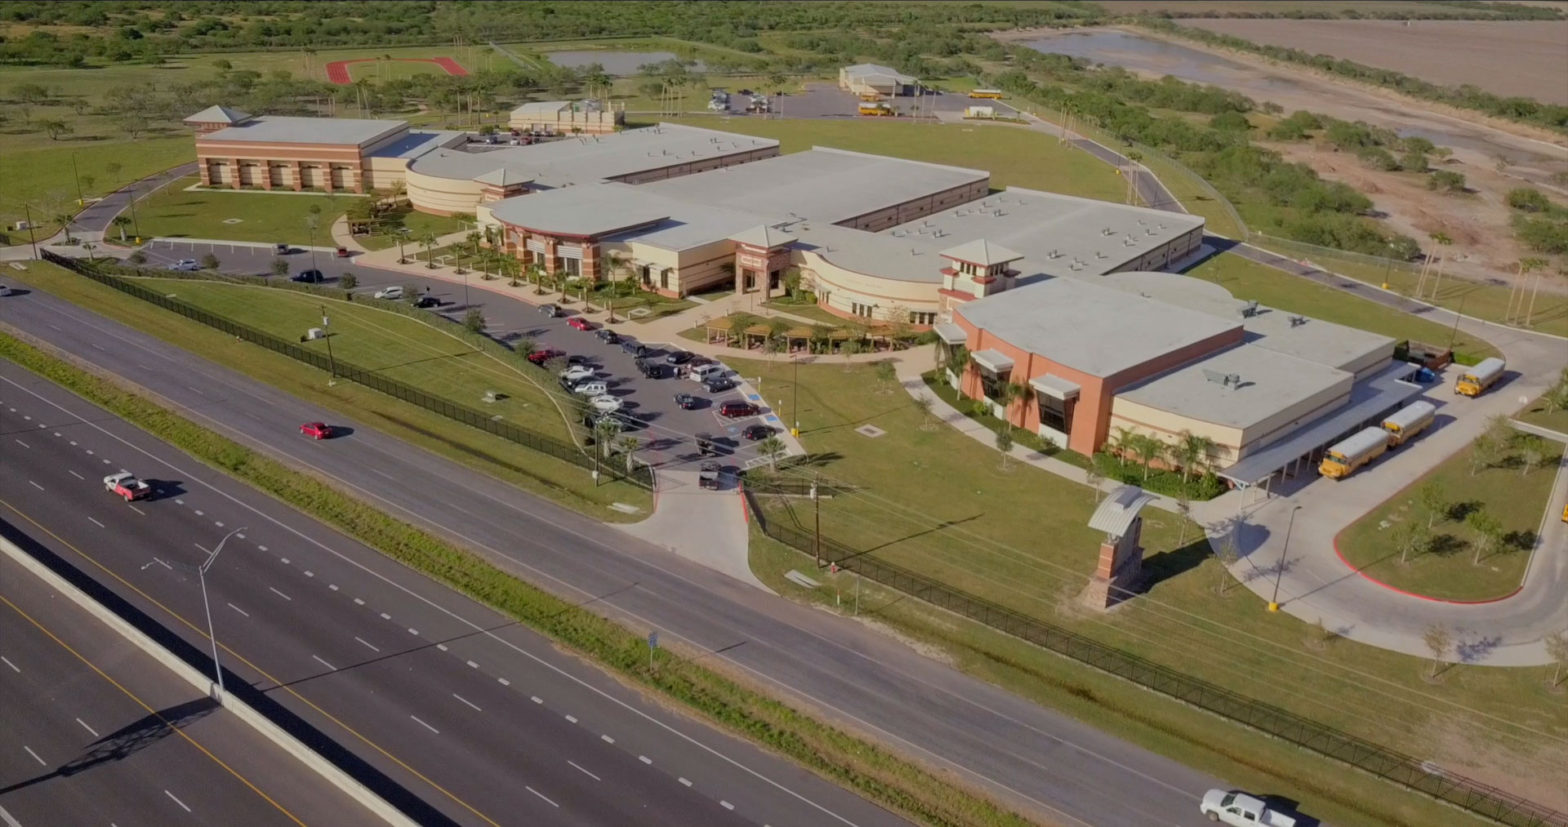
What’s Inside the South Texas ISD TV Spots
December 21, 2017
Behind The Scenes
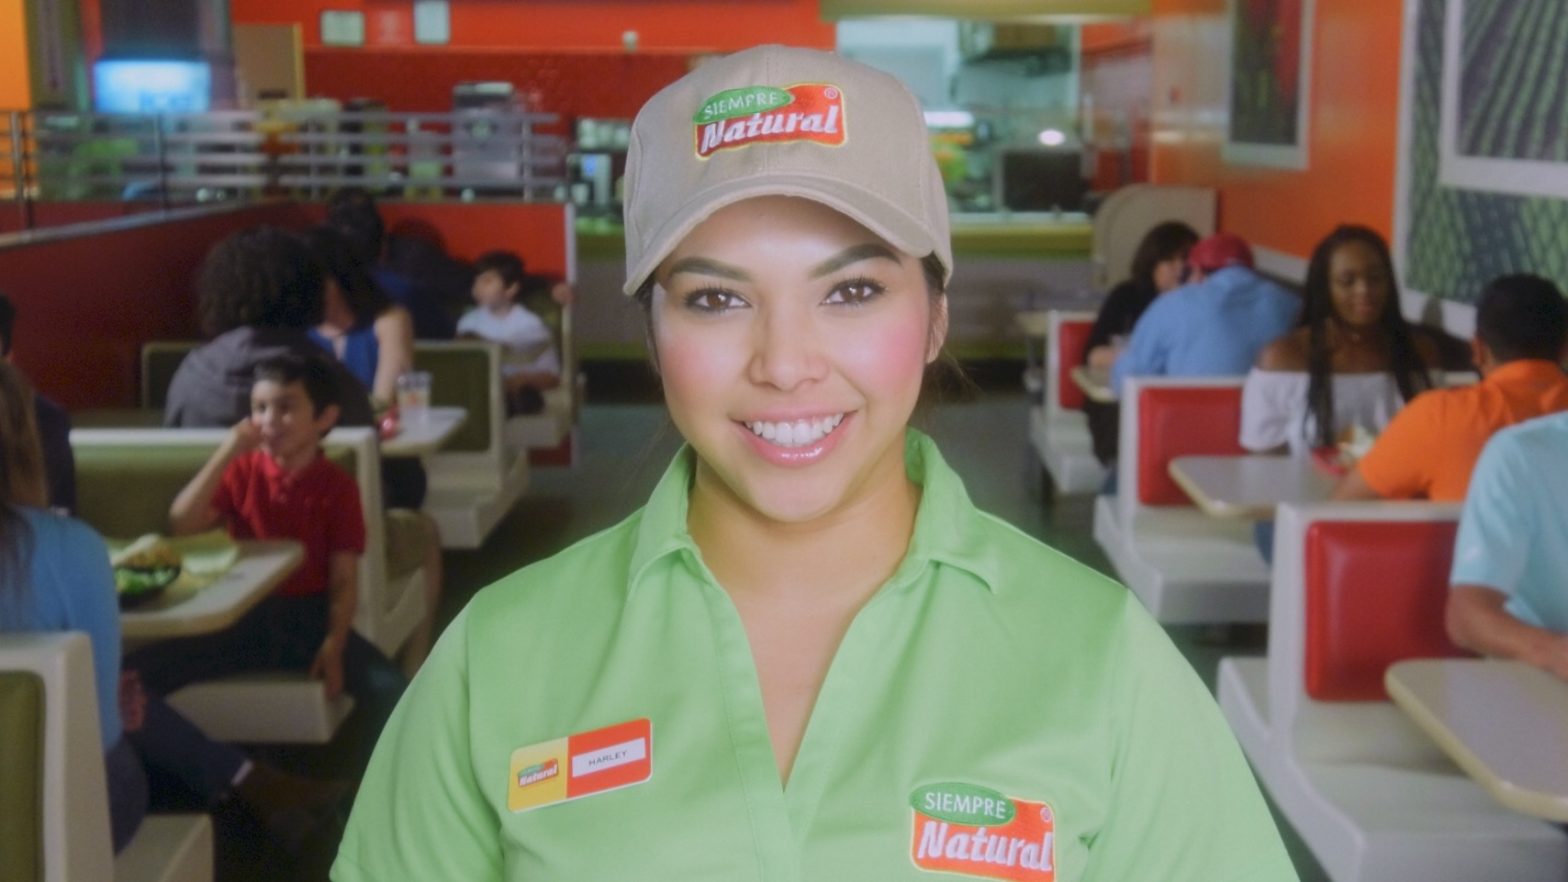
Siempre Natural
March 20, 2017
Personal
Working With LUTs
November 1, 2016
Behind The Scenes
DREAM for Edcouch-Elsa ISD School Board Candidate Films
August 23, 2016
Camera
Post
G&E Van
Awards
Facebook
Instagram
YouTube
Flickr
X
© 2005—2026 Jason R. Johnston. All rights reserved.
Legal
Privacy Policy
Log in