As a colossal risk taker, I have been using the Public Beta of DaVinci Resolve Studio 19 since late July. The feature that tickled my fancy the most was the new built-in plugin Film Look Creator.
Typically, I would do my grading with the FilmConvert Nitrate plugin. But, the new Film Look Creator plugin is easier and faster. What took a whole lot of work in Nitrate took only a fraction of the time with Film Look Creator.

Using the Clean Slate preset, I start with the Rochester Core Look with Skin Bias all the way to -1.000 and Film Look Blend to 1.000. From there, just a quick bit of tweaks to the Color Settings to cool the White Balance, increase the Contrast and Saturation, and crush the Highlights, plus some other little tweaks. It just took a minute or two and I was already in a very good place visually.

Then I switched on default Grain, Bloom, and Halation.

Next, I clicked on the Split Tone and set the Amount to 0.110.

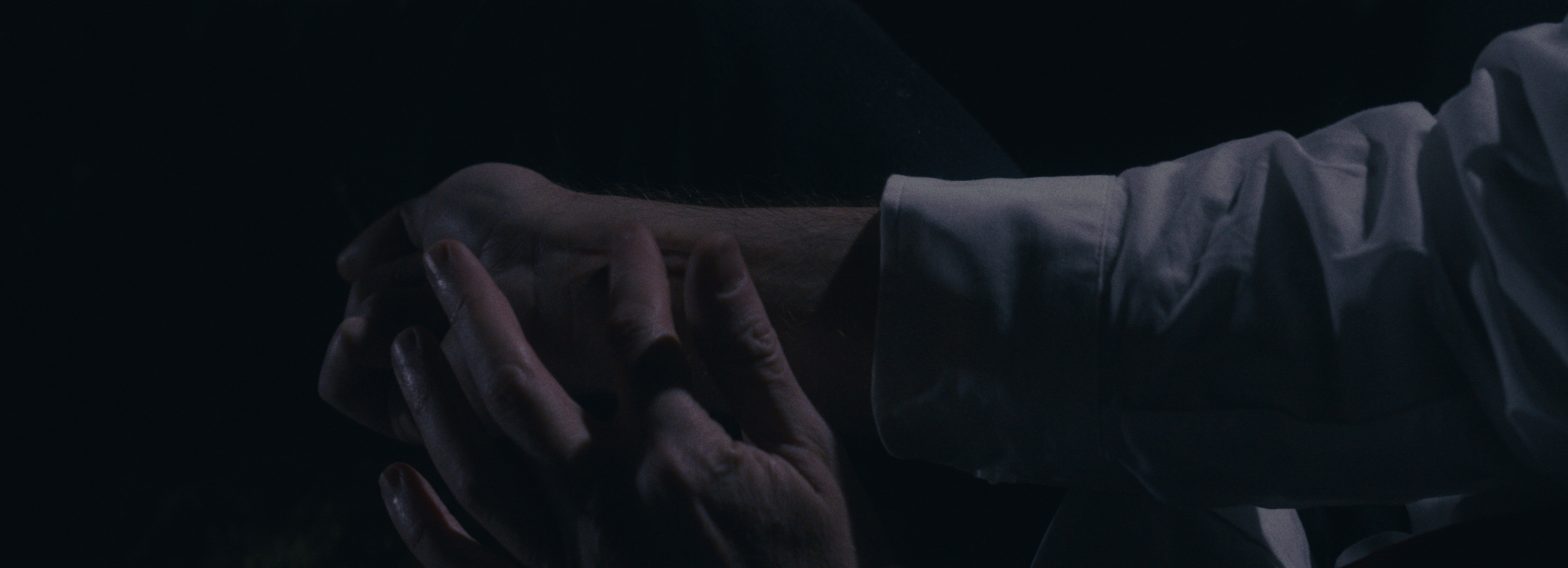
What a nice image, despite the internet compression. And with only a quick bit of tweaking. The Film Look Creator in DaVinci Resolve Studio 19 is quite a powerful tool.
With just a bit more tweaking I got the FLC image to be pretty close to the FCN one. Here they are side-by-side.

I prefer the FLC version. Might need to fiddle with curves to get the perfect moonlit look, but getting the image this far so quickly is surely a game changer for me. And, the best thing is FLC is built-in to DRS 19.

Leave a Reply