Skip to content
Menu
Articles
Bio
Credits
Awards
Hire Me
Cinematographer
Photographer
Production Company
Work
Equipment
Camera Gear
Post Production
Equipment Van
Contact
Articles
Bio
Credits
Awards
Hire Me
Cinematographer
Photographer
Production Company
Work
Equipment
Camera Gear
Post Production
Equipment Van
Contact
Tag:
Behind The Scenes
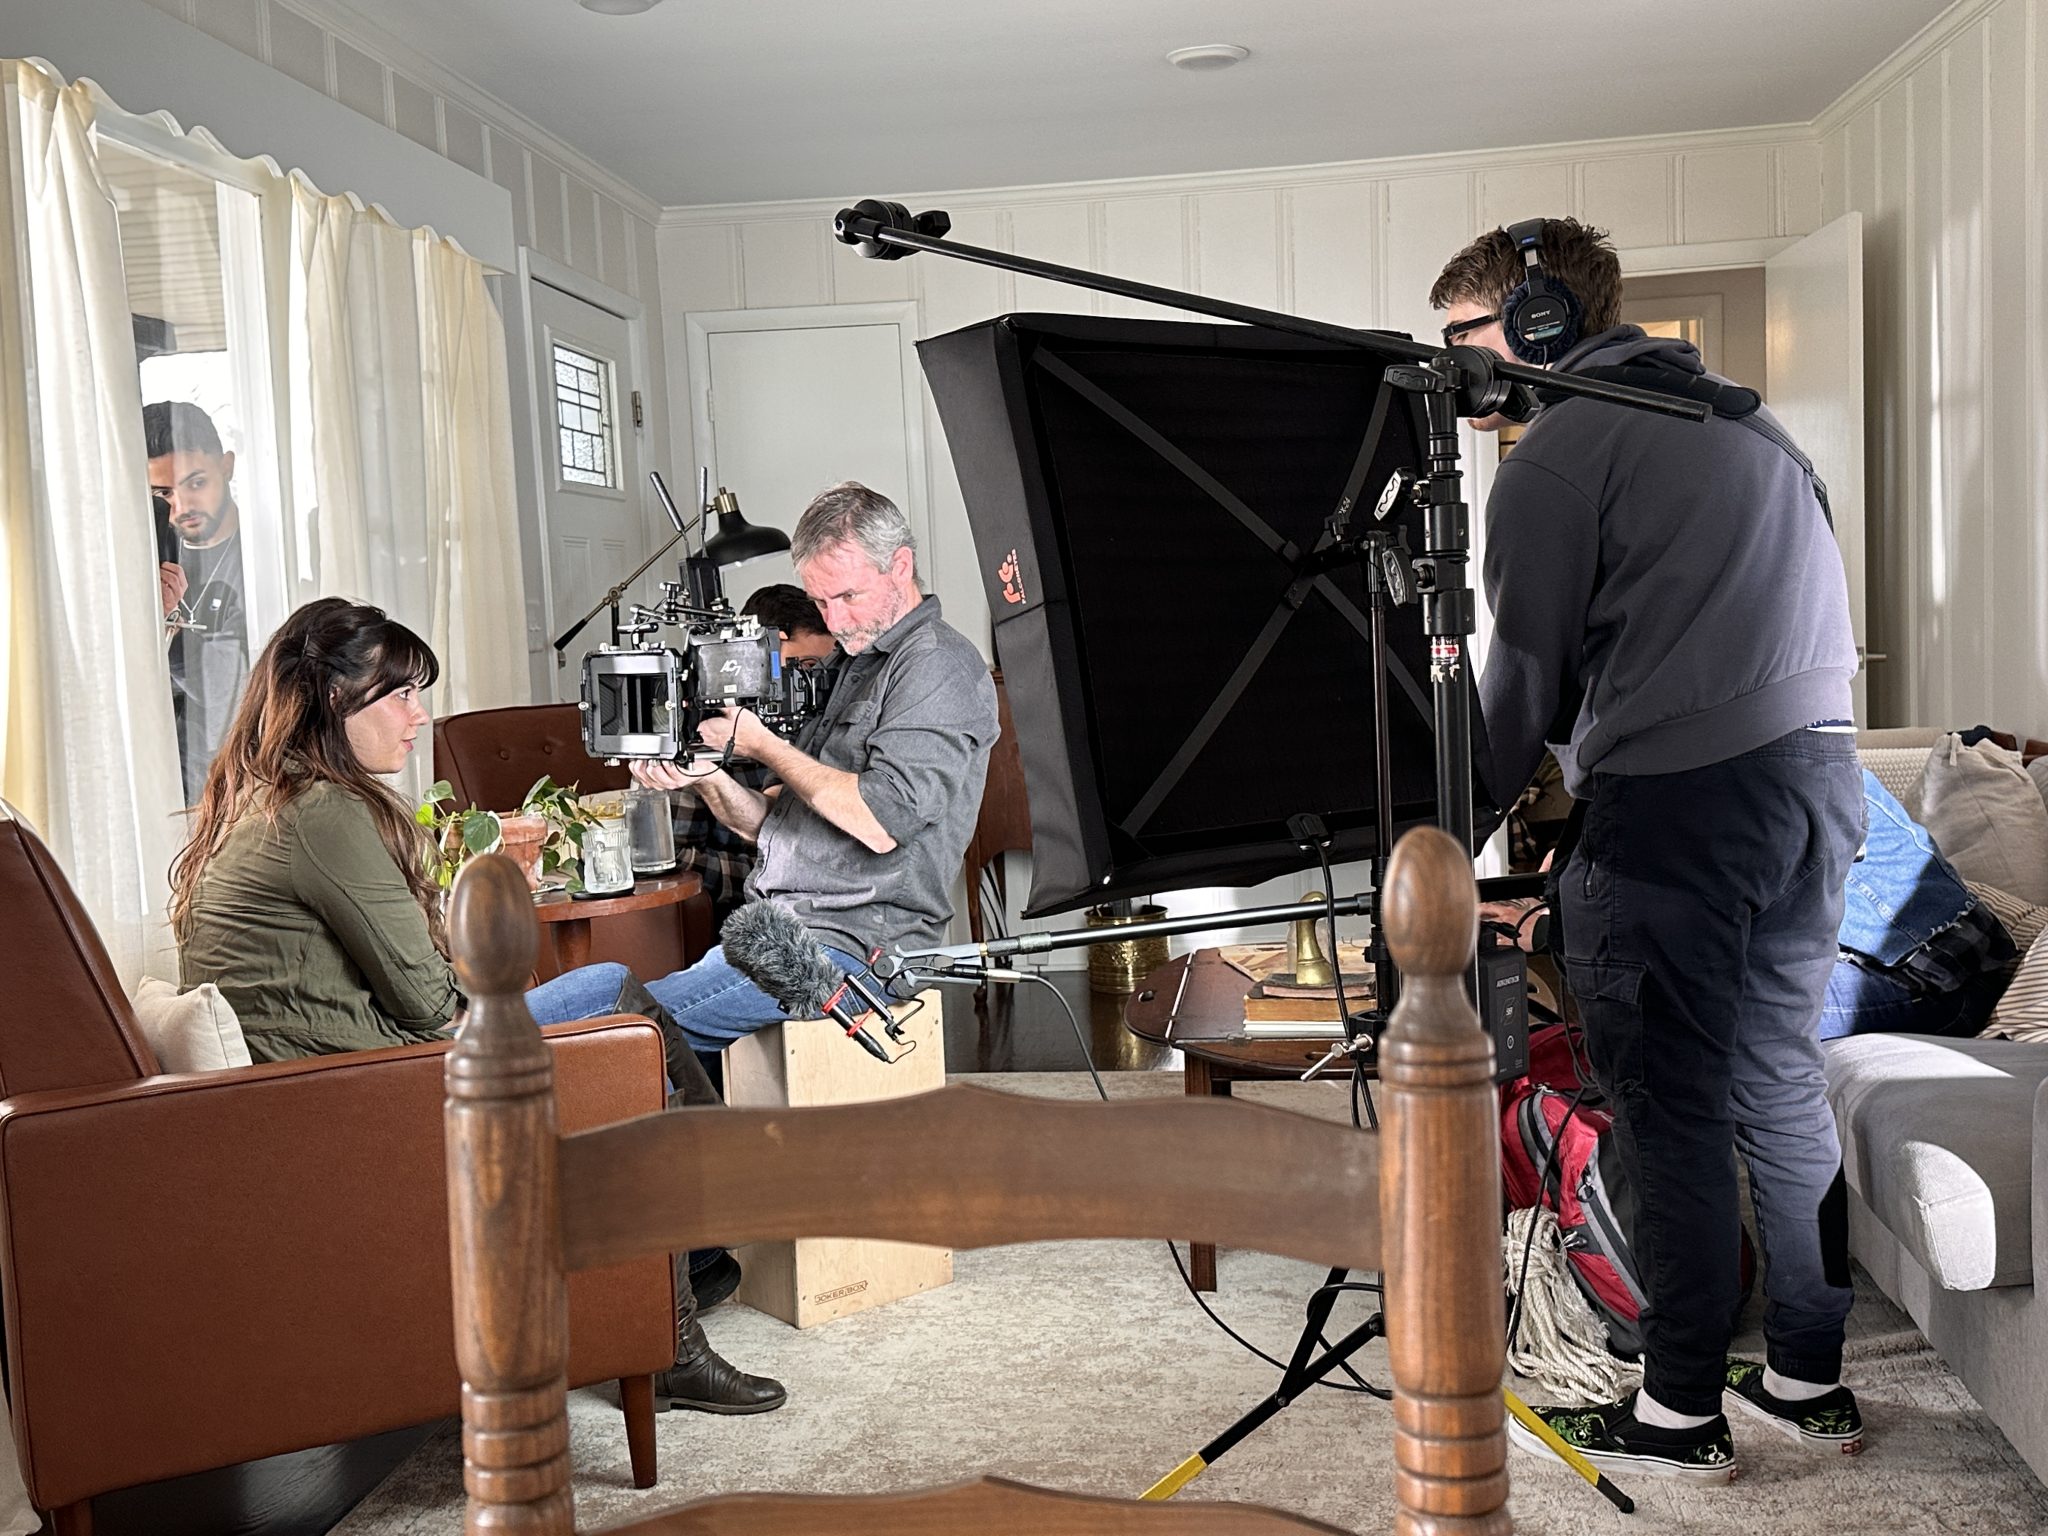
Behind The Scenes
Filming “All She Wrote”
December 11, 2025
News
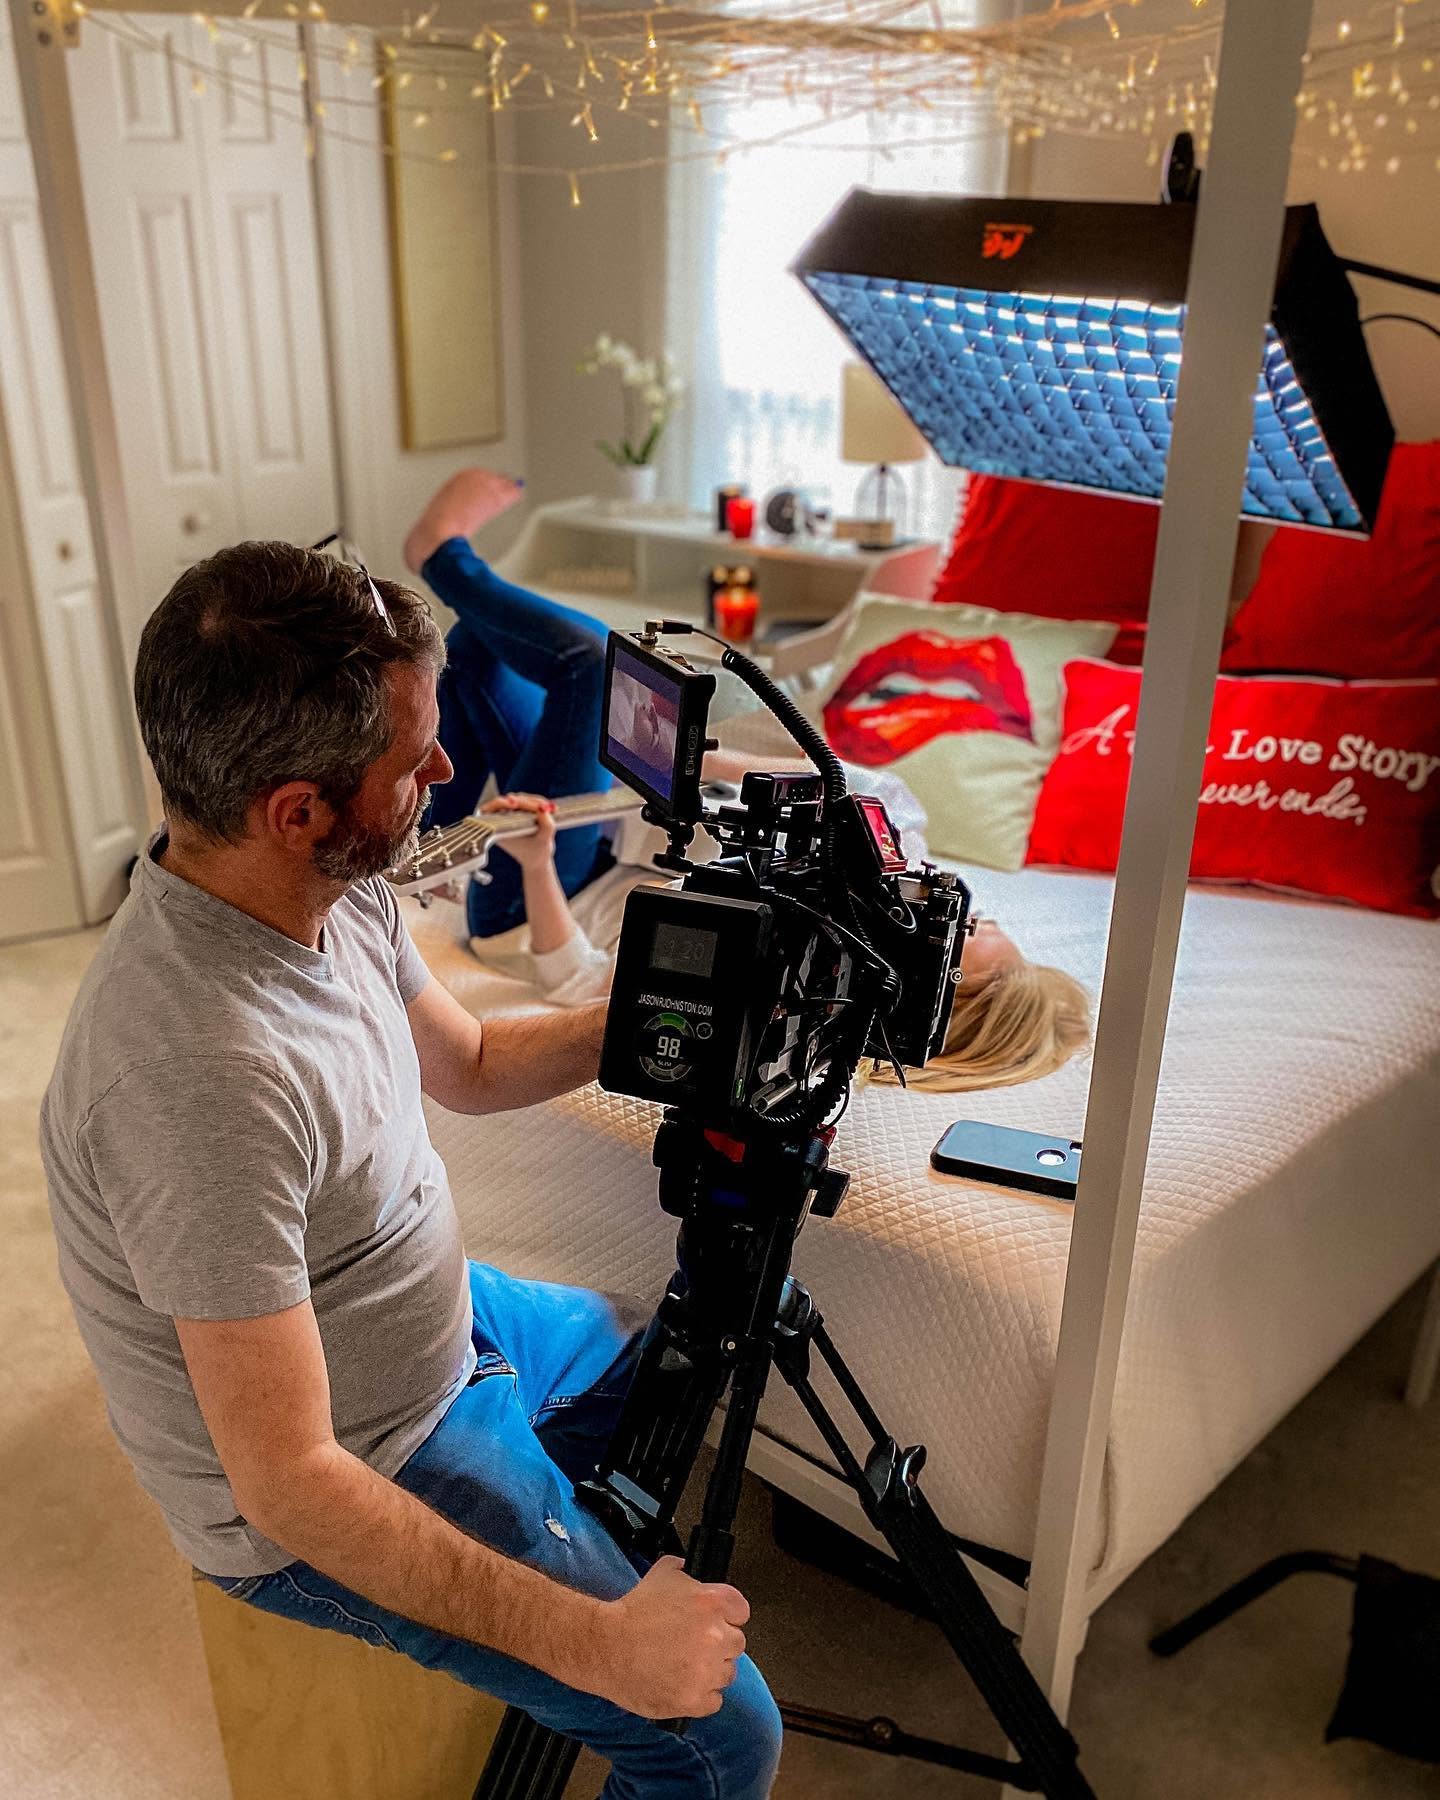
Filming “Rewind” for Lisa Thornqvist
June 8, 2025
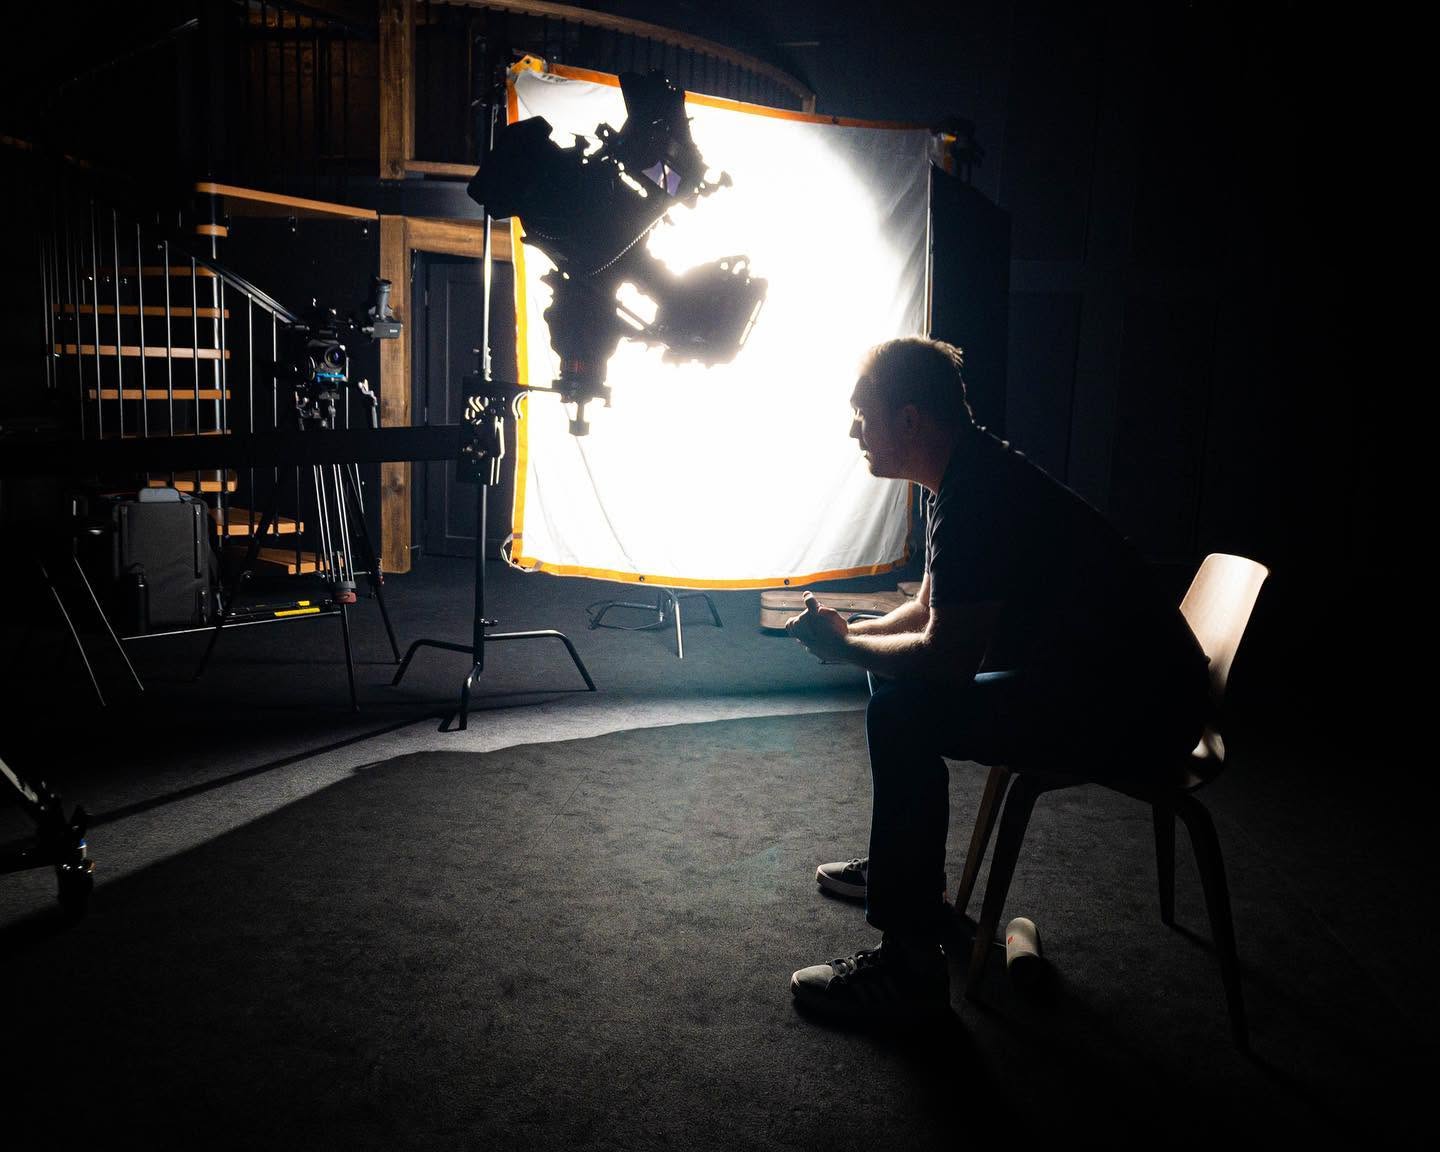
Behind The Scenes
Filming “The Ignite Project” for Sarah Cagle
October 8, 2023
Behind The Scenes
Filming “Just Stanley”
August 22, 2023
Behind The Scenes
Filming Historic Western “Killin’ Jim Kelly” for Running Wild Films
May 13, 2023
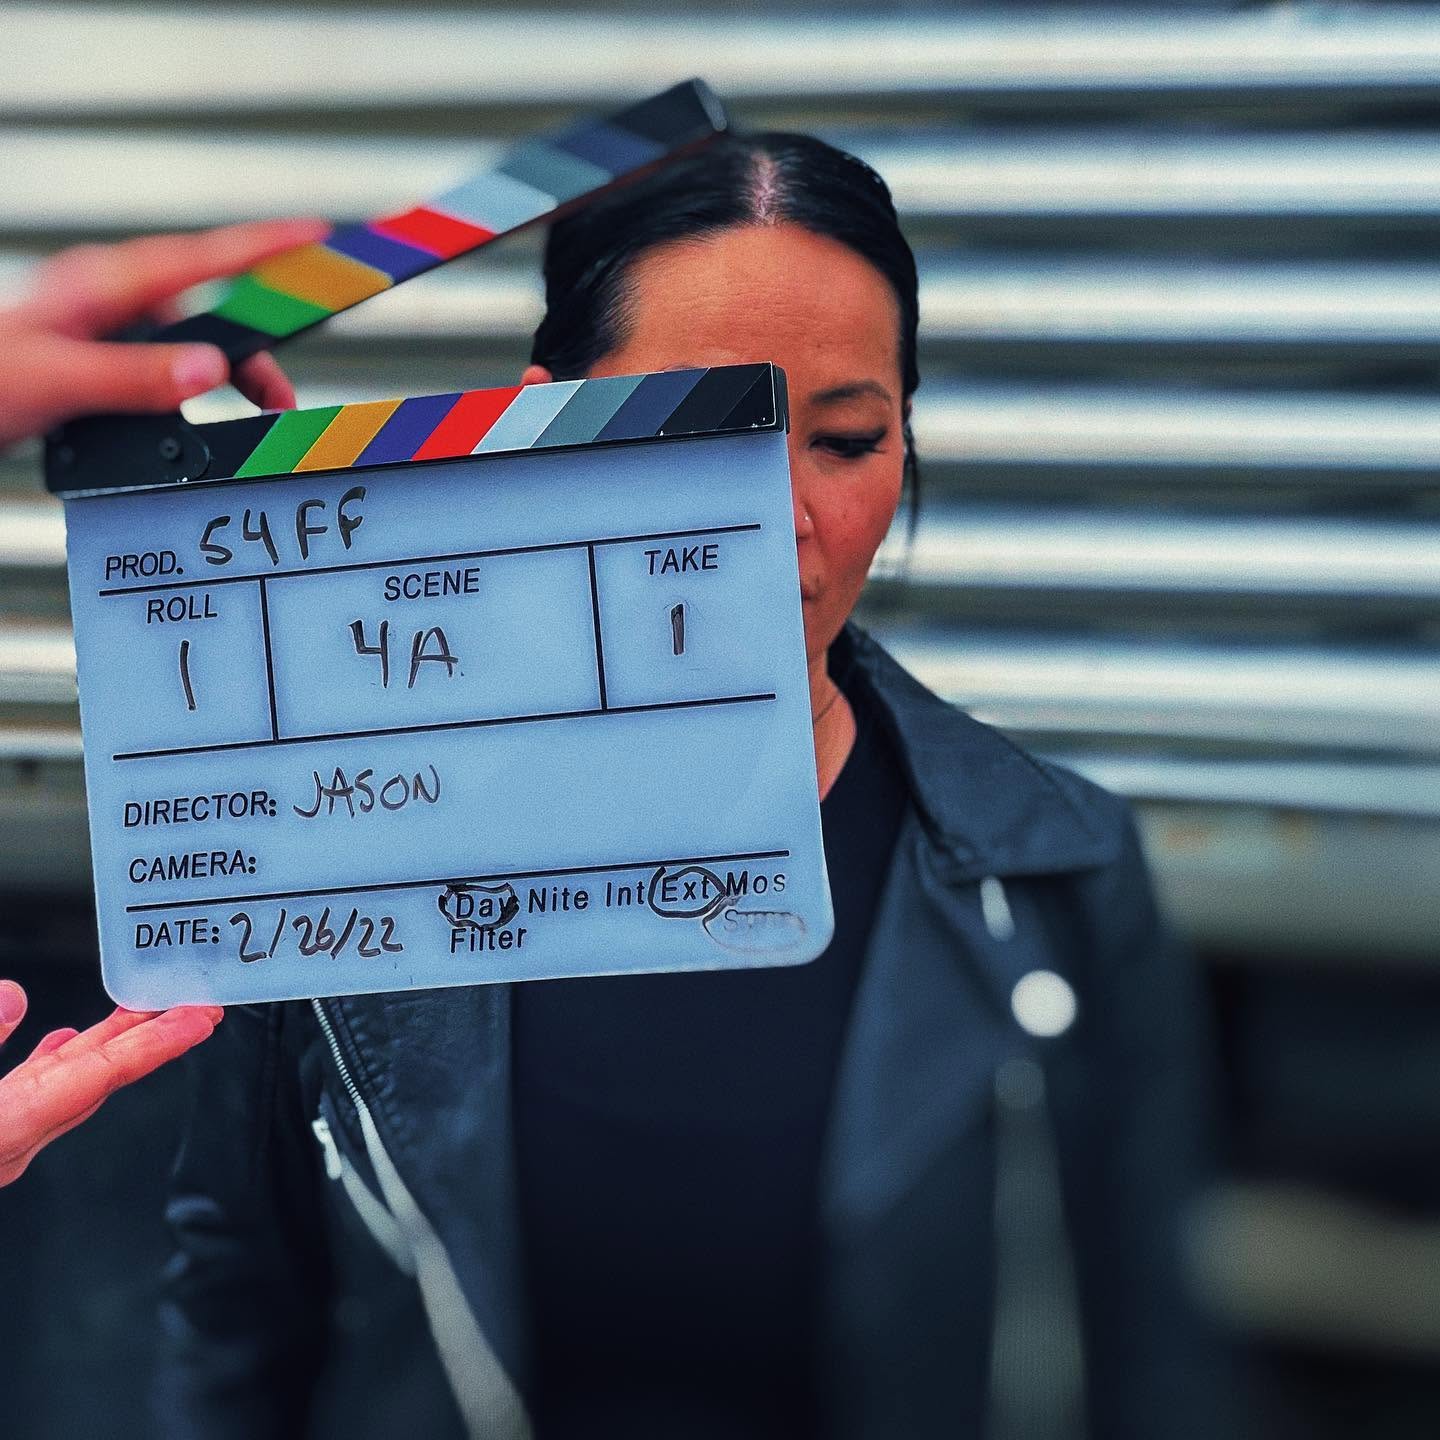
Behind The Scenes
Filming “Others” for 54FilmFest
February 26, 2023
Behind The Scenes
Filming 13 Music Videos for Josiah Mann’s Ambitious “Grace” Story Concept Album
June 24, 2022
Behind The Scenes
Filming “All For Me” for Nashville 54FilmFest
February 28, 2022
Behind The Scenes
Filming Ainsley Costello’s “Little Sister” Music Video
February 4, 2022
Behind The Scenes
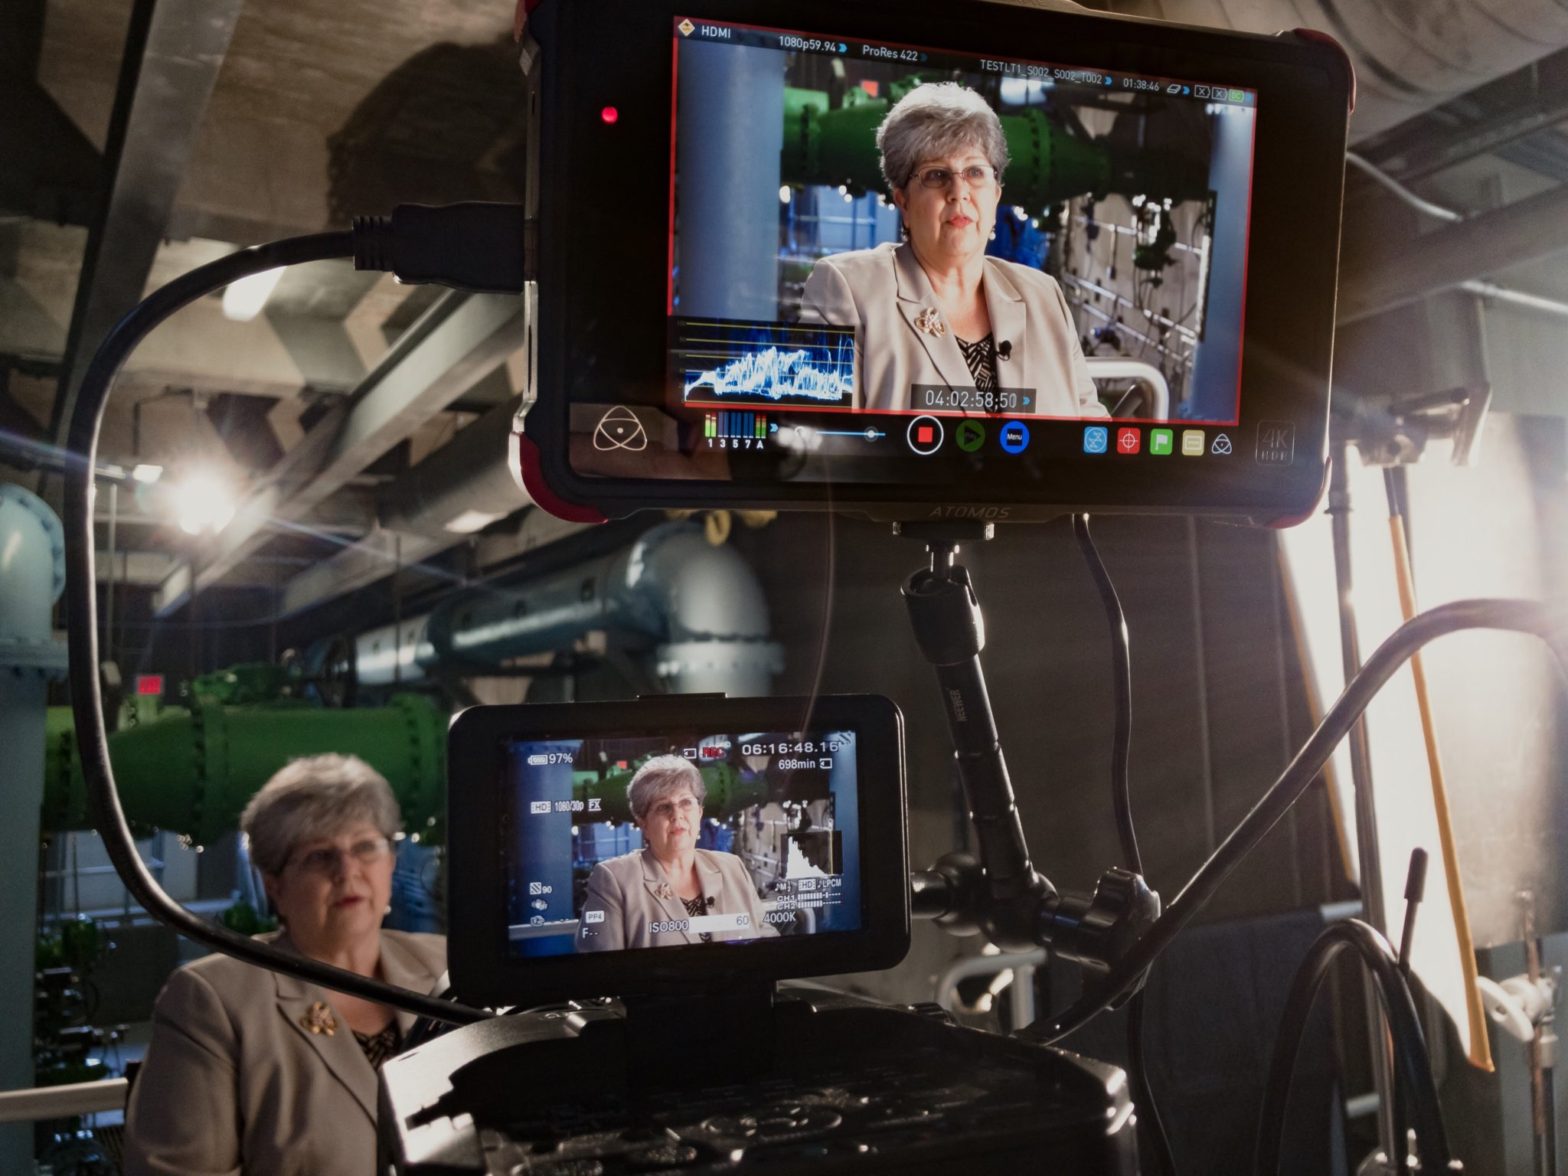
Sharyland Water Supply
May 7, 2018
Behind The Scenes
Rio Vista Dentistry Branding Film
February 20, 2018
News
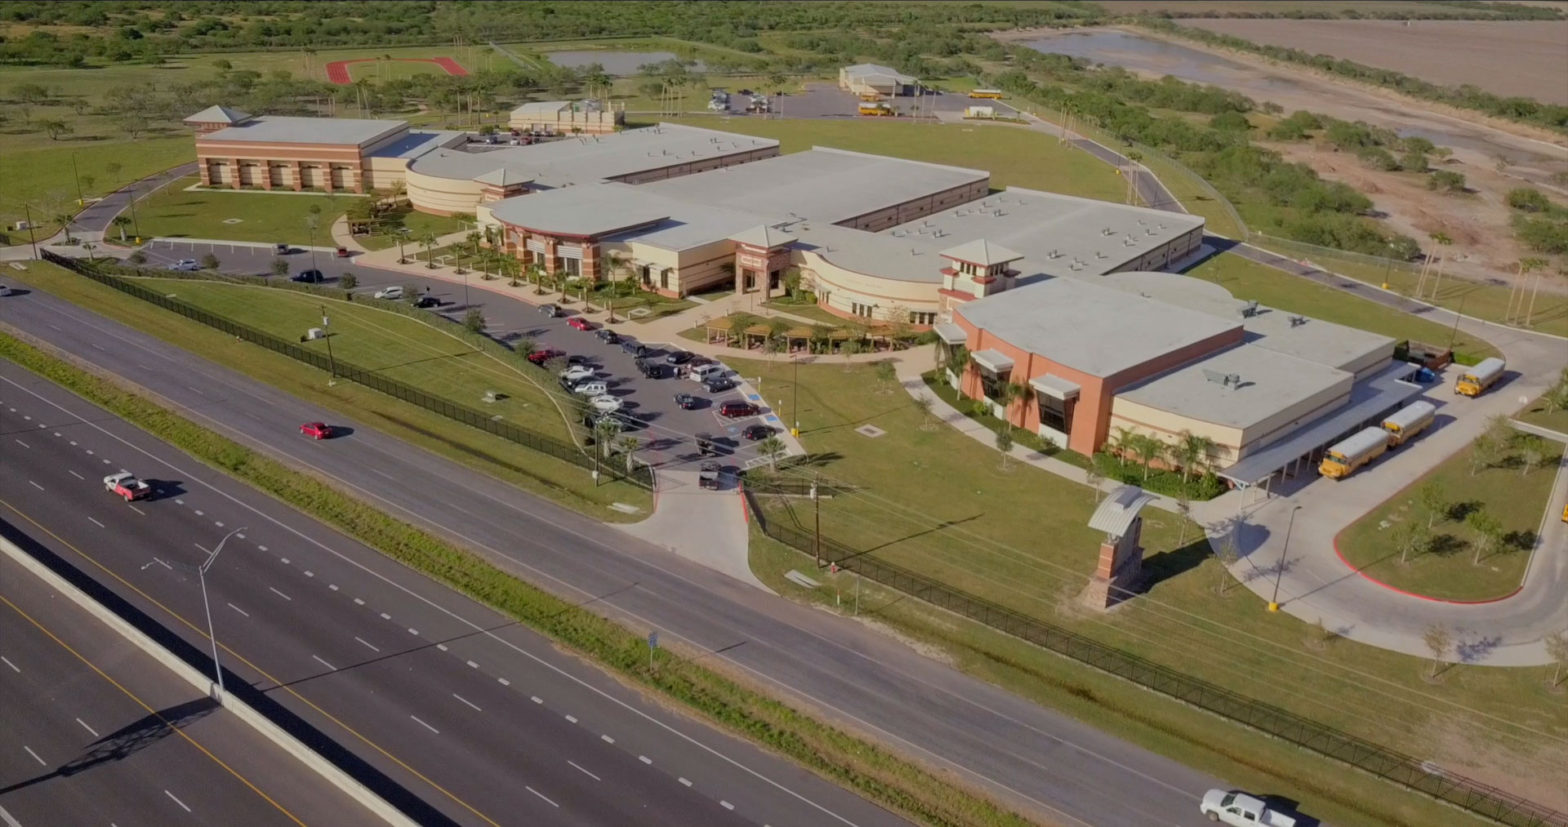
What’s Inside the South Texas ISD TV Spots
December 21, 2017
1
2
Next Page
→
Camera
Post
G&E Van
Awards
Facebook
Instagram
YouTube
Flickr
X
© 2005—2026 Jason R. Johnston. All rights reserved.
Legal
Privacy Policy
Log in